Washing Machine Bearing Repair: Quick Fix Tips
If your washing machine sounds like a concrete mixer during the spin cycle, or if it is leaking water from the front and vibrating across the floor, you are likely dealing with failed drum bearings. Washing machine bearing repair is one of the most common yet challenging fixes homeowners attempt, but when done right, it can save hundreds compared to replacing the entire appliance.
Failed bearings do not just cause noise. They compromise the entire drum system, leading to leaks, poor spinning, and even motor damage. The good news is that with the right tools, parts, and step by step guidance, you can replace worn bearings and seals yourself. This guide walks you through every stage: diagnosing failure, sourcing correct components, removing old bearings, installing new ones, and testing for leaks and smooth operation.
Diagnose Bearing Failure Early
Spot Warning Signs Before Catastrophe
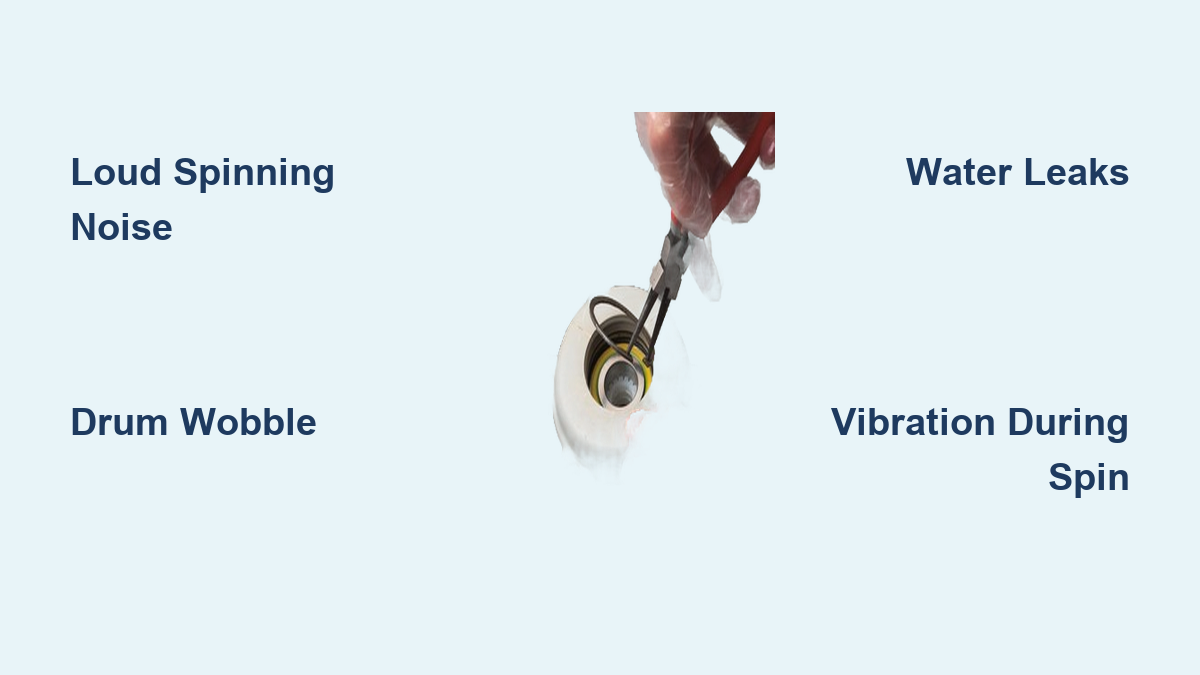
A failing washing machine bearing often gives clear signals long before total breakdown. Ignoring them risks secondary damage to the tub, motor, or transmission. Key symptoms include:
A loud spinning noise is the number one red flag. This may sound like roaring, grinding, screeching, or metal on metal sounds during high speed spin cycles.
Visible drum wobble is another indicator. Grasp the inner drum and wiggle side to side. Any movement over 1 mm means bearings are shot.
Machine walking is also common. Excessive vibration shifts the unit across the floor during operation.
Water pooling under the washer points to leaks near the front base. This often traces back to a failed tub seal accompanying bearing wear.
Clothes with marks or grit may appear. Metal shavings from degraded bearings can transfer to laundry.
Stiff drum rotation occurs when the drum resists turning by hand. Internal friction has set in.
Critical Insight: If you detect any axial or lateral play in the drum, replacement is required. Bearings cannot be repaired, only replaced.
Confirm Failure with Simple Tests
Before disassembling your machine, run these checks.
Manual Wobble Test
With power off and drum empty, open the door and grip the inner basket. Push side to side and up and down. Any detectable movement relative to the outer tub confirms bearing failure.
Spin by Hand Check
Rotate the drum slowly. A smooth, silent spin indicates healthy bearings. Grinding, jerking, or resistance indicates internal damage.
Leak Inspection
Check under the machine after a cycle. Moisture near the front lower panel points to a compromised tub seal. Rust or residue around the rear drum housing suggests water intrusion.
Understand the Bearing System

Core Components Working Together
The drum bearings support the inner tub on the drive shaft, allowing it to spin at up to 1,200 RPM. They are sealed units mounted in the outer tub and paired with a shaft seal to block water.
Key parts involved include:
The rear and front ball bearings, typically 6206-2RS or 6207-2RS, handle radial and axial loads.
The tub seal, also called a lip seal, prevents water from reaching bearings and motor.
The bearing housing is a precision machined bore in the outer tub where bearings press fit.
The spacer tube aligns both bearings coaxially.
The thrust washer sets correct preload during reassembly.
The weep hole drains moisture from the housing to prevent corrosion.
Best Practice: Always replace bearings and the tub seal together, even if only one bearing seems bad. Water likely already entered the system.
Why Seals Fail Alongside Bearings
Most bearing kits fail due to water ingress. Once the tub seal degrades, moisture reaches the bearing chamber, washing out grease and causing rust. This leads to pitting, increased friction, and eventual seizure. Since the seal is destroyed during bearing removal, replacing it is not optional. It is essential.
Source the Right Replacement Parts

Choose Complete Kits for Longevity
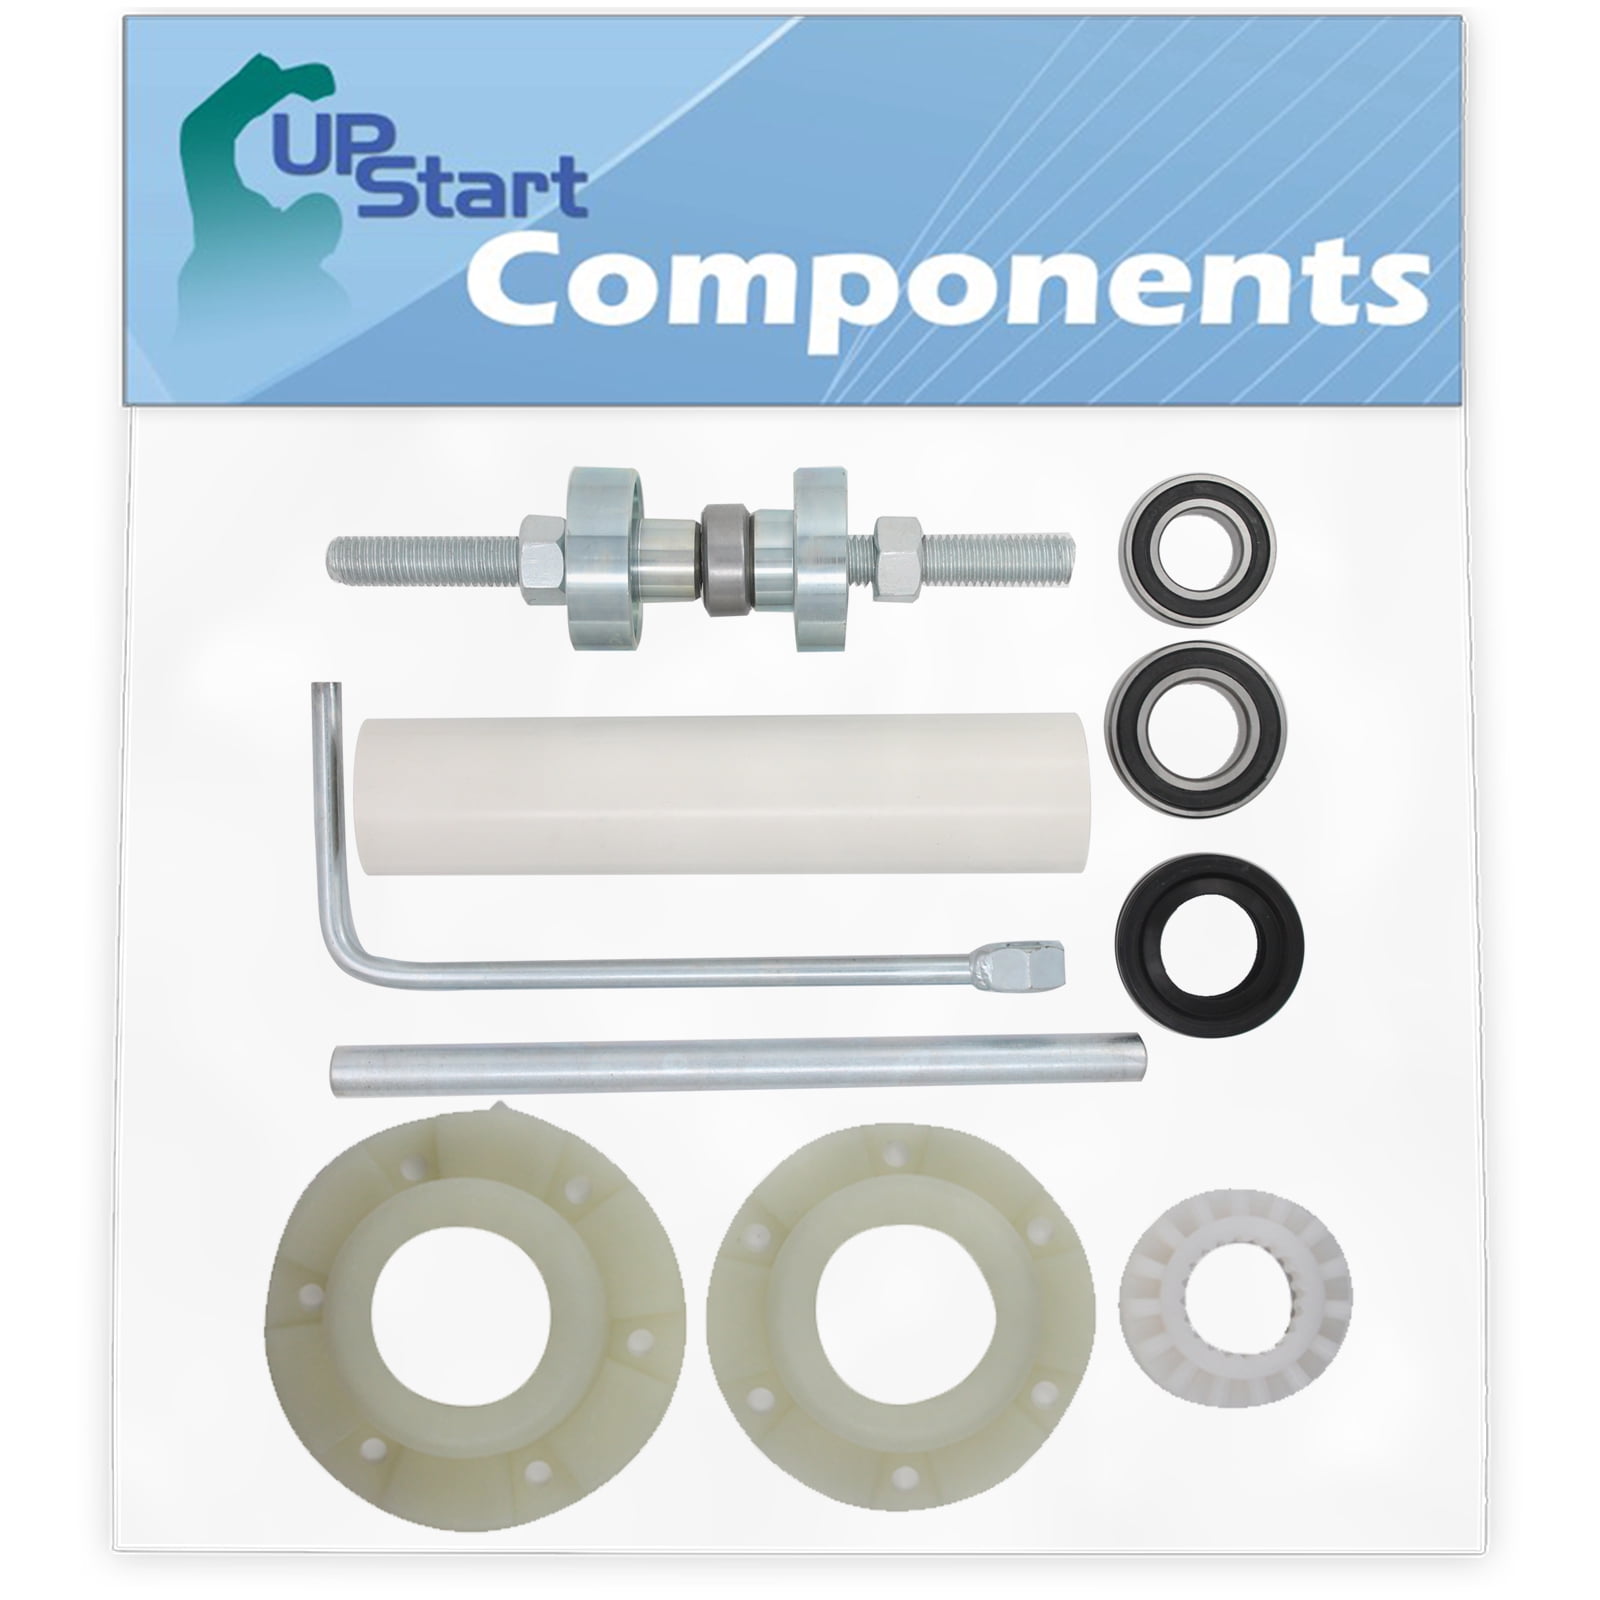
Replacing individual bearings may seem cheaper, but it is risky. Instead, use a complete bearing and seal kit designed for your model. These ensure compatibility and include all necessary washers, spacers, and hardware.
Top recommended kits include:
| Part Number | Compatible Models | Includes | Price |
|---|---|---|---|
| W10253866 | Whirlpool, Kenmore, Amana, GE | 3 bearings (2 used), 1 tub seal | $39.99 |
| W10435302 | Top load washers | Bearings, seal, drive components | $102.95 |
| 12002022 + Bearings | Maytag Neptune | Bearings, O-rings, washers, seals | $45.00 |
| AP2578105 (131525500) | Frigidaire, Gibson, LG | 2 bearings, 1 tub seal | $41.14 |
Pro Tip: For LG direct drive models, look for SKF 6206-0625 bearings. They are premium quality and widely trusted.
Where to Buy Quality Bearings
Quality parts are available from specialized suppliers. eSpares.co.uk offers full model specific kits, drums, spiders, and seals for all major brands. TheBigBearingStore sells OEM spec radial ball bearings with fast shipping and detailed fit guides. Amazon and eBay allow searching by part number or model, but verify seller reputation first.
Avoid: Cheap generic bearings without proper seals. They will not last.
Gather Essential Tools
Must Have Hand Tools
You will need a standard toolkit plus a few specialized items.
Torx bits, sizes T20 and T25, are needed for case screws.
A socket wrench set with 13 mm, 7/16 inch, and 3/8 inch sockets is essential.
A flathead screwdriver and chisel help with prying.
An adjustable wrench and channel locks provide gripping power.
A rubber mallet and hammer assist with impact work.
Locking pliers, also called Vise-Grips, hold the shaft during nut tightening.
A quarter inch hex driver removes the rotor bolt.
A Phillips screwdriver handles various screws.
Fine sandpaper cleans bearing seats.
WD-40 or PB Blaster frees seized parts.
Specialized Tools That Save Time
A scissor jack lifts the inner basket off the shaft. This is crucial for Maytag Bravos models.
A bearing puller or press kit removes and installs bearings evenly.
PVC pipe, 1.5 inch diameter, acts as a drift for tapping seals.
A metal punch or drift drives out old bearings.
A silicone sealant applicator provides precise bead control.
A torque wrench ensures correct nut tightness.
Optional but helpful: A homemade expanding tool for extracting stuck top bearings is common in Maytags.
Disassemble the Washer Safely
Step 1: Prepare and Power Down
Unplug the machine and turn off water valves first. Drain hoses into a bucket or floor drain. Remove the top panel by unscrewing Torx screws at the back. Take off the front lower panel, also called the kick plate, to expose the drain pump and hoses. Disconnect the drain hose and place a pan underneath.
Pro Tip: Take photos of all wiring before disconnecting. Label connectors if needed.
Step 2: Remove Front Panel and Door Seal
Unscrew the front panel, usually four screws at top, bottom, and sides. Use a flathead to release the door seal retaining band, which is spring loaded. Peel back the rubber gasket carefully. Lift off the front panel to expose the drum and motor.
Extract the Inner Drum
Remove Internal Components
First, remove counterweights using a 13 mm socket. The front weight is often band secured. Next, disconnect the heating element wires and tap it out gently. Then detach the sump pump from the tub and remove the pressure hose. Finally, remove the motor by taking out two bolts and disconnecting the wiring per your photos.
Remove the Wash Basket
For Maytag Bravos Series models, start by removing the hub cap on the wash plate. Unscrew the 7/16 inch bolt securing the drive hub. Remove the six Phillips screws holding the hub to the basket. Lay the machine on its back. Use a scissor jack with a wood block against the tub rim. Raise the jack slowly until the basket pops off the drive shaft.
Warning: Do not force the basket. If it is stuck, apply penetrating oil and wait 30 minutes.
Remove Old Bearings
Access the Rear Bearing Housing
Flip the outer tub to expose the rear, inner side. You will see the rear bearing pressed into the housing, the weep hole at the bottom, and the spacer tube connecting to the front bearing.
Drive Out the Rear Bearing
Use a metal punch or chisel. Tap evenly around the outer edge. Never hit the center. Alternate impact points to prevent tub warping. Continue until the bearing falls through.
Note: Wear gloves and eye protection. Metal fragments may fly.
Remove the Front Bearing
Flip the tub to the front side. Tap the bearing from behind using a punch. The front seal usually comes out with it. Clean the bore thoroughly with sandpaper and degreaser.
Stuck Bearing Tip: Insert a homemade expanding tool into the inner race and pull outward.
Install New Bearings Correctly
Clean and Inspect the Housing
Remove rust, scoring, or old sealant with fine sandpaper. Rinse with clean water and dry completely. Check for cracks or deformation. Replace the tub if damaged.
Press in the Rear Bearing
Place the new bearing into the housing. Hand push until it seats against the internal lip. Use PVC pipe or a flat chisel to tap evenly around the edge. Stop when the bearing is flush or slightly recessed.
Never strike the inner race. This damages the bearing.
Install the Tub Seal
Pack the seal lips with high temperature grease. Apply silicone sealant to the groove if required. Tap into place using PVC pipe and hammer. Ensure full contact with no gaps or tilting.
Seal Depth: Should sit flush with the bottom of the tub.
Reassemble the Tub Assembly
Join Tub Halves
Some models require splitting the outer tub. To reseal, apply a continuous bead of silicone around the mating flange. Align halves carefully. Tighten screws in a crisscross pattern to prevent warping. Let cure for 24 hours before proceeding.
Use a Tub Press Tool
Some kits include a press rod system. Stack from bottom in this order: spacer tube, bottom washer, bearing, press plate, thrust washer, and nut. Tighten the nut with a crescent wrench to press the bearing into housing. The final bearing should protrude approximately 1/8 inch, which is 3.2 mm.
This ensures even pressure and correct preload.
Final Reassembly and Testing
Reinstall Key Components
Slide the inner basket back onto the drive shaft. Reattach the drive hub with six Phillips screws. Install the wash plate and secure with the 7/16 inch bolt. Reconnect the motor, sump, heater, and pressure switch. Re-seat the door seal and secure with the retaining band. Replace the front panel, kick plate, and top cover.
Test for Leaks and Smooth Operation
Conduct a Leak Test
Wait 24 hours for sealant to cure. Fill the tub with water above the seal line. Inspect under the machine for any drips. If leaking, disassemble and reapply sealant.
Perform Mechanical Checks
Run a manual spin test. Rotate the drum by hand. It should be smooth and silent. Check the shaft rotation. The drive shaft must spin freely after the rotor bolt is tightened. Verify no wobble. There should be less than 1 mm play in any direction.
Run a Diagnostic Cycle
Plug in the machine. Run a short spin or rinse cycle. Monitor for noise, grinding, humming, vibration, and error codes. Optionally, clean the inner filter by removing two screws and clearing debris.
Avoid Common Repair Mistakes
Top 5 DIY Pitfalls
Skipping seal replacement leads to water leaks and rapid bearing failure. Always replace the seal with bearings.
Improper bearing seating causes premature wear and noise. Use even tapping or a press tool.
Forgetting weep hole cleaning leads to moisture buildup and corrosion. Clear the hole with wire before reassembly.
Not greasing the seal results in poor seal fit and leaks. Pack seal lips with high temp grease.
Rushing adhesive cure time causes seal failure and leaks. Wait 24 hours before testing.
Pro Tip: Replace drum glides or slides if worn. They often degrade alongside bearings.
Know When to Replace the Entire Tub
Despite your best efforts, some damage is not repairable. Replace the entire rear tub assembly if the bearing housing is cracked or distorted, if the press fit is loose and will not hold new bearings, if the tub shows corrosion or warping, or if the manufacturer advises full replacement.
Example: Some Whirlpool models recommend replacing the whole tub due to design changes.
Expected Results and Longevity
Post Repair Performance
After successful bearing replacement, expect silent spin cycles with no more roaring or grinding. There should be zero vibration or walking. Full spin speed should be achieved without slowdowns. There should be no leaks after multiple washes. The drum should rotate smoothly by hand.
How Long Will New Bearings Last?
With proper installation, expect 5 to 10 years under normal use. Longevity increases if you avoid overloading, keep the machine level, clean the weep hole annually, and use quality parts like SKF or King Bearing.
Direct Drive Note: LG and similar models are highly sensitive to alignment. Precision matters.
Cost and Time Breakdown
| Factor | DIY Repair | Professional Service |
|---|---|---|
| Parts Cost | $40 to $100 | — |
| Labor Cost | $0 | $300 to $600 |
| Time Required | 3 to 8 hours | 2 to 4 hours |
| Skill Level | Intermediate | N/A |
| Success Rate | High with prep | Very high |
Savings: DIY repair saves $300 or more and extends appliance life by years.
Frequently Asked Questions About Washing Machine Bearing Repair
How do I know if my washing machine bearings are bad?
Listen for loud noises during the spin cycle, including grinding, roaring, or screeching sounds. Check for drum wobble by grasping the inner basket and pushing side to side. Any movement over 1 mm indicates failed bearings. Water leaks under the machine and excessive vibration are also common signs.
Can I replace washing machine bearings myself?
Yes, with intermediate mechanical skills and proper tools, you can complete this repair yourself. The process takes 3 to 8 hours depending on your experience and model. Following step by step guides and using complete bearing and seal kits ensures success.
What tools do I need for washing machine bearing repair?
Essential tools include Torx screwdrivers, a socket set with 13 mm and 7/16 inch sockets, a rubber mallet, locking pliers, and a punch set. Specialized tools like a scissor jack for Maytag models and a bearing press kit make the job easier. You will also need penetrating oil, silicone sealant, and high temperature grease.
How much does washing machine bearing repair cost?
DIY parts cost ranges from $40 to $100 for complete bearing and seal kits. Professional repair costs $300 to $600 in labor. The savings from doing it yourself can exceed $300.
Should I replace the seal when replacing the bearings?
Always replace the tub seal when replacing bearings. The seal is almost certainly compromised if water has reached the bearings. Replacing only the bearings without the seal leads to rapid re failure and leaks.
How long do new washing machine bearings last?
Properly installed bearings and seals last 5 to 10 years under normal use. Using quality parts like SKF bearings, maintaining proper machine leveling, and cleaning the weep hole annually extends service life.
Final Tips for Successful Washing Machine Bearing Repair
Label every wire and screw during disassembly to ensure correct reassembly. Use OEM spec or SKF grade bearings. Do not skimp on quality parts.
Let adhesives cure fully. Twenty four hours is non negotiable for seal integrity.
Inspect the entire rear assembly for cracks or rust before reinstalling.
Clean the weep hole every 6 to 12 months to prevent future failures.
Washing machine bearing repair is a demanding but rewarding project. With patience, the right parts, and this guide, you can restore your washer to like new condition and keep it running quietly for years to come.