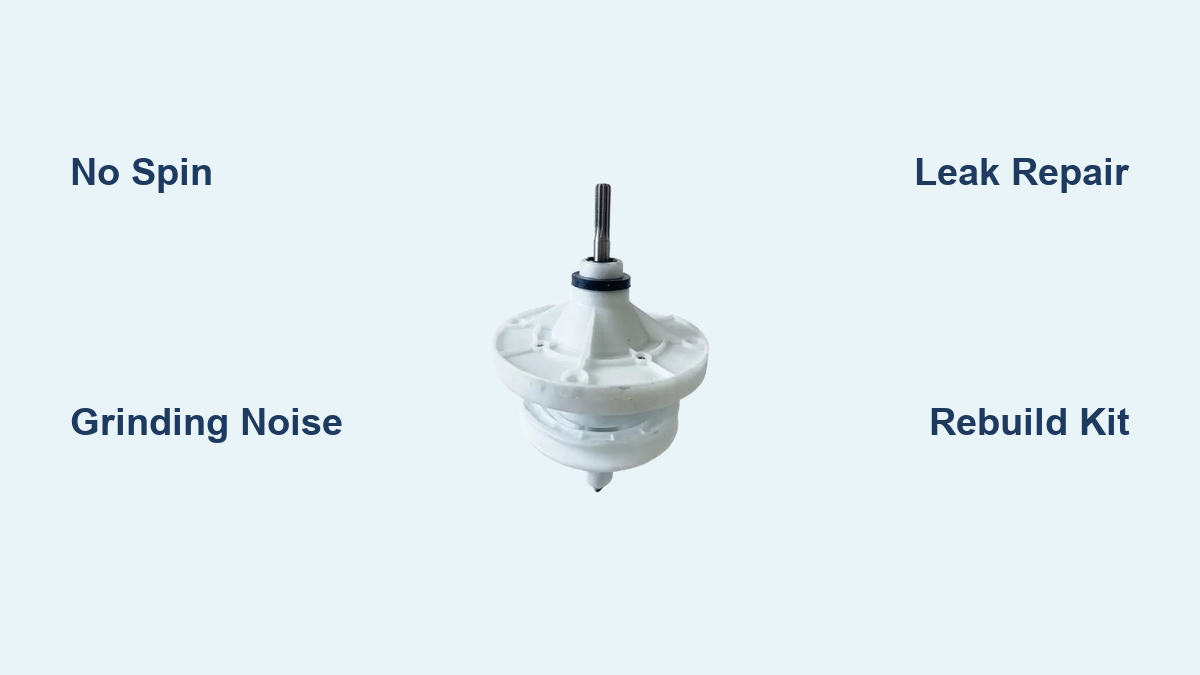
Washing Machine Gearbox Repair: Quick Steps
If your washing machine won’t spin, makes grinding noises, or leaks near the base, washing machine gearbox repair might be the solution. These symptoms often point to internal transmission failure, but many issues can be resolved without replacing the entire unit. With the right tools, a methodical approach, and proper lubrication, you can restore full function for a fraction of the cost of a new appliance. This guide walks you through every step, from diagnosing the fault to testing your rebuilt transmission.
Decode Common Gearbox Failure Signs
Recognizing early symptoms saves time and prevents secondary damage. A failing gearbox does not always mean broken gears. Often, it is worn seals, stuck mechanisms, or missing internal pieces causing the problem.
Listen for Distinct Mechanical Noises
Grinding, whining, or clunking during spin or agitation cycles signals internal wear. Bearings, gear teeth, or the clutch may be damaged. However, similar sounds can come from a failing motor or worn drum bearings. Isolate the source by running the machine empty and checking underneath the unit.
Check for No Spin or Jerky Movement
If the drum fails to spin or moves unevenly, the transmission may not be shifting properly. Test manually. With power off, rotate the input shaft. It should engage differently in each direction: left for agitation, right for spin. If it spins freely both ways or locks completely, the clutch or gear mechanism is likely faulty.
Spot Leaks and Fluid Contamination
Oil pooling beneath the machine indicates a failed seal or gasket. Inspect the square-type sealing ring for rust or deformation. Also check for thick sludge inside the transmission. Detergent buildup or degraded oil leads to poor lubrication and eventual seizure.
Identify Root Causes Before Repair
Diagnosing the exact failure mode determines whether you can rebuild or must replace the gearbox. Most issues stem from wear, contamination, or assembly errors, not gear tooth breakage.
Find Cracked or Broken Internal Parts
A cracked actuator plate with a broken Allen-key pin disrupts shifting. Similarly, a missing hockey-puck (concave disc) on the central ball prevents proper gear engagement, causing intermittent operation. During disassembly, inspect these components carefully. Both are common failure points.
Assess Clutch and Seal Condition
Worn clutch shoes reduce spin efficiency. While some visual aging is normal, deep grooves or uneven wear require replacement. The sealing ring is prone to rust in humid environments. Replace if corroded. A bent pulley or clogged diaphragm can mimic gearbox issues, so verify all related components.
Rule Out Fluid and Lubrication Issues
Contaminated or low gear oil causes sluggish operation and overheating. Drain the fluid and inspect. Clean SAE 8W90 oil should be amber and free of sludge. If it is dark, gritty, or smells burnt, flushing and refilling may resolve the issue without part replacement.
Gather Tools and Follow Safety Steps
Proper preparation prevents accidents and ensures smooth progress. Never skip safety protocols when working with heavy components and electrical systems.
Essential Repair Tools
You will need specific tools for this repair. Gather them before starting.
• Socket set with 7/16-inch and 1/2-inch sockets
• Ratchet and spanner
• Allen wrench for retainer screws
• Flat-blade screwdriver and hammer for prying
• Long-nose pliers (tiny) for retaining clips
• SOS pad, brush, and degreaser (Varsol recommended)
Avoid gasoline for cleaning. It is flammable and hazardous.
Critical Safety Precautions
Follow these steps to stay safe during the repair.
• Unplug the machine before starting
• Shut off water supply and disconnect hoses
• Drain the hose completely to avoid spills
• Lay the washer on its back only after securing it
• Use gloves and eye protection when handling sharp or greasy parts
Access the Gearbox Safely
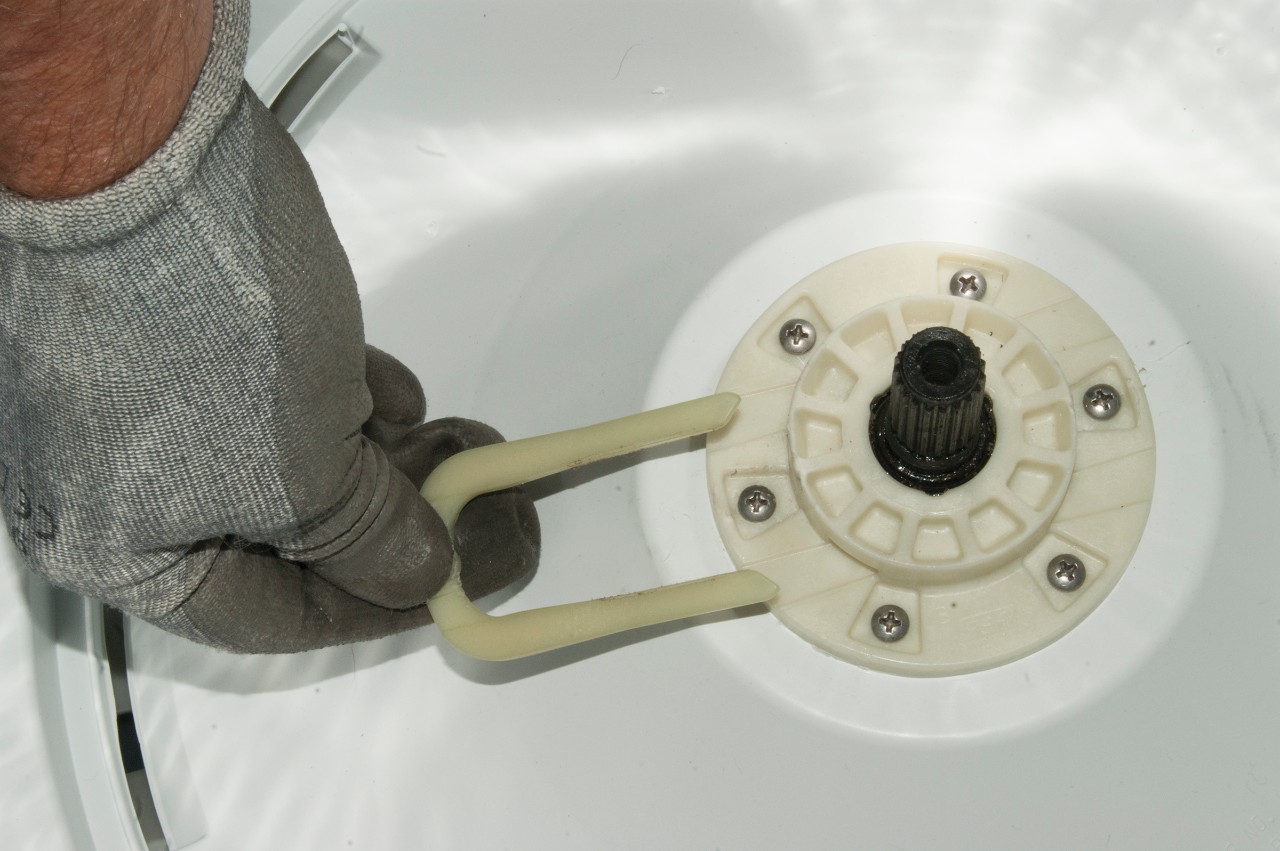
Reaching the transmission requires careful disassembly. Work methodically to avoid damaging clips, wires, or alignment points.
Remove Rear Panel and Shell
Unscrew the two rear panel screws. Pull forward and lift up to release brackets. Disconnect the plug by squeezing and lifting. Rotate the outer shell to find the screwdriver slot, then pry off the lid.
Extract Agitator and Tilt Machine
Loosen the 7/16-inch agitator bolt with a ratchet. Lift out the agitator, then remove the metal ring and plastic piece underneath. Pull the machine away from the wall and lay it on its back for underside access.
Remove Motor and Transmission
The motor and gearbox come out as a single unit. Label wires and note bolt positions to simplify reassembly.
Disconnect Belt, Pump, and Wires
Slide the drive belt off the pulley. Pop off two clips and lift the pump aside. Disconnect motor wires and set them clear. Remove three 1/2-inch bolts securing the motor. The motor is heavy, so support it as you loosen.
Extract the Assembly
Lift the motor and transmission out together. Place on a clean, dry workbench. Avoid placing on concrete or damp surfaces to prevent contamination.
Open and Inspect the Transmission

Internal inspection reveals the true condition of gears, clutch, and shifting components. Clean before testing to ensure accurate assessment.
Disassemble Housing and Clutch
Remove cover screws. Use a screwdriver to pry out the retaining clip, then pop out the retaining spring. Lift off the clutch. Remove two motor screws and clips to separate the motor from the transmission.
Examine Key Components
With the top loosened, tap gently with a hammer and screwdriver to remove it. Inspect each part carefully.
• Gears: Look for tooth loss or cracking (rare)
• Bearings: Spin by hand; should move smoothly with no grinding
• Rollers and springs: Ensure all three small rollers are intact
• Actuator plate: Check for cracks or broken pins
• Central ball and hockey-puck: Must be present and seated correctly
• Sealing ring: Replace if rusted or deformed
Clean Every Component Thoroughly
Dirt, sludge, and old gasket material cause premature failure. Cleaning is as important as part replacement.
Degrease with Safe Solvent
Use Varsol instead of gasoline. It is effective and less volatile. Soak metal parts to dissolve built-up grease. Scrub with an SOS pad and rinse well.
Remove Old Gasket Material
Scrape mating surfaces clean. Ensure no residue remains, as it prevents proper sealing. Inspect the diaphragm and water seal. Clean gently without tearing.
Dry and Prepare for Reassembly
Let all parts air-dry completely. Wipe with a detergent-free cloth. Verify that pulleys and shafts rotate freely before rebuilding.
Rebuild the Gearbox Step by Step
Correct orientation of springs, racks, and clips ensures smooth shifting. Follow this sequence to avoid misalignment.
Install Retainer Racks Correctly
Use the two-hole rack in areas marked with an X (moon-shaped). Use the single-hole rack elsewhere. Insert the stud and tighten with an Allen wrench. Ensure it is secure but not over-tightened.
Mount Trip Lever, Spin Pole, and Latch
Slide the trip lever onto its peg. The tab must fit into the square hole. Place the spin pole and latch on their respective pegs. These control gear engagement. Misalignment causes shifting failure.
Add Spring and Washer
Place the spring on the cam’s exterior. Larger side up. Add the washer on top. This assembly controls clutch tension. Correct orientation ensures smooth engagement.
Fit Gear and Retaining Clip
Use pliers to spread the retaining clip and slide it into place. Seat the spin gear so it meshes perfectly with the mating gear. Any misalignment causes noise or lock-up.
Reinstall Clutch and Central Components
Insert the central ball into the core hole. Place the concave disc (hockey-puck) over it. Align the gear’s centerline with the shifting fork’s groove. Slide it on and rotate to lock in place.
Secure the spring-loaded component, add washer, and tighten the Allen-key screw with thread locker to prevent loosening.
Seal, Lubricate, and Refill Fluid
Proper sealing and lubrication prevent leaks and ensure long-term performance. Never skip this step.
Apply Seal and Gasket Maker
Run a thin bead of 80-90 gear oil around the seal. Spread with a finger. Apply a thin layer of gasket maker on the housing edge. Ensure surfaces are clean and dry.
Fill with Correct Gear Oil
Use SAE 8W90 gear oil (approximately $6 per bottle). Fill through the air-vent hole until fluid reaches the rim. Do not overfill. Excess pressure can blow seals.
Close and Secure Housing
Position the outer housing and compress the half-moon washer. Use pliers to secure the final cover. Hand-tighten all screws before final torque to avoid warping.
Install New or Rebuilt Gearbox
Reassembly follows the reverse removal process, but attention to detail prevents future issues.
Fit New Seals and Pulley
Install a new sealing ring and spring. Position the gearbox and tighten the central nut with a spanner. Reattach the pulley. Ensure it has a slight cushioning effect when pressed.
Reconnect Belt and Motor
Slide the drive belt back onto the pulley. Reconnect motor wires and secure with three 1/2-inch bolts. Reattach the pump using two clips.
Final Reassembly
Reinstall the agitator and tighten the 7/16-inch bolt. Reconnect water hoses and drain hose. Secure the rear panel with screws.
Test and Validate the Repair
Never assume it works. Test at every stage to catch errors early.
Run Pre-Power Checks
Manually rotate the input shaft. Left should agitate. Right should spin. The gear should lock in one direction and spin freely in the other. If not, recheck clutch and shifting fork alignment.
Perform Live Cycle Test
Reconnect power and run a short wash cycle. Listen for grinding or clicking (indicates misalignment) or smooth, quiet spin (success). Check for leaks around the gearbox. Verify full agitation and spin. Confirm proper draining and no vibration.
Decide: Repair or Replace
Not every gearbox needs replacement. Use this decision framework to save money and time.
Repair If
These conditions typically allow successful repair.
• Loose part or stuck lock: Often fixed with pressure and realignment
• Missing hockey-puck disc: Reinstalling restores function
• Contaminated fluid only: Clean and refill restores performance
• Cracked actuator plate: Replace part, rebuild unit
Replace If
These conditions require replacement.
• Visible gear cracks or tooth loss: Irreparable damage
• Severe bearing pitting or pulley bend: Risk of further failure
• Repeated seal leaks after rebuild: Housing may be warped
Pro Tip: In tested units, full restoration was achieved without aftermarket kits. Just cleaning, inspection, and correct reassembly solved the problem.
Save Money with DIY Repair
Professional repairs cost up to ₹1500, including labor. DIY eliminates labor fees and often requires no new parts.
Cost Breakdown
Understanding costs helps you budget properly.
• Gear oil: $6
• Replacement seals/rings: $10-15
• Total DIY cost: Under $25
• New gearbox: Often exceeds $100
Most repairs take 2-4 hours and use basic tools. Even complex rebuilds are feasible with patience.
Prevent Future Gearbox Failures
Extend your machine’s life with simple maintenance habits.
Clean Filters and Avoid Overloading
Remove lint weekly. Never overload. Excess weight stresses the gearbox and bearings.
Use Detergent Wisely
Too much detergent creates sludge. Use high-efficiency (HE) detergent in front-loaders.
Inspect Seals and Belts Annually
Check for wear, rust, or cracking. Replace sealing rings every 3-5 years.
Flush Fluid Periodically
Drain and refill gear oil every 3-5 years, especially in hard water areas. This prevents contamination and overheating.
Frequently Asked Questions About Washing Machine Gearbox Repair
How do I know if my washing machine gearbox is failing?
Common signs include no drum rotation during spin, loud grinding or whining noises, water leakage around the gearbox area, and machine seizure or locked-up operation. If the drum moves unevenly or fails to shift between agitation and spin modes, the gearbox likely needs attention.
Can I repair a washing machine gearbox myself, or do I need a professional?
DIY repair is entirely feasible for most gearbox issues. With basic tools (socket set, Allen wrenches, pliers), proper safety precautions, and this step-by-step guide, you can complete the repair in 2-4 hours. Professional labor adds significant cost, so DIY saves money.
What causes washing machine gearbox failure?
Primary causes include cracked actuator plates, missing internal components (like the hockey-puck disc), contaminated or degraded gear oil, worn clutch shoes, and rusted sealing rings. Assembly errors during previous repairs can also cause premature failure.
How much does washing machine gearbox repair cost?
DIY repair costs under $25, primarily for gear oil ($6) and replacement seals ($10-15). Professional repair costs approximately ₹1500 ($18-20) including labor. A new gearbox often exceeds $100, making repair the cost-effective choice.
How often should I replace the gear oil in my washing machine?
Drain and refill gear oil every 3-5 years, depending on usage frequency. In hard water areas or with frequent use, consider more frequent fluid changes. Clean oil should be amber and free of sludge.
Is it worth repairing an old washing machine, or should I just replace it?
If the issue is gearbox-related and the machine is otherwise in good condition, repair is absolutely worth it. Full restoration is often achieved through cleaning and reassembly alone. Only replace if you see visible gear cracks, severe bearing damage, or repeated seal failures after proper rebuild.
Key Takeaways for Successful Washing Machine Gearbox Repair
A properly repaired washing machine runs quieter, smoother, and more efficiently than before. Whether you rebuild or replace, attention to alignment, lubrication, and sealing ensures lasting results. The most common issues (missing hockey-puck discs, contaminated fluid, cracked actuator plates) are fixable without expensive aftermarket kits. With this guide, you are equipped to tackle washing machine gearbox repair confidently, saving money, reducing waste, and restoring performance like a pro. Start by diagnosing the symptoms, gather your tools, and work through each section methodically. Your washing machine will run like new.