How to Tighten Washing Machine Drum
Is your washing machine shaking violently during the spin cycle or making loud banging noises? These are classic signs of a loose or unstable drum. If left unaddressed, this issue can lead to damaged components, water leaks, or complete appliance failure. The good news is that in many cases, you can tighten a washing machine drum yourself without calling a technician. This guide walks you through diagnosing the root cause, replacing worn parts, and restoring smooth, quiet operation.
Check for Leveling and Load Issues First
Before opening the machine, rule out simple user-related problems that mimic mechanical failure.
Ensure the Washer Is Level
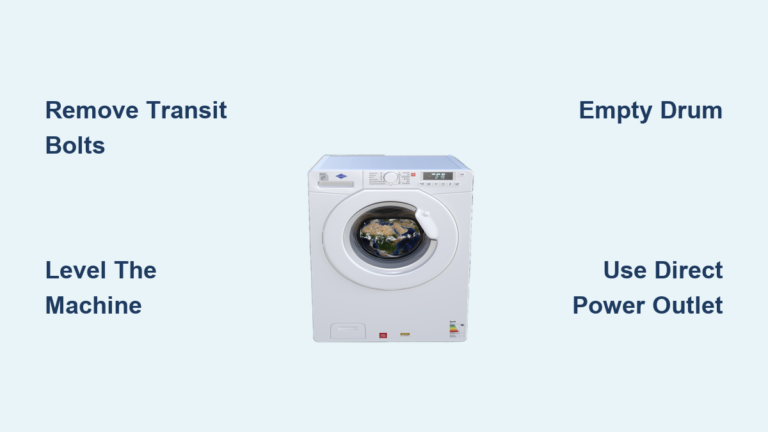
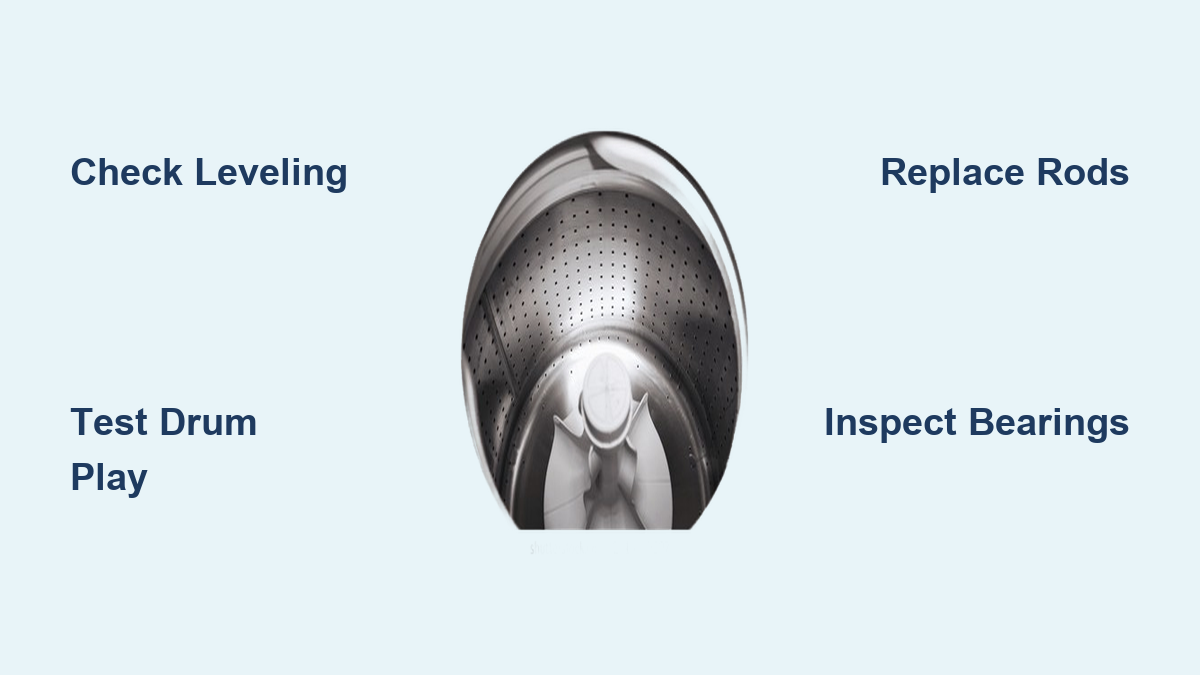
An unlevel machine amplifies vibration and causes drum instability. Place a bubble level on the top of the washer front-to-back and side-to-side. Adjust the front leveling feet by turning them clockwise to raise or counterclockwise to lower. Rock the machine gently. No movement should occur. All four feet must firmly contact the floor. Use shims if needed on uneven surfaces.
Redistribute Laundry Evenly
Top-load and front-load models rely on balanced loads to spin smoothly. Stop the cycle if you see UE error code or excessive shaking. Open the lid and spread clothes evenly around the drum one item at a time. Avoid washing single heavy items like a comforter without counterweights such as towels.
Inspect for Drum Play and Noise
If leveling and loading are not the issue, internal wear is likely the culprit.
Test for Excessive Drum Movement
With the washer unplugged, manually move the inner drum side-to-side and up-and-down. Normal movement is less than 0.5 inches. Abnormal movement of more than 1 inch indicates worn suspension rods, bushings, or bearings. Listen closely. A grinding or scraping sound when rotating the drum suggests bearing failure.
Look for Foreign Objects
Trapped items between the inner and outer drums cause imbalance. Pull back the rubber door seal on front-loaders with your fingers. Shine a flashlight into the gap and check for coins, buttons, or small tools. Use long-nosed pliers to remove debris carefully.
Replace Worn Suspension Rods

Suspension rods, also called damper rods or shock rods, are the most common cause of drum looseness especially in top-load models.
Identify Failed Rods
These components are located at each corner connecting the outer tub to the cabinet. They absorb vertical and lateral motion during spin. Signs of failure include rods that slide up and down with no resistance, visible cracks or broken plastic coating, and washer shaking even when level and properly loaded.
Remove Old Rods
You will need a quarter-inch nut driver or socket wrench, duct tape, and a replacement kit that includes four rods, ball joints, and bushings. For rear rods, pull the rod upward slightly and rotate the ball joint to unclip it from the cabinet mount. Unhook from the tub bracket. Remove the old bushing from the square hole. For front rods, lift and rotate the ball joint to release. Slide the rod out of the mounting hole. Replace the bushing.
Install New Suspension Rods
Replace all four rods together even if only one looks bad to ensure balanced support. For upper rear rods, insert the new rod into the cabinet mount and hook the upper end securely. For lower front rods, unhook the old rod from the tub. Insert the new rod through the new bushing. Attach the new ball joint and rotate to lock into place.
Fix or Replace the Balance Ring

The balance ring, filled with water, helps stabilize the drum during high-speed spins.
Diagnose a Leaking Balance Ring
This component is located on the top edge of the inner drum. It contains approximately 1.07 kg of water that shifts to counteract imbalance. Failure signs include cracks, pinholes, or moisture around the ring, persistent vibration despite balanced loads, and UE error even after redistribution.
Temporary Fix for Small Leaks
Clean and dry the cracked area thoroughly. Apply marine-grade epoxy or waterproof sealant. Allow full cure time following product instructions. Test cautiously. This is not a long-term solution.
Permanent Fix Requires Professional Help
Replacing the ring requires inner tub removal and disassembly. There is risk of damaging drum seals or bearings. Consider professional help unless you have advanced DIY experience.
Replace Damaged Shock Absorbers
Used in many front-load and some top-load models, shock absorbers control tub movement.
Spot Failed Dampers
These are cylindrical hydraulic units mounted vertically or diagonally. Failure signs include oil leakage, bent shafts, loose mounting brackets, and thumping noise during spin.
Replace Shock Absorbers in Pairs
Unplug the washer and tip it backward with towels underneath. Locate the dampers near the base. Remove mounting bolts with a socket wrench. Install new units and secure with fresh hardware. Ensure brackets are straight and tight.
Inspect and Replace Suspension Springs
Springs support the tub weight and limit bounce.
Find Sagging or Broken Springs
These components are located at the bottom of the outer tub. Failure signs include elongation or stretching, corrosion or breakage, and uneven tub height.
Install All Springs Together
Replace all springs together. Mixing old and new causes imbalance. Support the tub with a wooden block before removing old springs. Hook new springs into place. Ensure even tension and proper alignment.
Repair Worn Drum Bearings (Advanced)
Bearing failure causes grinding noise, water leaks, and severe drum wobble.
Confirm Bearing Wear
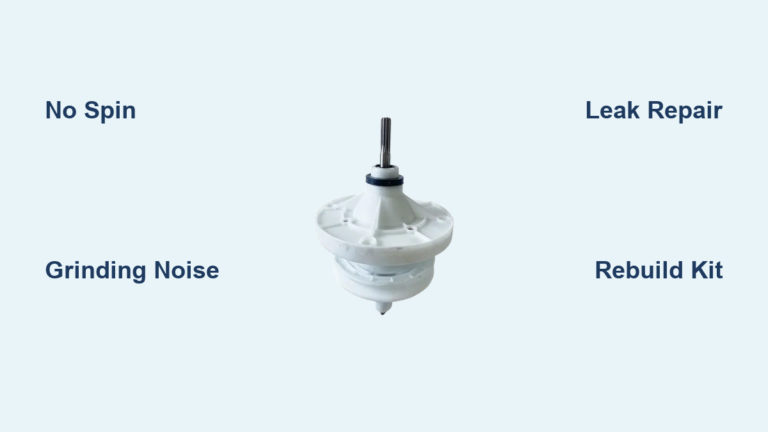
Symptoms include loud rumbling or grinding during spin, water inside the cabinet indicating failed rear seal, and more than 1 inch of drum play. This repair is complex and time-consuming. It is often not cost-effective for machines over eight years old.
Replacement Overview
You will need a bearing press tool, Torx or hex drivers, a socket set, and a rear seal kit. Remove the inner drum from the outer tub. Press out old bearings. Install new bearings with proper alignment. Replace the rear seal to prevent leaks. Reassemble and test for smooth rotation.
Reassemble and Test the Washer
After repairs, proper reassembly ensures long-term stability.
Reattach the Top Panel
Carefully return the washer to upright position. Lower the top panel aligning rear tabs with cabinet slots. Secure with at least one rear screw then install remaining screws. Replace the cover plate.
Final Calibration Steps
Reconnect the drain hose, water supply lines, and power cord. Re-level the machine using a bubble level. Run a test cycle with a medium, evenly distributed load. Success signs include no vibration or walking, no UE error or noise, and machine stays in place during high-speed spin.
Prevent Future Drum Looseness
Avoid repeat issues with these maintenance habits.
Load Laundry Properly
Add clothes one at a time spreading them around the drum. Never overload. Respect the capacity label inside the lid or door.
Inspect Components Annually
Check suspension rods for resistance. Look for oil leaks from shock absorbers or rust on springs. Examine the balance ring for cracks.
Keep the Washer Clean
Wipe the drum seal monthly to prevent debris buildup. Run a monthly cleaning cycle with HE-compatible washer cleaner. Always use HE detergent. Regular detergent creates excess suds that strain bearings and seals.
When to Call a Professional
Some repairs are best left to experts. Drum bearing replacement requires disassembly and press tools. Consider hiring a technician. Balance ring replacement needs drum removal. Consider professional help. Full tub disassembly risks leaks and misalignment. Avoid without experience. For electrical or error code issues, consult the manual first.
Cost Comparison: Repair or Replace
Suspension rod kits cost $25 to $45 and take one to two hours. Best for DIYers and budget users. Shock absorber sets cost $30 to $50 and take one to two hours. Best for front-load models. Drum bearing kits cost $20 to $60 and take three to five hours. Best for advanced users. Professional repair costs $150 to $300 and takes one to two visits. Best for complex issues. New washing machines cost $500 or more. Best for machines over eight years old.
Key Takeaways for Tightening Your Washing Machine Drum
A loose washing machine drum does not mean it is time for a new appliance. Start with simple checks like leveling and loading before disassembling. Replace suspension components in sets for balanced support. Use quality OEM or reputable aftermarket parts. Test thoroughly with a balanced load to confirm your fix worked. With the right diagnosis and repair, you can restore stability, silence the noise, and extend your washer life by years.
Frequently Asked Questions About Tightening a Washing Machine Drum
How do I know if my washing machine drum is loose?
Manual movement of the inner drum more than 1 inch indicates a loose drum. Loud grinding or banging during spin cycles and visible wobbling are also telltale signs.
Can I fix a loose washing machine drum myself?
Yes. Many issues like worn suspension rods, shock absorbers, and leveling problems are DIY-friendly with basic tools. Complex repairs like bearing replacement may require professional help.
How much does it cost to tighten a washing machine drum?
Suspension rod kits cost $25 to $45. Shock absorber sets cost $30 to $50. Professional repairs range from $150 to $300. Compare repair costs to the price of a new machine.
How long does it take to replace suspension rods?
Most DIYers complete the job in one to two hours. Plan for additional time if you need to troubleshoot or access hard-to-reach components.
Should I replace all four suspension rods at once?
Yes. Replace all four rods together even if only one appears damaged. This ensures balanced support and prevents premature wear on the new components.