How to Reset Ryobi Pressure Washer
Your Ryobi pressure washer won’t start, cycles on and off, or refuses to build pressure. You search for a reset button that simply does not exist on these electric models. Most users face this exact scenario when electrical faults or stuck valves mimic a need for a hard reset.
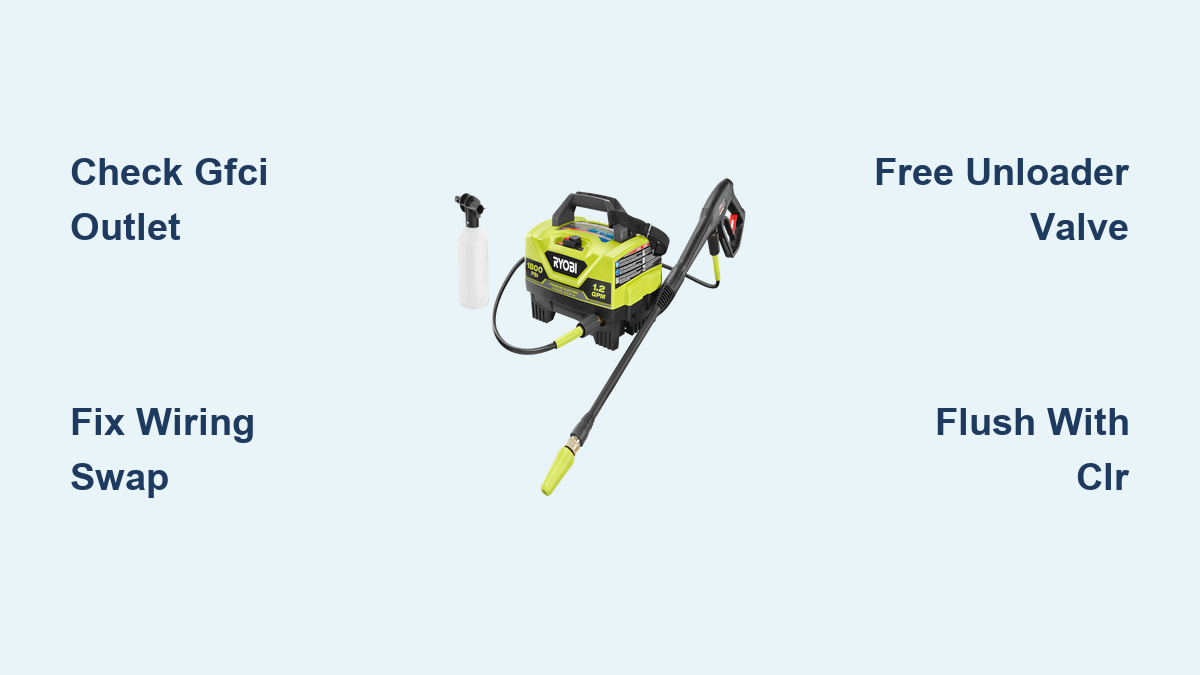
This guide reveals the specific steps to restore function without buying a new unit. You will learn to diagnose silent GFCI failures, correct internal wiring errors, and free stuck unloader valves. Follow these proven methods to fix over 80% of common startup issues quickly.
Verify GFCI Outlet Functionality First

The most frequent cause of a non-starting Ryobi pressure washer is a failed Ground Fault Circuit Interrupter (GFCI) outlet. These safety devices can stop working internally while appearing completely normal to the eye.
Test the Indicator Light Status
Plug your pressure washer directly into the GFCI outlet and observe the small light on the faceplate. A green light confirms power is reaching the unit, while no light or a red light indicates a dead outlet. Do not assume the circuit is fine just because other devices work nearby.
Replace a Dead GFCI Unit
If the light is off, you must replace the entire GFCI outlet rather than attempting a repair. Turn off the main breaker, remove the four screws on the cover, and disconnect the black, white, and ground wires. Install a new $20 GFCI unit from a hardware store and reconnect the wires to the matching terminals.
- Turn off power at the main breaker panel.
- Remove the outlet cover and unscrew the mounting brackets.
- Disconnect the black (hot), white (neutral), and ground wires.
- Connect these wires to the new GFCI outlet terminals.
- Reassemble the housing and restore power to test the washer.
Pro Tip: Install a weatherproof cover if your outlet is located outdoors to prevent moisture from causing future failures.
Inspect Internal Wiring Connections
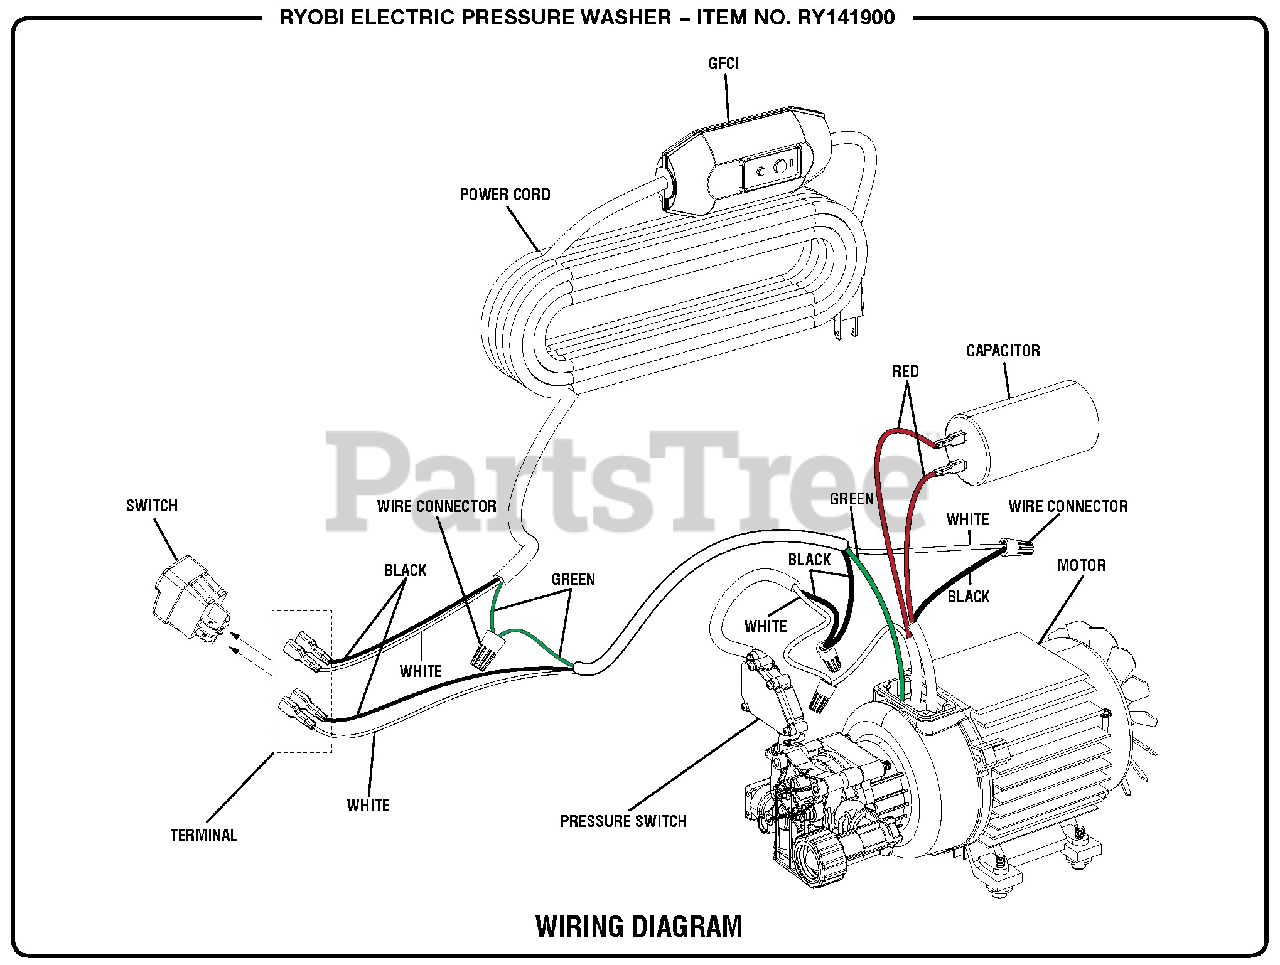
If your GFCI shows a green light but the washer makes no sound and shows no red light, the internal wiring may be reversed. This is a known assembly error in some factory units where the live and neutral wires are swapped at the terminal block.
Access the Terminal Block
You need to open the side panel to reach the electrical components inside the housing. Unplug the unit first, then remove the four screws securing the side panel to expose the internal bridge. Lift off the bridge by removing its two screws to find the terminal block labeled “L” and “N”.
Correct the Wire Placement
Check the position of the black and white wires against the terminal labels to ensure they match the required configuration. The black wire must connect to the “L” (Live) terminal, usually on the right, while the white wire goes to the “N” (Neutral) terminal on the left.
- Disconnect the black and white wires from their current terminals.
- Swap their positions so black is on “L” and white is on “N”.
- Tighten the terminal screws securely to ensure a solid connection.
- Reinstall the internal bridge and side panel screws.
- Plug in the unit to verify both green and red lights illuminate.
Success Signal: If the red light turns on and the motor runs immediately after swapping wires, the wiring was the root cause.
Diagnose Unloader Valve Cycling
Does your machine start, build pressure for a few seconds, shut off, and then restart in a loop? This cycling behavior points directly to a stuck unloader valve that cannot regulate pressure correctly when the trigger is released.
Identify Pressure Cycling Symptoms
Watch for the motor running briefly before cutting out every few seconds while the lights remain on. The unit might work perfectly if you disconnect the high-pressure hose, which isolates the problem to the downstream components. This specific pattern confirms the pump mechanics are fine but the valve is stuck.
Perform the Bypass Test
Disconnect the high-pressure hose from the pump outlet to see if the motor runs continuously without the load. If the motor stays on with the hose removed, the issue lies within the hose, spray gun, or the unloader valve itself.
- Turn off and unplug the pressure washer completely.
- Disconnect the high-pressure hose from the pump outlet port.
- Reconnect the garden hose and power cord to the unit.
- Turn on the water supply and plug in the washer.
- Observe if the motor runs continuously without cycling off.
Free or Replace the Stuck Valve
Try tapping the pump housing near the hose connection with a rubber mallet or screwdriver handle to dislodge debris. If vibration does not stop the cycling, clean the spray gun nozzle and inlet filter before considering a $25 valve replacement.
Fix No-Prime or Low-Flow Issues
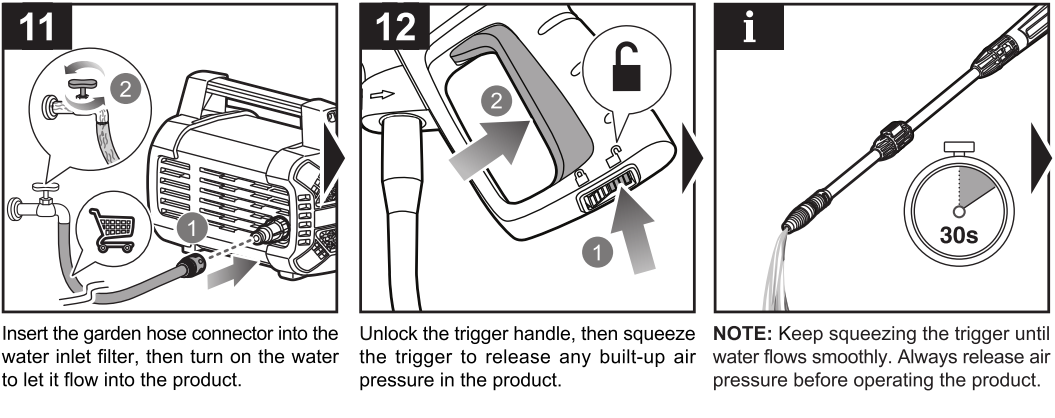
If your washer has power but fails to draw water or build any pressure, mineral buildup is likely blocking the internal passages. Hard water or long storage periods often cause scale that prevents the pump from priming correctly.
Clear Filter and Nozzle Clogs
Start by removing and rinsing the inlet filter located where the garden hose connects to the machine. Flush the high-pressure nozzle under running water and use a thin pin to clear any grit blocking the small opening.
Execute a CLR Descale Flush
Use a Calcium, Lime, and Rust (CLR) solution to dissolve internal scale without taking the pump apart. This method is highly effective for units used with well water or those stored for several months without use.
- Unplug the unit and turn off the water supply completely.
- Tilt the washer on its side to expose the water intake port clearly.
- Fill the soap tank about one-third full with CLR cleaning solution.
- Pour CLR directly into the intake port several times to saturate internal lines.
- Let the solution soak for 3 to 4 hours, or up to 48 hours for heavy buildup.
- Plug in the unit, turn on the water, and attempt to start the washer.
Expert Note: For severe cases, seal the intake with a balloon filled with CLR to create slight pressure that forces the solution deeper into the pump.
Test for Motor Winding Failure
If all previous steps fail and the green LED flickers or dies when you press the start button, you likely have a shorted motor winding. This catastrophic failure means the internal coils are damaged and the motor cannot be repaired safely.
Recognize Irreparable Motor Signs
Look for the green power light to disappear or flicker violently the moment you attempt to start the unit. You will hear no click, no hum, and see no movement from the motor, indicating a complete electrical short within the windings.
Confirm and Replace the Unit
There is no practical fix for shorted windings other than replacing the entire motor assembly, which often costs more than a new machine. Accept that the unit has reached the end of its life and consider purchasing a replacement pressure washer.
- Green light is on when plugged in initially.
- Light flickers or goes out completely upon pressing start.
- No sound or movement occurs from the motor.
- Multimeter testing (if skilled) confirms internal short.
Warning: Do not waste time on wiring or valve fixes if the LED dies on startup, as the motor itself is gone.
Follow the Reset Workflow
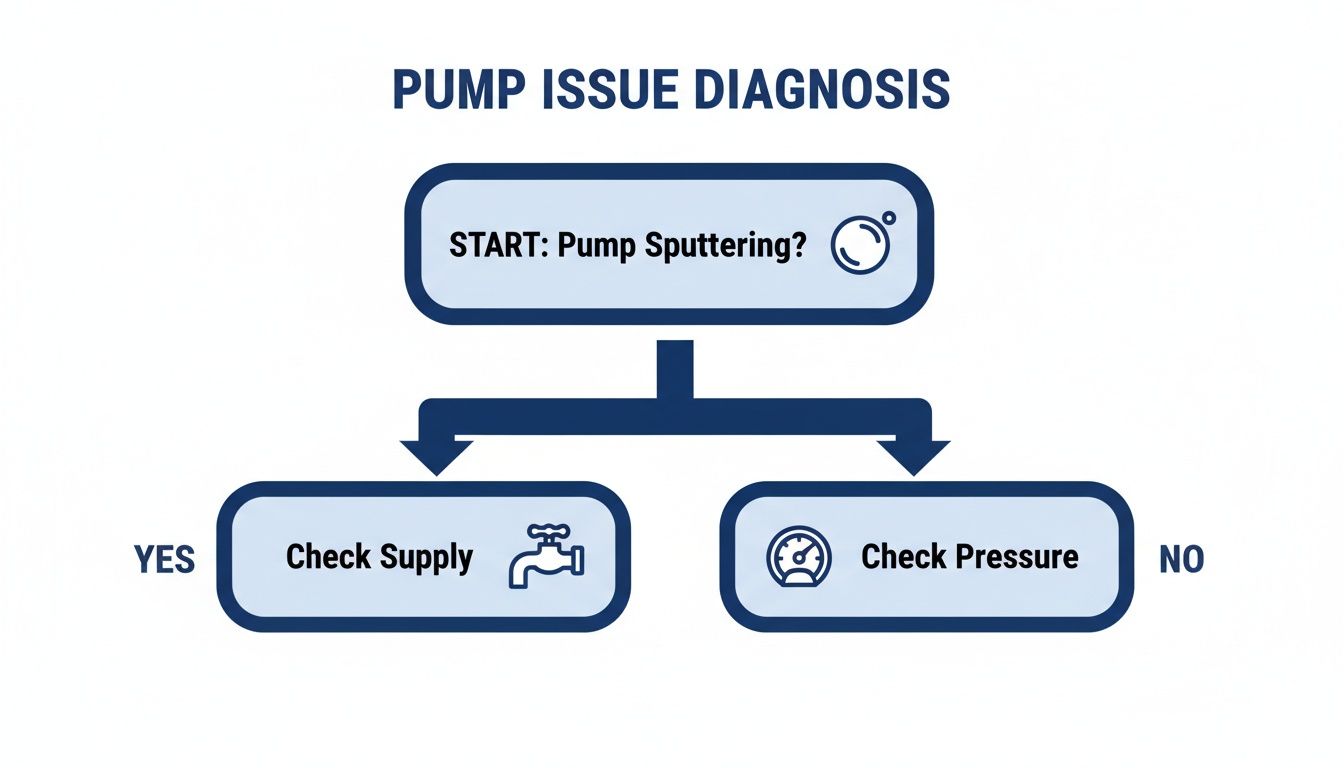
Use this decision tree to diagnose your specific issue quickly without skipping essential steps. Start at the top and move down only if the previous step does not resolve the problem.
Step-by-Step Troubleshooting Tree
- No power at all? Check the GFCI light. If no green light appears, replace the GFCI outlet.
- Green light but no start? If there is no click or red light, check internal wiring for swapped black and white wires.
- Motor hums or LED dies? If the light flickers out on startup, the motor windings are shorted and the unit needs replacement.
- Unit cycles on and off? Disconnect the high-pressure hose. If it runs continuously, clean or replace the unloader valve.
- Runs but no water? Clean all filters and nozzles. If still no prime, perform the CLR flush procedure.
Prevent Future Failures
Avoid repeat issues by adopting simple maintenance habits that protect the electrical and mechanical components. Regular care extends the life of your Ryobi pressure washer significantly.
Store and Maintain Properly
Always flush the system with clean water after every use, especially if you used soap or detergent. Drain all residual water before storage to prevent freezing damage or mineral scaling inside the pump.
- Run clean water through the unit for 10 seconds after each use.
- Store the washer in a dry, shaded area away from direct heat.
- Use a water filter on your garden hose if you have hard water.
- Keep CLR solution on hand for seasonal maintenance flushing.
Frequently Asked Questions About Resetting Ryobi Pressure Washers
Is there a physical reset button on Ryobi pressure washers?
No, Ryobi electric pressure washers do not have a dedicated reset button. You must troubleshoot the GFCI outlet, internal wiring, or unloader valve to restore function.
Why does my Ryobi pressure washer keep turning on and off?
This cycling usually means the unloader valve is stuck, causing pressure to build up and stall the pump. Disconnecting the hose or cleaning the valve often fixes this issue.
How do I know if my Ryobi motor is burnt out?
If the green power light flickers or goes out completely when you press the start button, the motor windings are likely shorted. This indicates a catastrophic motor failure.
Can I use vinegar instead of CLR to clean my pump?
While vinegar is a mild descaler, CLR is specifically formulated to dissolve tough calcium, lime, and rust buildup faster. For severe blockages, CLR is the recommended choice.
How often should I flush my pressure washer with CLR?
If you use well water or hard water, flush the system with CLR every six months. For soft water users, an annual flush is sufficient to prevent internal clogging.
Key Takeaways for How to Reset Ryobi Pressure Washer
Restoring your Ryobi pressure washer requires diagnosing the specific symptom rather than looking for a magic reset button. Most issues resolve by replacing a faulty GFCI outlet, correcting swapped internal wires, or freeing a stuck unloader valve.
Regular maintenance like flushing with CLR and storing the unit dry prevents most common failures. Follow the troubleshooting steps in order to identify your problem and get your washer running like new today.