Pressure Washer Hose Repair Tape Guide
A cracked or bursting hose stops your cleaning project instantly, tempting you to grab pressure washer hose repair tape for a quick fix. While tape might seem like an easy solution, it often fails under the high pressure required for effective washing, leading to dangerous bursts and wasted time.
This guide explains why mechanical repair kits outperform tape and shows you how to install a solid end kit rated for 4,000 PSI. You will learn to diagnose damage accurately, avoid common installation errors, and restore your equipment with a durable, professional-grade solution.
Diagnose Visible Damage on Your Hose
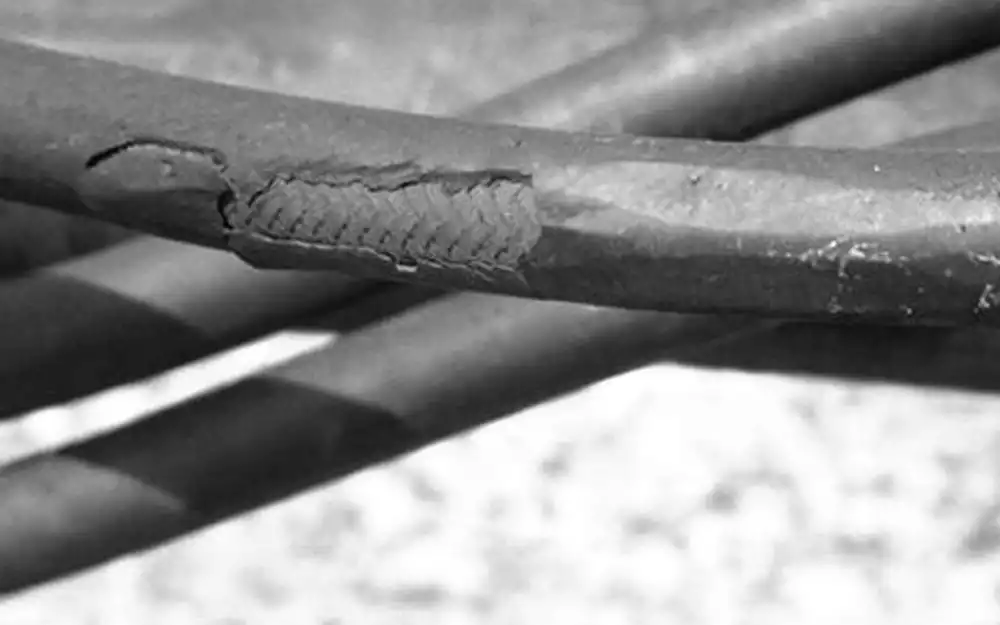
Inspecting your hose thoroughly helps you decide between a temporary patch and a permanent mechanical repair. Ignoring specific signs of wear can lead to sudden equipment failure during operation.
Identify Critical Failure Points
Look closely at your hose for these specific indicators of structural compromise:
* Visible cracks or splits running along the hose length
* Bulges or soft spots that suggest internal liner failure
* Leaking fluid at connections or through the wire braid
* Exposed wire braid caused by outer jacket wear
If the inner tube is compromised, no amount of tape will hold under high pressure. Tape may temporarily cover a small surface nick, but it cannot reinforce structural integrity.
Understand Limitations of Tape Fixes
Standard duct or electrical tape lacks the tensile strength for pressures exceeding a few hundred PSI. Even specialized repair tapes like silicone or fiberglass wraps often fail under sustained loads of 3,000 to 4,000 PSI.
These materials may slow a leak temporarily but will not prevent rupture. For single braid 3/8″ hoses operating at 2,500+ PSI, you should skip the tape and use a rated mechanical repair kit instead.
Select the Correct Repair Kit for Your Hose
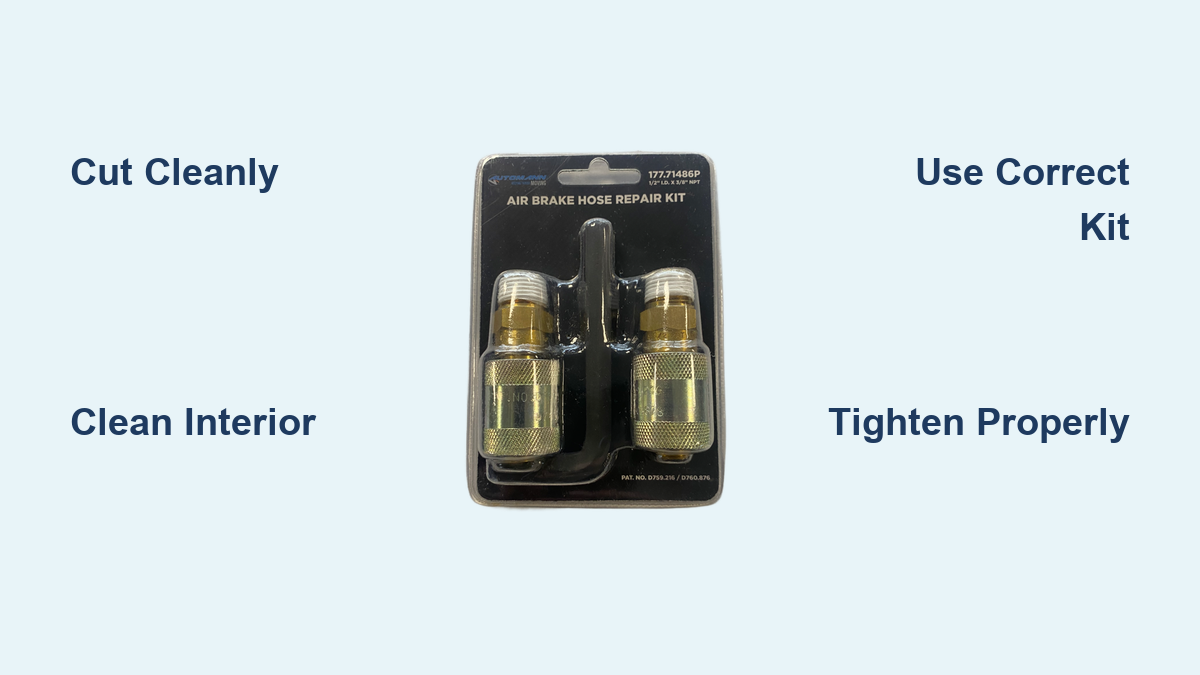
Choosing the right components ensures your repair holds up under stress. The Solid End Pressure Hose Repair Kit is engineered for permanent fixes on specific hose types.
Benefits of Solid End Construction
The Solid End Pressure Hose Repair Kit handles up to 4,000 PSI on 3/8″ single braid hoses. Unlike tape, this kit offers distinct advantages:
* Replaces damaged ends with rigid, leak-proof fittings
* Maintains the full pressure rating of your original hose
* Resists vibration, twisting, and pull-out forces
* Uses a crimp-free installation with threaded assembly
This kit allows you to salvage the good portion of your hose and build a new, functional end without special tools.
Verify Hose Compatibility
Ensure your hose matches the kit requirements before starting. Using the wrong kit leads to immediate failure under pressure.
Check these specifications:
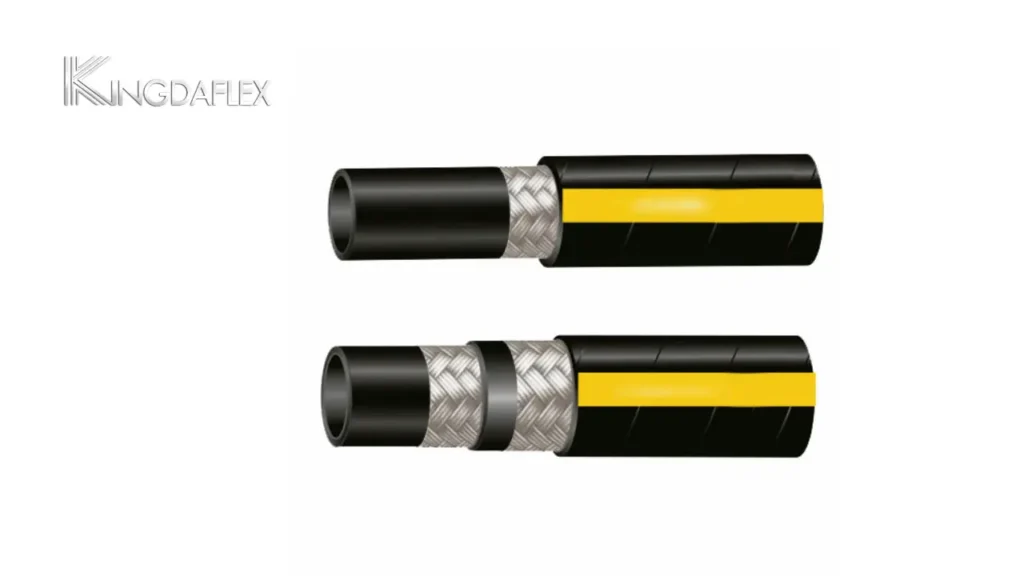
* Hose ID: Must be 3/8″ inner diameter
* Braid Type: Single wire braid only (not double braid)
* Fitting Style: Solid end vs. swivel end (solid is cheaper and less flexible)
Using a single braid kit on a double braid hose causes blowouts because double braid has thicker walls requiring a swivel end kit.
Gather Tools and Prepare Workspace
A clean, dry workspace prevents contamination during the repair process. Gathering your tools beforehand ensures a smooth workflow.
Required Tools List
You will need the following items for installation:
* Utility knife or hose cutter
* Adjustable wrench or flare-nut wrench
* Clean rag or towel
* Isopropyl alcohol for cleaning hose interior
No crimping machine is needed because this kit uses a threaded, mechanical seal system.
Cut the Damaged Section Properly
Follow these steps to prepare the hose end:
1. Relieve system pressure by turning off and disconnecting the pressure washer.
2. Locate the damage and mark the affected zone with tape.
3. Cut cleanly using a sharp blade to make a square, perpendicular cut past the damage.
4. Deburr the inside edge to smooth any sharp ridges that could damage the seal.
Pro Tip: Cut an extra 1/2 inch beyond visible damage because hidden cracks can extend further than they appear. The exposed wire braid should look uniform and not frayed.
Install the Solid End Repair Kit
Proper assembly ensures a secure, leak-free connection that lasts. Follow these steps carefully to install your new hose end.
Insert the Stem Fitting
Begin the assembly process with these actions:
1. Slide the outer nut onto the hose with the threaded side first.
2. Insert the stem fitting into the hose end until it is seated fully.
3. Ensure no gaps exist between the hose and fitting by pushing firmly.
The rubber sleeve expands inside to seal against the inner tube. If the stem does not seat easily, the hose may be too stiff. Soak the end in warm water for 2 minutes to soften the rubber.
Secure the Connection Tightly
Finish the mechanical assembly with these steps:
1. Slide the compression sleeve over the hose end.
2. Thread the outer nut onto the stem fitting.
3. Tighten with a wrench but do not over-tighten.
Your target torque is hand-tight plus a quarter to half turn with a tool. Overtightening crushes the seal and causes leaks, so use moderate, even pressure.
Test the Repair Before Use
Verify your work before returning to full cleaning tasks:
1. Reconnect the hose to your pressure washer.
2. Slowly pressurize the system while watching the repair point closely.
3. Check for drips, spray, hose movement inside the connector, or unusual bulging.
If the repair holds at full pressure for one minute, it is safe to use.
Avoid Common Installation Mistakes
Even experienced users make errors that lead to early failure. Awareness of these pitfalls saves time and money.
Using the Wrong Hose Type
Never use a single braid kit on a double braid hose. Double braid hoses have thicker walls and require a swivel end kit. Mismatched parts will blow out under load.
Poor Cut Quality and Dirty Surfaces
Angled or jagged cuts prevent proper seal seating. Always cut straight across with a sharp blade. Additionally, dirt, oil, or old rubber debris interfere with sealing. Wipe the inside of the hose with alcohol before inserting the stem.
Over-Tightening the Nut
More torque does not equal a better seal. Excessive force damages the internal O-ring and leads to leakage. Use moderate, even pressure to secure the fitting.
Evaluate When Tape Is Acceptable
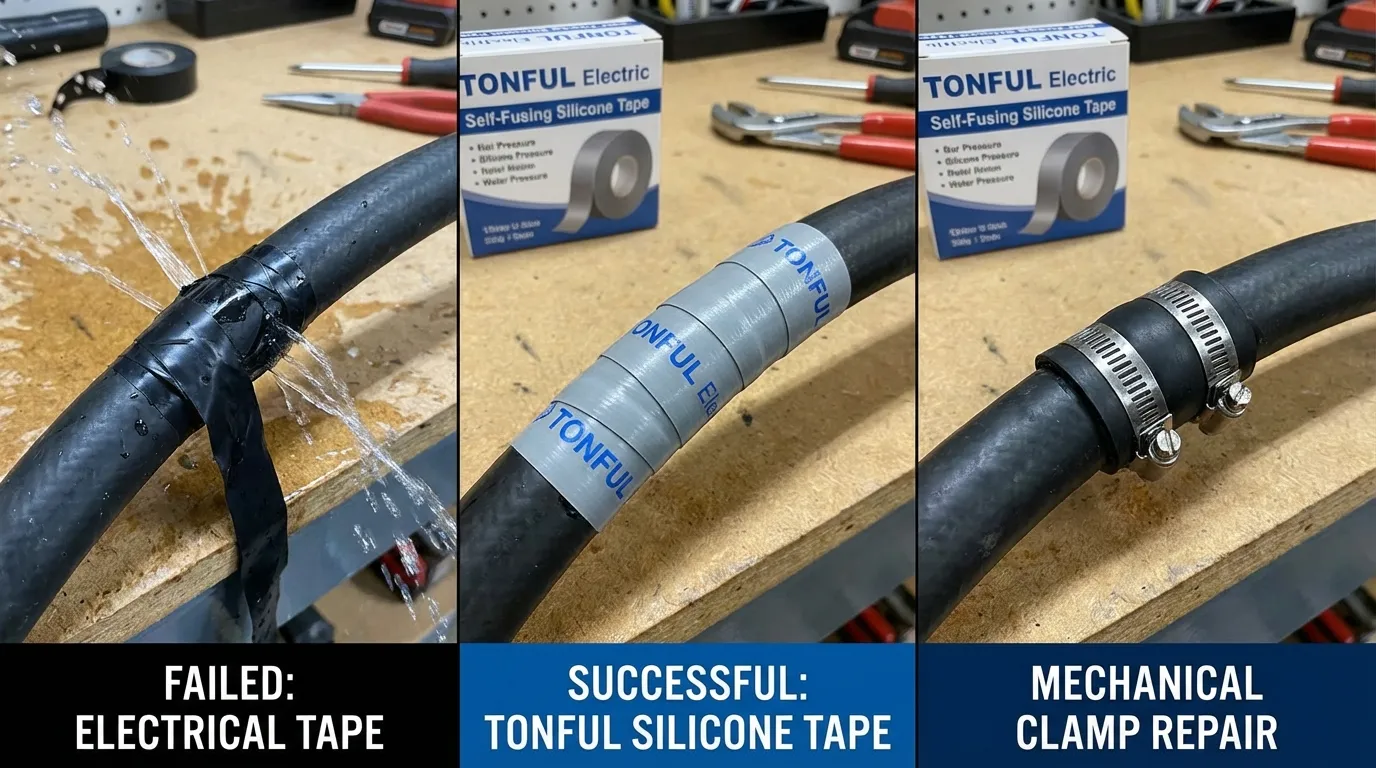
While not recommended for permanent fixes, tape has very niche uses in emergency situations.
Emergency Leak Patching Only
For small pinhole leaks during field work, you might use fiberglass self-fusing tape. Dry the area completely and wrap tightly with five or more layers, stretching each wrap to activate bonding.
This may last a few hours at low pressure but is not a substitute for replacement or repair.
Temporary Protection Limits
Use tape only to cover a minor abrasion until you can perform a proper repair. It prevents further jacket wear but does not fix structural issues.
Never rely on tape for ends near fittings, high-pressure zones, or hoses over 2,000 PSI.
Extend Hose Life After Repair
A repaired hose can last for years with proper care and maintenance.
Prevent Physical Damage
Always unroll the full hose before use. Never drive over it or pinch it in a door. Kinks weaken the inner liner and braid, leading to premature failure.
Store Equipment Properly
Follow these storage guidelines:
* Hang on a wall-mounted reel or wide-diameter spool
* Keep out of direct sunlight since UV degrades rubber
* Avoid freezing temperatures and drain water after use
Cold makes rubber brittle while heat accelerates aging. Inspect your hose monthly for wear at connection points, cracks near bends, or discoloration.
Upgrade Your Cleaning Setup
Consider building a custom-length hose using the same repair kit. Cutting down a long, damaged hose and re-ending it fits your typical job size.
This reduces drag and weight, minimizes kinks, and makes storage easier. Pair your repair with brass quick couplers for fast connects and disconnects without leaks.
Frequently Asked Questions About Pressure Washer Hose Repair Tape
Can pressure washer hose repair tape fix a burst hose permanently?
No, tape cannot permanently fix a burst hose because it lacks the tensile strength for high PSI. Mechanical repair kits are required for lasting results on hoses operating above 2,000 PSI.
What PSI rating does the Solid End Repair Kit support?
The Solid End Pressure Hose Repair Kit supports up to 4,000 PSI working pressure. It is designed specifically for 3/8″ single braid pressure washer hoses.
Do I need special tools to install the repair kit?
No special tools are required for installation. You only need a utility knife, a clean rag, isopropyl alcohol, and an adjustable wrench to tighten the fitting.
Can I use this kit on a double braid hose?
No, this kit is for single braid hoses only. Double braid hoses have thicker walls and require a swivel end repair kit to function safely under pressure.
How long does shipping take for the repair kit?
Most orders arrive within 5 to 10 business days via UPS. Direct-from-manufacturer items may take up to 14 business days, and you will be notified of delays.
What if the repair kit does not fit my hose?
Contact the support team at 1-800-433-2113 for help confirming sizing and compatibility. Unused products in original packaging can be returned within 30 days of delivery.
Key Takeaways for Fixing Your Pressure Washer Hose
Relying on pressure washer hose repair tape often leads to failure because tape cannot withstand the high pressures of professional cleaning equipment. A mechanical solid end repair kit provides a durable, safe, and cost-effective solution for 3/8″ single braid hoses up to 4,000 PSI.
Proper installation involves cutting the hose cleanly, cleaning the interior, and tightening the fitting without over-torquing. Avoid common mistakes like using the wrong kit type or skipping the cleaning step to ensure a leak-free repair.
Take action today by inspecting your hose for damage and selecting the correct repair kit for your specific model. For expert assistance in choosing the right parts, call the support team at 1-800-433-2113 to get your project back on track immediately.