How to Pressure Wash Vinyl Fence
A dingy vinyl fence can make even the most beautiful yard look neglected. Mildew, algae, and grime build up over time, turning bright white panels gray and dull. The good news? You don’t need to spend an entire weekend scrubbing by hand. Learning how to clean vinyl fence with pressure washer equipment the right way delivers professional results in a fraction of the time.
This guide breaks down the exact chemical-plus-pressure method contractors use to restore 600 feet of fencing in just three hours. You’ll discover which cleaners actually work, how to protect your landscaping, and the simple technique that eliminates scrubbing entirely.
Choose the Right Vinyl-Safe Cleaner

Skip Bleach and Harsh Chemicals
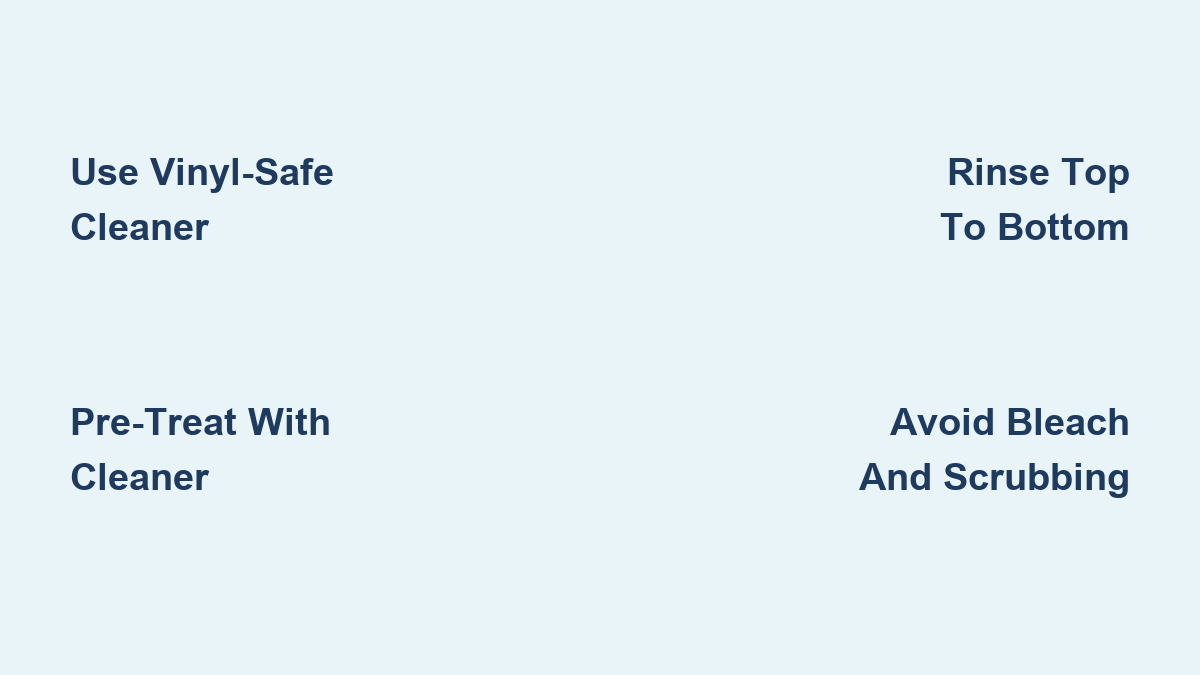
Bleach may seem like a quick fix for mold, but it degrades vinyl over time. Repeated use causes brittleness, fading, and surface cracking. Always choose a pH-balanced cleaner specifically formulated for vinyl fencing.
Top-Performing Cleaner Options
Two products consistently deliver outstanding results on vinyl surfaces:
- HouseWorks: A professional-grade formula used by contractors for large commercial jobs. It breaks down organic buildup fast and rinses clean without residue.
- Mold Armor: A retail-available option on Amazon that delivers comparable results at a lower cost. Ideal for homeowners tackling typical residential fences.
Both products activate on contact, turning brown as they dissolve mildew, dirt, and embedded grime. This color change is your visual confirmation that the chemistry is working.
Add a Degreaser for Tough Conditions
For fences near driveways, roadways, or heavily shaded areas, mix in a light degreaser. This additive helps the cleaner cling to vertical surfaces longer and cuts through oil-based contaminants that water alone cannot remove. Use it only when needed for routine maintenance.
Gather Your Equipment
Pressure Washer Setup
An electric pressure washer handles most residential vinyl fence jobs effectively. Gas models deliver more power but increase the risk of surface damage if held too close. Pair your washer with a 25° or 40° nozzle tip for safe, controlled rinsing.
Application Tools
A pump-up sprayer covers large areas faster and more evenly than a spray bottle. Reserve the spray bottle for small touch-ups or detail work. A soft-bristle brush is optional but useful for stubborn corners or textured panels.
Landscape Protection
Cover nearby plants, shrubs, and garden beds with a tarp or plastic sheeting before spraying. Even vinyl-safe cleaners can harm foliage if left on too long. Wetting plants beforehand adds an extra layer of protection by reducing chemical absorption.
Prep the Work Area
Clear Access Around the Fence
Move lawn furniture, potted plants, and any obstacles away from the fence line. Full access to both sides ensures no missed spots. Trim back overgrown vines or branches that block sections of the panels.
Set Up Your Equipment
Fill the pressure washer’s detergent reservoir with the selected cleaner. For systems without onboard tanks, use the pump sprayer for initial application. Test the spray pattern on a small, hidden area to confirm even coverage and proper pressure.
Apply Cleaner in Two Stages
Stage One: Pre-Treat with Pressure Washer
Apply the cleaner directly through the pressure washer’s soap setting. Work in 10- to 15-foot sections, spraying from bottom to top to prevent premature runoff. Move continuously rather than waiting for the cleaner to dwell on each spot.
This staggered approach lets the chemical begin breaking down grime while you treat adjacent areas. Watch for the brown color change that confirms the product is actively dissolving organic buildup.
Stage Two: Reinforce with Concentrated Mix
Switch to a pump sprayer filled with a stronger concentrated blend (cleaner plus light degreaser). Respray the entire fence, focusing extra attention on:
- Shaded zones with visible mildew
- Sun-exposed areas with baked-on grime
- Fence posts and corners where dirt collects
For heavily soiled fences, allow this second coat to sit 5 to 10 minutes. Extended dwell time maximizes penetration and loosens stubborn residues.
Follow Proper Dwell Time Guidelines
The cleaner needs time to work, but letting it dry on the surface causes problems. Use these benchmarks:
- Routine cleaning: 3 to 5 minutes
- Heavy soil or algae: 5 to 10 minutes
- Direct sun exposure: Stick to 5 minutes maximum
- Shaded areas: Up to 10 minutes for full mildew breakdown
If the solution starts to dry, mist it lightly with water to reactivate the chemistry.
Rinse from Top to Bottom
Use One Smooth Continuous Pass
After dwell time, switch to a high-pressure tip (25° or 40°). Begin at the top of each section and rinse downward in a single, continuous motion. Gravity carries loosened debris away from cleaned areas, preventing re-deposition.
Hold the wand 12 to 18 inches from the surface. Too close risks etching the vinyl; too far reduces pressure effectiveness. Maintain a steady pace and avoid lingering on any single spot.
Inspect for Streaks or Missed Spots
Step back and examine the fence under natural light. Look for cloudy patches, dark streaks, or specks near joints and caps. Spot-treat any remaining problem areas with cleaner and rinse again. Most fences come completely clean in one full pass when pre-treated properly.
Touch Up Stubborn Areas
Use a Soft Brush When Needed
While the no-scrub method handles 95% of jobs perfectly, some areas may need light intervention. For corners, lattice tops, or textured panels, use a soft-bristle brush to gently agitate the surface after reapplying cleaner. Never use steel wool or abrasive pads on vinyl.
Re-Rinse Immediately After Brushing
Delayed rinsing can leave residue or cause uneven drying. Focus the spray slightly above the brushed zone so water flows downward, carrying loosened debris away from cleaned surfaces.
Maintain Your Fence Yearly
Schedule Annual Cleanings
Vinyl fences should be cleaned once per year to prevent deep buildup. In humid or shaded environments, consider twice-yearly maintenance. Regular cleaning using this method takes under an hour for most homes, making annual upkeep easy to maintain.
Prevent Future Algae Growth
Reduce future mildew problems with these simple steps:
- Trim trees and bushes to improve airflow around the fence
- Keep gutters clean to prevent water runoff staining panels
- Avoid planting ivy or climbing vines directly on the fence
These steps minimize moisture retention, the primary cause of mildew and algae.
Avoid Common Pressure Washing Mistakes
Never Hold the Nozzle Too Close
Even on low pressure, holding the wand within 6 inches can damage vinyl surfaces. Always maintain 12 to 18 inches of distance and use a sweeping motion. Test on a hidden area first if you’re unsure about pressure settings.
Skip the Scrubbing Unless Absolutely Necessary
One of the biggest advantages of this method is zero scrubbing required. Over-scrubbing increases the risk of swirl marks and premature surface wear. Trust the chemistry and let the cleaner do the heavy lifting.
Don’t Re-Clean the Whole Fence for Small Spots
If you spot minor streaks during final inspection, treat only those areas. Re-cleaning the entire fence wastes time, water, and product.
Compare Cleaning Methods
| Method | Time for 600 ft | Labor Level | Scrubbing Required? |
|---|---|---|---|
| Traditional (hose + scrub brush) | 16+ hours | High | Yes |
| DIY pressure wash (no pre-treat) | 6 to 8 hours | Medium | Partial |
| No-scrub professional method | 3 hours | Low | No |
The no-scrub approach isn’t just faster. It delivers more consistent results with far less physical effort.
Restore Faded Vinyl Appearance
Understand Why Vinyl Fades
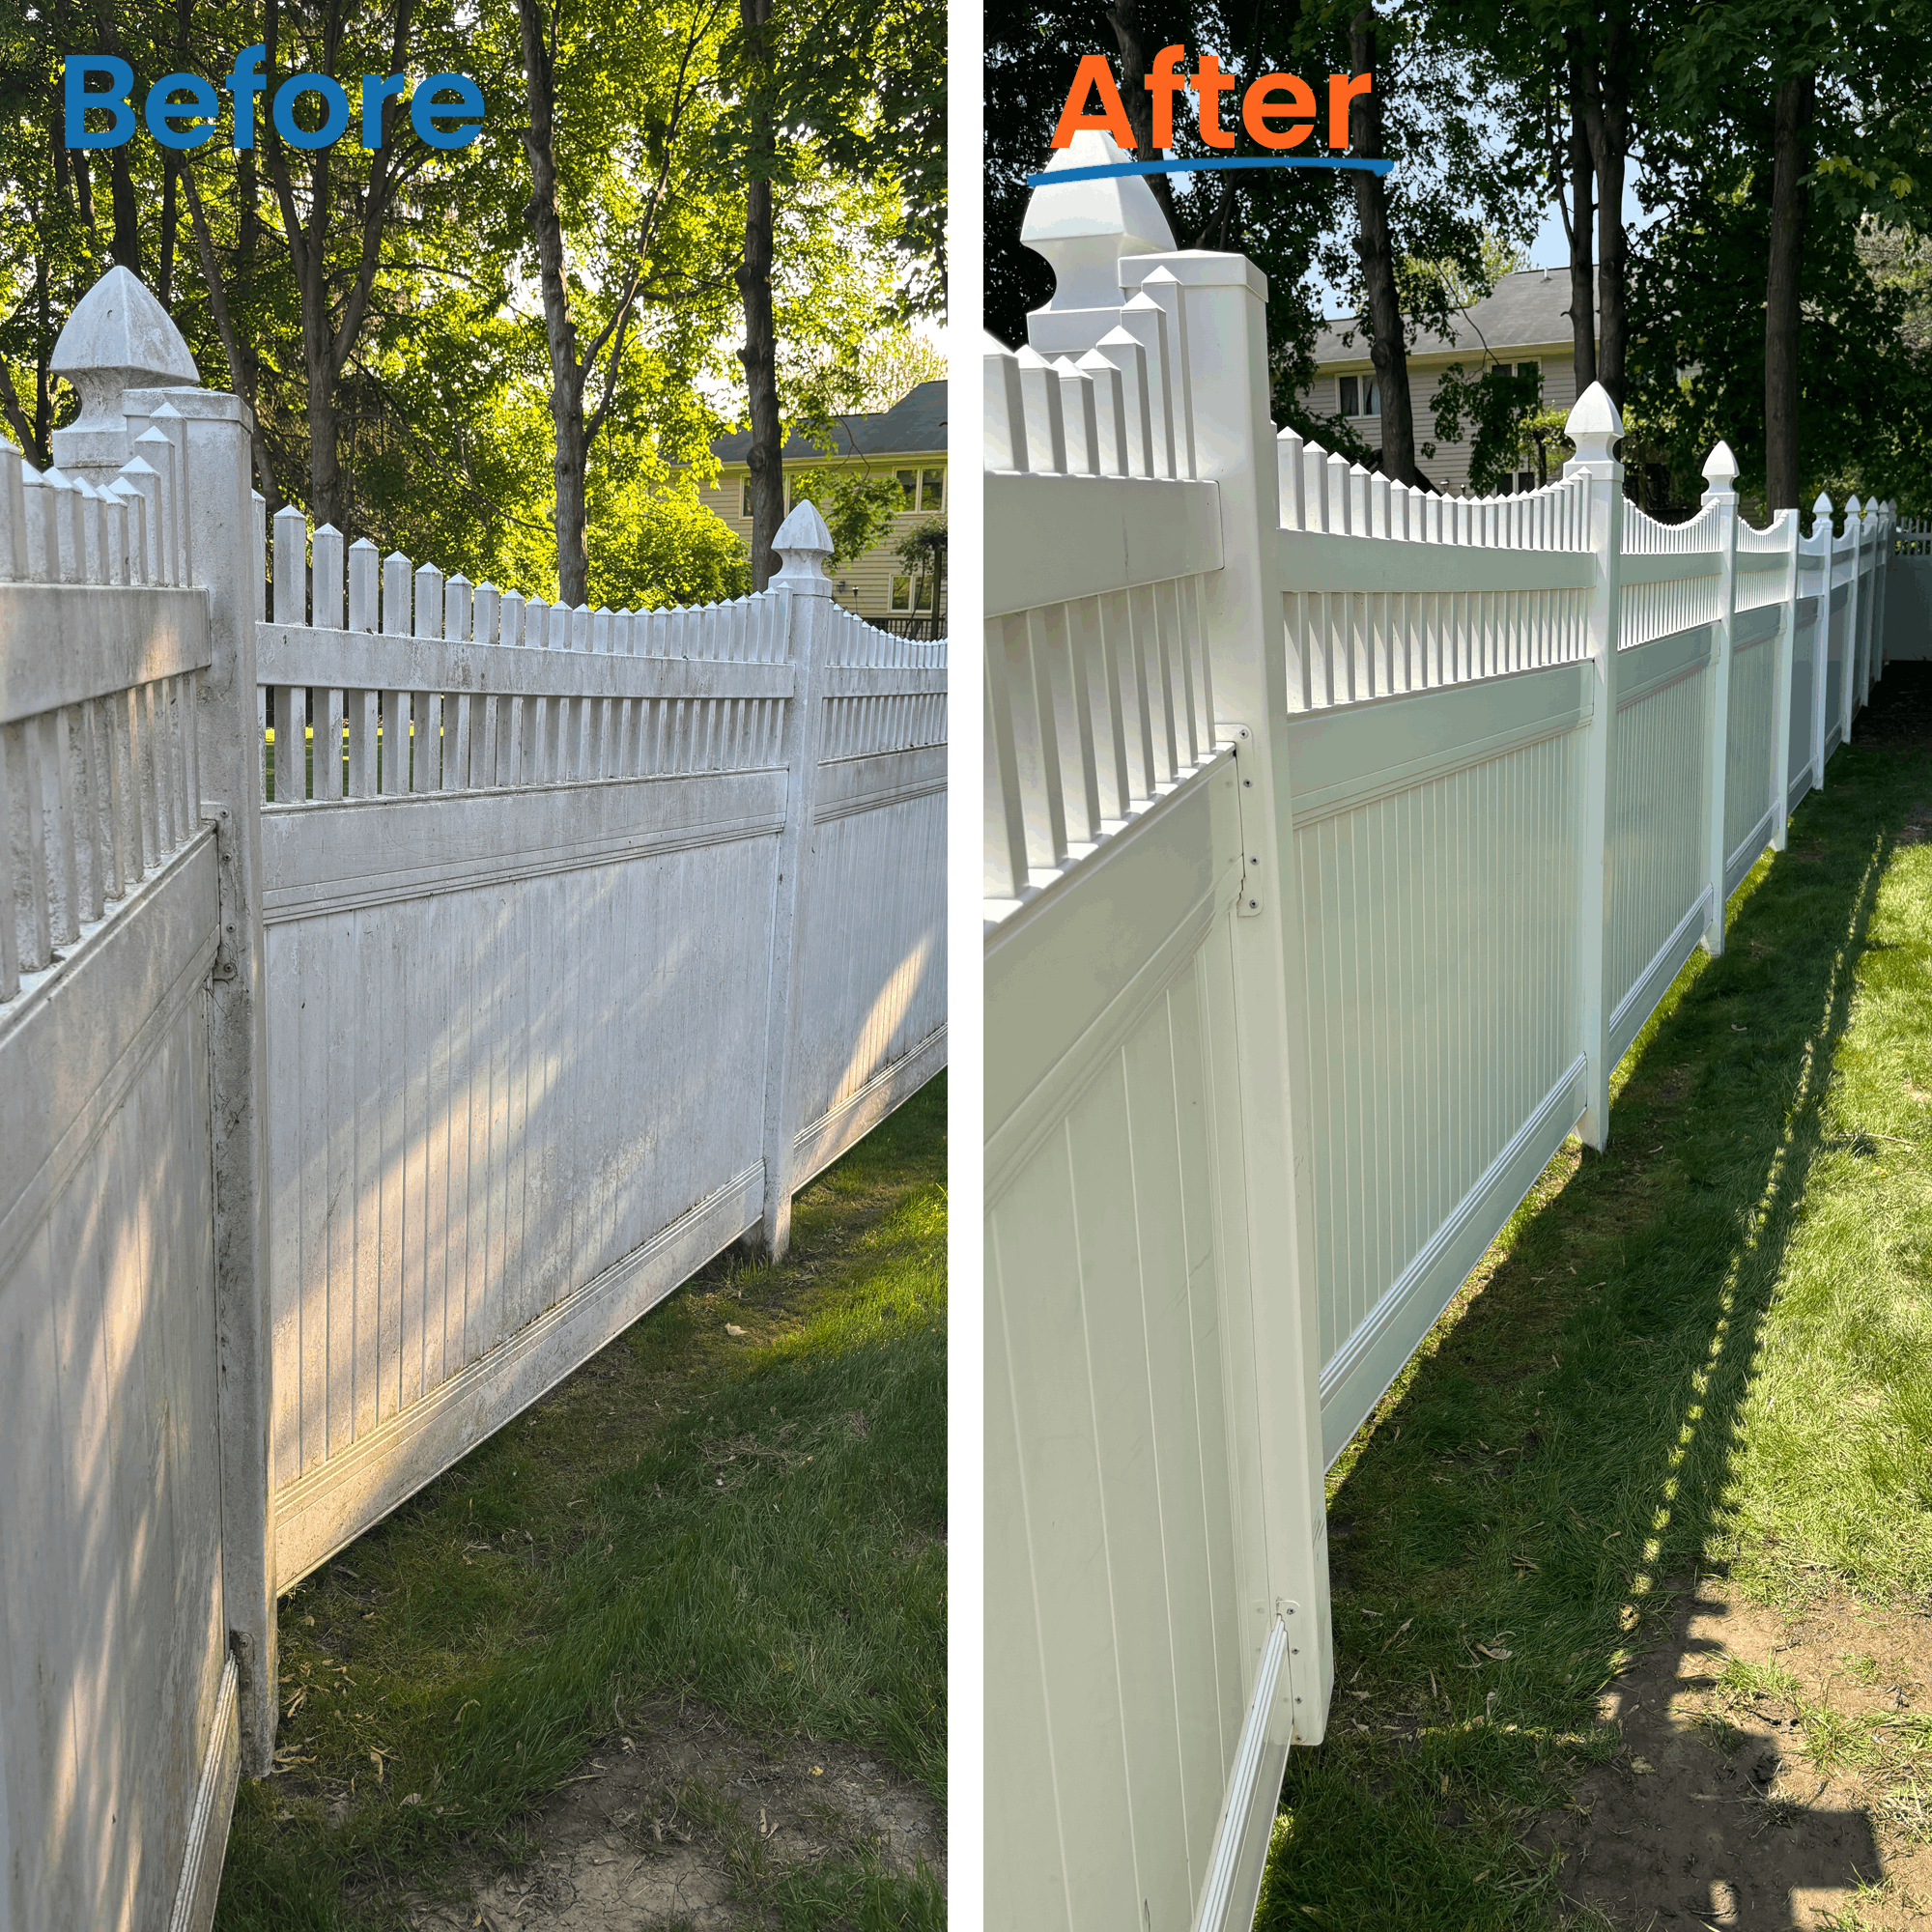
UV exposure breaks down the protective outer layer on white and colored vinyl over time. This causes dullness and yellowing that cleaning alone cannot reverse. However, a deep clean often reveals the original color hiding beneath oxidized surface layers.
Consider UV-Protective Coatings
After cleaning, some homeowners apply a vinyl protectant with UV blockers to slow future fading. These sprays are optional but can extend the life of your fence’s appearance. Always test on a small area first to ensure no residue or stickiness.
Frequently Asked Questions About Cleaning Vinyl Fences with a Pressure Washer
Can you pressure wash a vinyl fence without damaging it?
Yes, you can safely pressure wash a vinyl fence when you maintain 12 to 18 inches of distance, use a 25° or 40° nozzle tip, and avoid lingering on any single spot. Electric pressure washers are ideal for residential jobs because they deliver sufficient cleaning power without the excessive force of gas models.
What is the best cleaner to use on a vinyl fence?
The best cleaners for vinyl fences are vinyl-specific, pH-balanced formulas like HouseWorks or Mold Armor. Both products break down mildew, algae, and organic buildup without degrading the vinyl surface. Avoid bleach and harsh chemicals, which cause brittleness and discoloration over time.
How often should you clean a vinyl fence?
Clean your vinyl fence at least once per year to prevent deep grime buildup. In humid climates, shaded areas, or locations near heavy vegetation, consider cleaning twice yearly. Annual maintenance using the no-scrub method typically takes under an hour for most homes.
Do you need to scrub a vinyl fence if you use a pressure washer?
No, scrubbing is not necessary when you use the proper chemical pre-treatment method. Applying a vinyl-safe cleaner, allowing appropriate dwell time, and rinsing with a pressure washer removes virtually all dirt and mildew without manual scrubbing. A soft brush is only needed for occasional touch-ups on textured panels or corners.
Will a pressure washer remove mildew from vinyl fencing?
Yes, a pressure washer combined with a vinyl-safe cleaner like Mold Armor effectively removes mildew from vinyl fencing. The cleaner breaks down the organic growth during dwell time, and the pressure washer rinses it away completely in a single pass. For heavy mildew, allow 5 to 10 minutes of dwell time before rinsing.
Can you use bleach in a pressure washer on a vinyl fence?
You should avoid using bleach on vinyl fences, even when diluted. Bleach degrades the vinyl surface over time, causing brittleness, fading, and cracking. Use a dedicated vinyl-safe cleaner instead for better results and long-term surface protection.
Key Takeaways for Pressure Washing Your Vinyl Fence
Cleaning a vinyl fence with a pressure washer does not mean blasting it with maximum force. The real secret is chemical pre-treatment combined with low-effort rinsing. Using a vinyl-safe cleaner like Mold Armor or HouseWorks, applying it in two stages, and rinsing once delivers professional results in a fraction of the time.
This method saves hours of labor, protects your landscaping, and keeps your fence looking new for years. For best results, clean annually, always cover nearby plants before spraying, and maintain 12 to 18 inches of distance between the nozzle and the vinyl surface. Start by gathering your supplies, choosing a vinyl-safe cleaner, and setting aside a single afternoon. Your fence will look freshly installed by the time you finish.