How to Fix Washing Machine Inlet Valve
Is your washing machine taking forever to fill or not filling at all? A faulty water inlet valve is one of the most common culprits behind slow filling, no water flow, or continuous overfilling. This small but critical component controls how hot and cold water enter your washer, and when it fails, your laundry routine grinds to a halt.
The good news is you do not need to replace the entire machine or even the whole valve in many cases. With basic tools and a repair kit costing less than $10, you can fix the problem yourself in under an hour. This guide walks you through diagnosing the issue, cleaning components, repairing or replacing the inlet valve, and preventing future failures.
Diagnose Inlet Valve Problems Before Repairs
Before grabbing tools, confirm the issue lies with the inlet valve and not the water supply, pressure switch, or control board. Misdiagnosis leads to wasted time and money. Start with observable symptoms and simple checks.
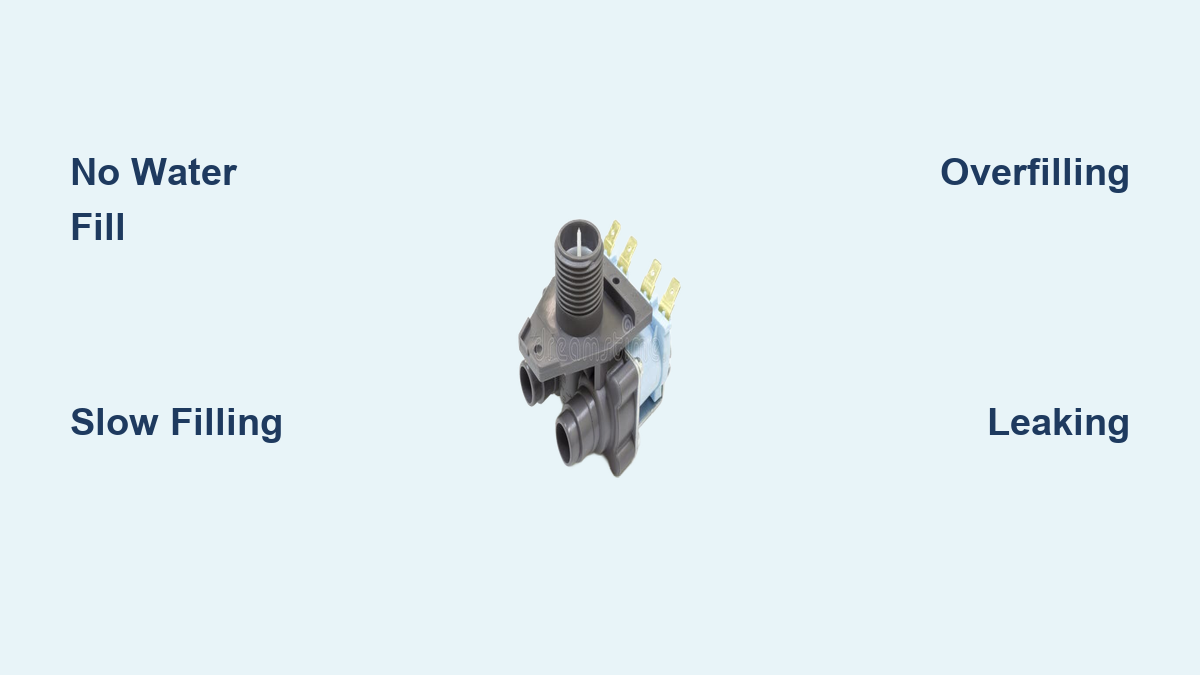
No Water or Slow Filling
If your washer is not filling or takes significantly longer than usual, check these items first.
• Check water supply valves: Ensure both hot and cold shutoffs at the wall are fully open.
• Inspect supply hoses: Look for kinks, crushing, or sediment buildup.
• Listen for a click: When starting a cycle, you should hear a distinct click from the back of the machine. This is the solenoid activating. No click indicates an electrical issue.
If water trickles in slowly, the inlet filter screen is probably clogged with sand, rust, or mineral deposits. If no water enters at all, the solenoid coil may be burned out or the diaphragm could be stuck.
Washer Overfills or Leaks
Continuous water flow after the cycle ends points to a valve that will not seal. This dangerous condition can cause flooding. Immediate causes include a stuck-open plunger, a lost or weak return spring rated for 60 to 80 psi, or a torn diaphragm or degraded rubber seals. Shut off water immediately if overfilling occurs and do not restart until the valve is inspected.
Only Hot or Cold Water Works
Dual-valve systems have separate solenoids for hot and cold lines. If only one temperature fills, test each coil independently. A failed coil on one side will block that water stream while the other works normally.
Common Failure Causes to Identify

Most inlet valve problems stem from just a few root causes. Pinpointing the cause saves time and determines whether repair or full replacement is needed.
Clogged Filter Screens and Micro-Channels
Debris like sand, rust, and calcium carbonate from hard water accumulate in the cone-shaped filter basket inside the hose fitting, the micro-holes in the diaphragm that equalize pressure, and internal slits and restrictors. Even partial blockages disrupt the hydraulic balance, preventing the valve from opening fully. Clean these parts regularly every 3 to 6 months in hard water areas.
Diaphragm Tears and Rubber Degradation
The rubber diaphragm is the heart of the valve. Over time, it develops central rips from abrasion, side tears from flexing, and brittleness from chemical exposure. A damaged diaphragm cannot create a proper seal, leading to leaks or incomplete closure. Visually inspect it during disassembly and look for cracks, hardening, or loss of elasticity.
Solenoid Coil Burnout
The electromagnetic coil opens the valve when energized. If it burns out, the valve stays closed. Test with a multimeter by disconnecting power and removing wires, setting the meter to ohms, and touching probes to coil terminals. A normal reading falls between 500 and 1,500 ohms. Infinite resistance indicates a dead coil. Dual-valve units have two coils, so test both separately.
Chloramine Damage: Silent Killer of Rubber Parts
Many municipal water systems use ammonium chloramine instead of chlorine. While effective for disinfection, it aggressively attacks rubber components. Diaphragms crack within 2 years, seals become brittle and leak, and users report chlorine-like odors during operation. If you are replacing diaphragms frequently, chloramine is likely the cause. Install a whole-house carbon filter to neutralize it.
Access the Inlet Valve Safely
Before touching any components, follow strict safety steps to avoid electrical shock or water damage.
Shut Off Power and Water
- Unplug the washer. Do not rely on turning off the control panel.
- Close both hot and cold water valves at the wall.
- Move the machine away from the wall for rear access.
- Place towels or a shallow tray under hose connections to catch residual water.
Remove Top or Rear Panel
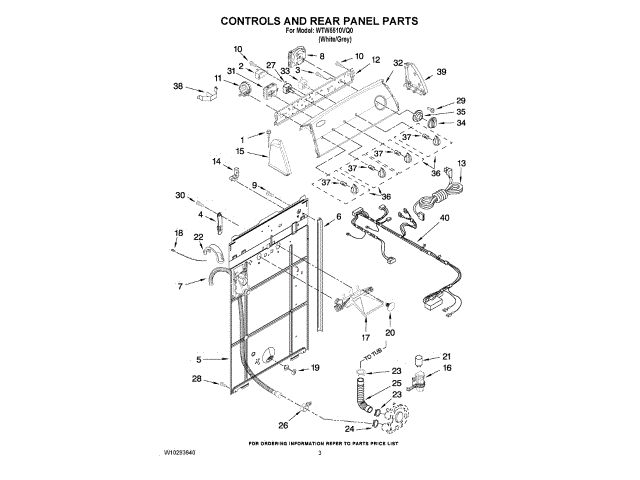
Access varies by model. Front-loaders require removing the top panel with screws at the back. The valve is mounted near the upper rear. Top-loaders some allow direct rear access while others require releasing the lid. Use a flathead screwdriver to press two front release tabs under the lip. The general method involves removing five screws from the rear panel, gently releasing side clips, and setting the panel aside.
Remove and Inspect the Valve
With access gained, disconnect and remove the valve for detailed inspection.
Disconnect Water and Electrical Lines
- Use channel-lock pliers to loosen hot and cold supply hoses. Turn counterclockwise and do not force it.
- Disconnect the internal hose from the valve spout. Slide the clamp off if present.
- Carefully unplug electrical connectors from solenoid terminals. Mark wires with tape or a knot to ensure correct reconnection later.
Unscrew Mounting Hardware
Remove the two screws securing the valve to the back panel. Gently pull the valve forward and out of its housing. Now inspect the filter basket for clogs, the valve body for cracks or plastic flaking, the diaphragm for tears, and the coil terminals for corrosion.
Repair Instead of Replace When Possible
Many valves especially in Whirlpool, Electrolux, and Wascomat models are serviceable. Repair kits cost $7 to $10 and include a new diaphragm, return spring, plunger with rubber tip, and inlet fitting seal. Replacing internal parts is faster and far cheaper than buying a new valve.
Disassemble the Valve Housing
- Remove the inlet fitting by gripping the tab with pliers, rotating a quarter turn counterclockwise, and pulling straight out.
- Clean the filter basket by rinsing under running water. Soak in vinegar solution if mineral-heavy.
- Open the outer housing by wrapping blue painter’s tape around the body for grip and turning counterclockwise to unscrew.
- Extract the internal parts including the diaphragm, spring, and plunger.
Replace Worn Components
Install new parts in reverse order. The diaphragm sits flat without pinching. The plunger moves freely through the spring. The rubber seal goes into the inlet fitting groove. Reattach the housing by turning clockwise until snug. Do not over-tighten.
Test and Reinstall the Valve
Before reassembling the machine, verify the repair works.
Reconnect and Reinstall
- Push the inlet fitting firmly into place. No tools are needed.
- Reattach electrical connectors, matching the original orientation.
- Slide the valve back into position.
- Secure with two screws and hand-tighten only.
- Reconnect water hoses and the internal hose.
- Reattach the rear panel and screws.
Run a Test Cycle
Turn on water slowly to purge air. Plug in the machine and run a short rinse cycle. Monitor for full water entry in both temperatures, no leaks, and complete shutoff at cycle end. Success means the washer fills normally, stops on time, and shows no drips.
Prevent Future Inlet Valve Failures
A repaired valve will not last long without maintenance, especially in harsh water conditions.
Clean Filters Every 6 Months
- Shut off water and power.
- Disconnect hoses.
- Remove and scrub the filter basket with a soft brush and vinegar.
- Rinse and reinstall.
Upgrade for Chloramine Resistance
If your water contains chloramine, install a whole-house activated carbon filter. Replace rubber parts with EPDM or Viton seals if available. Consider upgrading to a brass-body inlet valve for better durability.
Maintain Water Pressure
The ideal range is 20 to 120 psi. Too high pressure installs a pressure regulator. Excessive pressure forces debris past filters and stresses seals.
Know When to Replace the Entire Valve
Repair is not always the answer. Replace the full unit if the housing is cracked or brittle, plastic is flaking internally, electrical connectors are corroded, both coils show open circuits, or you have repaired it multiple times recently. Full replacement ensures reliability and often comes with a 1-year warranty.
Quick Troubleshooting Reference
Use this table to match symptoms to solutions.
| Symptom | Likely Cause | Fix |
|---|---|---|
| No fill | Burnt coil or closed valve | Test coil and check supply |
| Slow fill | Clogged filter or micro-holes | Clean valve or replace |
| Overfilling | Stuck diaphragm or lost spring | Repair or replace valve |
| Leaks at back | Loose fittings or bad seals | Tighten or replace O-rings |
| One temp missing | Failed single coil | Test and replace valve |
| Chlorine smell | Chloramine in water | Install carbon filter |
When to Call a Professional Technician
DIY is great but know your limits. Seek professional help if you are uncomfortable with electrical testing, the valve is sealed and non-serviceable, control board issues are suspected, water quality problems persist, or you have had repeated failures. Certified technicians can diagnose cross-system faults and install long-term fixes like filtration systems.
Key Takeaways for Successful Inlet Valve Repair
Always match replacement valves to the original model number. Repair when possible because it is eco-friendly and saves money. Replace when damaged to avoid flooding risks. Inspect seals annually even if no issues appear. Use HE detergent to reduce residue buildup. Mastering washing machine inlet valve repair puts you in control. You will avoid costly service calls, extend your appliance life, and keep laundry day running smoothly no matter the water conditions.
Fix it right, maintain it well, and your washer will keep working like new for years to come.
Frequently Asked Questions About Washing Machine Inlet Valve Repair
How do I know if my washing machine inlet valve is faulty?
Common signs include slow filling, no water filling at all, continuous water flow after the cycle ends, leaking at connections, or only hot or cold water working. Listen for a click when the cycle starts. No click suggests an electrical problem with the solenoid.
Can I repair a washing machine inlet valve myself?
Yes, many inlet valves are serviceable. Repair kits costing $7 to $10 include a diaphragm, spring, plunger, and seals. You will need basic tools like pliers, a screwdriver, and a multimeter. Most repairs take under an hour for DIYers comfortable with basic appliance work.
What causes a washing machine inlet valve to fail?
The most common causes are clogged filter screens from debris and mineral buildup, diaphragm tears or rubber degradation, solenoid coil burnout, and chloramine damage from municipal water supplies. Regular maintenance and water quality management help prevent failures.
How much does it cost to replace a washing machine inlet valve?
Repairing with a kit costs $7 to $10. Full valve replacement costs $100 to $250 depending on brand and model. Repair is preferred for minor issues. Replacement is warranted for cracked housings, failed solenoids, or repeated failures.
How often should I clean my washing machine inlet valve filters?
Clean inlet filter screens every 3 to 6 months, especially in hard water areas or if your municipal supply has sediment. Annual flushing of supply lines and routine inspection of rubber seals during cleaning helps extend valve life.
Does chloramine in water really damage washing machine valves?
Yes, ammonium chloramine used by many municipal water systems aggressively attacks rubber components including diaphragms and seals. It can cause failure within 2 years. Installing a whole-house carbon filter or using chloramine-resistant EPDM or Viton seals helps mitigate this issue.