How to Put Nozzle on Pressure Washer
Your driveway looks grimy, and your deck needs a deep clean, but your pressure washer lacks the right spray pattern. Attaching the correct tip is the missing link between a weak stream and professional results. Knowing how to put nozzle on pressure washer units safely prevents leaks and dangerous ejections.
This guide details the exact steps for spring-loaded couplers and retainer clip systems found on major brands. You will learn to depressurize safely, install tips securely, and troubleshoot common fitting issues. Follow these instructions to ensure your equipment runs efficiently every time.
Essential Safety Steps Before Installation
High-pressure water systems store energy that can cause injury if released suddenly. You must follow strict protocols before touching any nozzle or coupling mechanism.
Depressurize the System Completely
Turn off the machine and disconnect the power source immediately. Unplug electric models or switch off gas engines to prevent accidental activation. Close the water supply valve to stop incoming flow before proceeding.
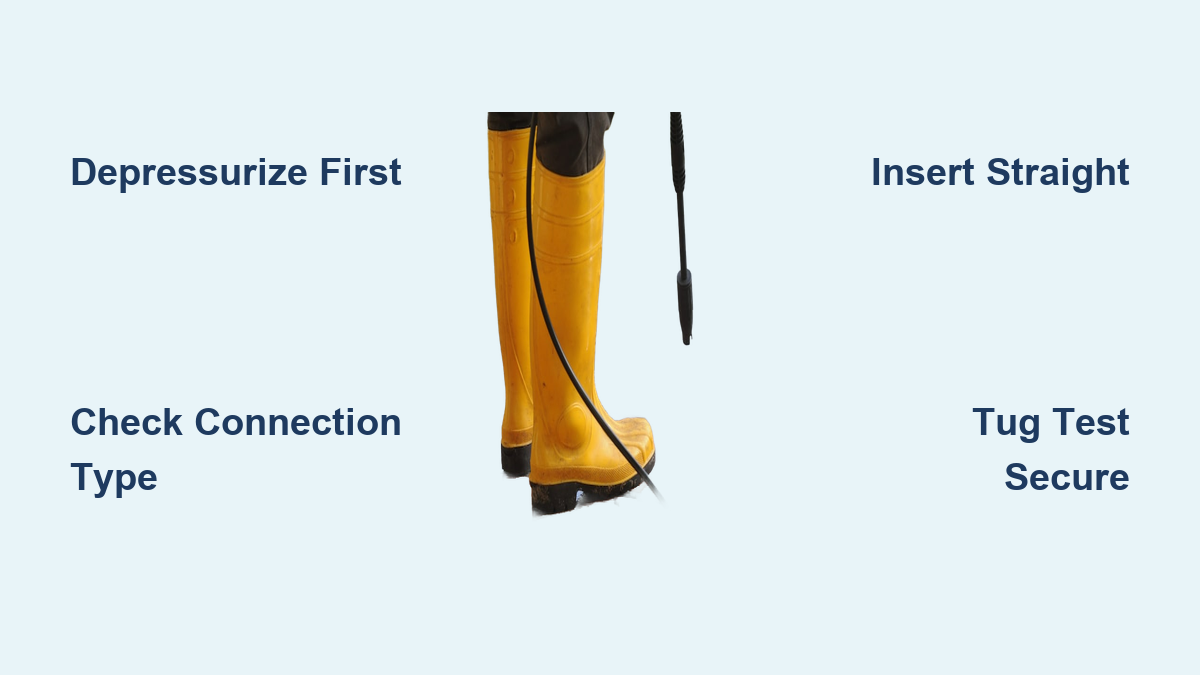
Squeeze the spray wand trigger repeatedly until no water escapes. This action releases trapped pressure within the hose and pump. Never attempt to change a nozzle while the system holds any residual pressure.
Verify Zero Pressure Status
Check that the hose feels slack and shows no signs of stiffness. If water drips after triggering, wait a moment and squeeze the handle again. Only proceed when you confirm the system is completely safe to handle.
Identify Your Pressure Washer Connection Type
Different manufacturers use distinct mechanisms to secure nozzles to the wand. Identifying your specific type ensures you use the correct installation method.
Spring-Loaded Quick-Connect Couplers
Most modern units from Generac, Craftsman, and Ryobi use this standard design. A sliding collar at the wand tip retracts to allow nozzle insertion. Internal steel balls lock into a groove on the nozzle when released.
Retainer Clip Mechanisms
Specific brands like Homelite utilize a fixed metal arm instead of a sliding collar. You must manually lift this clip to open the slot for the nozzle. The clip snaps down over the nozzle body to hold it in place during operation.
Universal Compatibility Checks
Ensure your nozzle matches the thread type of your wand, such as M22 or G1/4″. Universal nozzles often include adapters for various models. Using an incompatible tip can damage the wand or create hazardous leaks.
Install Nozzle on Spring-Loaded Couplers

This method applies to most pressure washers featuring a sliding collar mechanism. Follow these precise steps for a secure connection.
Retract the Sliding Collar
Grasp the wand firmly with one hand. Use your other hand to pull the collar back toward the handle. You will feel spring resistance as the internal locking pins retract.
Insert the Nozzle Straight
Push the nozzle tip directly into the opening while holding the collar back. Ensure it goes in straight to avoid damaging the internal groove. Push until the nozzle seats completely against the internal stop.
Release and Listen for Click
Let go of the sliding collar to let the spring push it forward. You should hear or feel a distinct click as the locking balls engage the nozzle groove. This sound confirms the mechanism has locked.
Perform Security Tug Test
Give the installed nozzle a gentle tug away from the wand. It should not move or slide out if installed correctly. Skipping this test risks the nozzle becoming a dangerous projectile under pressure.
Attach Nozzle Using Retainer Clip Systems

Homelite and similar models require a slightly different approach using a manual clip. Precision is key to preventing dislodgement during use.
Lift the Metal Retainer Clip
Locate the small metal arm at the end of your spray wand. Lift this clip upward to open the locking position fully. Ensure it pivots freely without stiffness or damage.
Seat the Nozzle Fully
Insert the correct nozzle tip straight into the opening. Push it in until it hits the internal stop firmly. Do not force the tip if it meets resistance.
Snap Clip Into Place
Lower the retainer clip over the top of the nozzle body. It must snap down firmly to hold the nozzle securely. Visually confirm the clip covers the nozzle body completely.
Verify Stability Before Use
Check that the nozzle does not wobble or lift vertically. Any gap between the clip and nozzle indicates an insecure fit. Reinstall until the lock feels solid and complete.
Connect Surface Cleaner Attachments
Larger tools like surface cleaners use the same quick-connect logic but demand extra care. Their size and spinning motion require a perfect lock.
Fully Retract the Coupler
Pull the sliding collar back completely to accommodate the larger shaft. Partial retraction often leads to weak connections with these heavy attachments.
Align and Insert Shaft
Line up the surface cleaner shaft with the wand opening. Push it straight in smoothly without twisting or angling the connection.
Lock and Test Rigorously
Release the collar and listen for the locking click. Perform a firm tug test since these attachments spin under load. A weak connection here can cause significant damage or injury.
Select the Correct Spray Pattern

Choosing the right nozzle color ensures effective cleaning without damaging your surfaces. Each color corresponds to a specific spray angle and pressure level.
Match Color to Cleaning Task
- Red (0°): Pinpoint jet for stripping paint or deep concrete stains.
- Yellow (15°): Narrow fan for driveways and heavy grime removal.
- Green (25°): Medium fan for vehicles and general deck washing.
- White (40°): Wide fan for delicate siding and rinsing soap.
- Black (Soap): Low pressure for applying detergents only.
Avoid Surface Damage Mistakes
Never use a red nozzle on wood or vinyl siding as it will gouge the material. Always start with the black nozzle for soap application before switching to higher pressure tips. Select the yellow or green tip for rinsing after cleaning.
Troubleshoot Nozzle Installation Problems

Even with careful installation, issues like leaking or poor spray patterns can occur. Use these solutions to fix common problems quickly.
Nozzle Fails to Lock
Check for dirt or sand blocking the internal locking balls. Ensure you pulled the collar back far enough to allow full insertion. Verify that the nozzle model matches your wand type exactly.
Water Leaks at Connection
Remove and reinstall the nozzle to ensure it is seated fully. Inspect the internal O-ring for cracks or wear that might cause leaks. Replace bent retainer clips on clip-style systems immediately.
Uneven Spray Pattern Appears
Soak the nozzle in white vinegar to dissolve mineral deposits clogging the orifice. Use a fine wire to clear stubborn debris from the hole gently. Replace the nozzle if the spray pattern remains distorted after cleaning.
Maintain Nozzles for Longevity
Proper care extends the life of your nozzles and maintains cleaning efficiency. Regular maintenance prevents costly replacements and performance loss.
Clean After Every Use
Rinse nozzles with clean water to remove dirt and chemicals. Dry them thoroughly before storing to prevent mineral buildup. Soak in vinegar occasionally to remove hard water deposits.
Inspect for Wear Regularly
Check plastic housings for cracks or chips that weaken the structure. Look for elongated spray patterns indicating the orifice has worn down. Replace worn nozzles immediately to protect your pump.
Store Spare Tips Properly
Keep your full set of nozzles in a labeled case or magnetic holder. Organize them by color and angle for quick access during jobs. Proper storage prevents loss and damage to the tips.
Optimize Performance With Pro Tips
Expert practices help you get the most out of your pressure washer setup. These tips ensure safety and maximum cleaning power.
Test Spray Before Cleaning
Point the wand away from people and property before starting work. Trigger the machine briefly to verify the spray pattern is symmetrical. Shut down and recheck if the pattern looks weak or uneven.
Never Force the Fit
Stop immediately if a nozzle resists installation efforts. Forcing it can crack the wand or damage internal components permanently. Re-check alignment and cleanliness before trying again.
Use Attachments Correctly
Ensure couplers are locked tight before using spinning surface cleaners. Match the nozzle flow rate to the attachment requirements for best results. Incorrect pairing reduces efficiency and strains the machine.
Frequently Asked Questions About Pressure Washer Nozzles
What should I do if my nozzle won’t click into place?
Check for debris inside the coupler or on the nozzle groove that blocks locking. Ensure you are pulling the sliding collar back completely before inserting. Verify the nozzle model is compatible with your specific wand type.
Why is water leaking from the base of my nozzle?
Water leakage usually means the nozzle is not inserted fully into the coupler. It can also indicate a worn O-ring or seal inside the connection point. Inspect the retainer clip for damage if you have a clip-style system.
How often should I replace my pressure washer nozzles?
Replace nozzles when you notice an elongated spray pattern or reduced pressure. Regular inspection helps identify wear before it damages your pump. Heavy users may need replacements annually while occasional users last longer.
Can I use a red 0-degree nozzle on my wooden deck?
No, the red nozzle produces a pinpoint jet that will gouge and destroy wood surfaces. Use a green 25-degree or white 40-degree nozzle for safe cleaning on wood. Always test on a small hidden area first.
How do I clean a clogged nozzle effectively?
Soak the clogged nozzle in white vinegar for 30 minutes to dissolve mineral deposits. Use a fine needle or wire to gently clear any remaining debris from the hole. Rinse thoroughly with clean water before reinstalling.
Key Takeaways for Putting Nozzle on Pressure Washer
Mastering how to put nozzle on pressure washer units requires safety, correct identification of your connection type, and proper testing. Always depressurize the system completely before attempting any installation to prevent injury.
Select the right color-coded nozzle for your specific cleaning task to avoid surface damage. Perform a tug test after every installation to ensure the tip is locked securely. Regular maintenance and cleaning will keep your pressure washer performing at its best for years.