Washing Machine Motor Repair: Quick Fix Guide
If your washing machine fills with water but the drum won’t spin, the issue may point to the motor—or something that’s stopping it from running. The term “washing machine motor repair” often leads homeowners to assume a full motor replacement is needed, but in reality, the motor itself fails less frequently than surrounding components. Most problems stem from worn belts, failed capacitors, broken couplings, or safety switches cutting power. By understanding how the motor works and what commonly goes wrong, you can diagnose issues accurately and perform effective repairs—saving time, money, and avoiding unnecessary replacements.
This guide walks you through every step of washing machine motor repair: from identifying symptoms and testing components, to replacing brushes, bearings, and capacitors, and knowing when to replace the entire motor. Whether you’re dealing with a humming machine, no drum movement, or strange noises, this comprehensive resource gives you the tools to fix it confidently.
Decode Common Motor Failure Symptoms
Motor Hums But Drum Won’t Turn
A loud humming noise with no drum rotation typically means the motor is receiving power but can’t start. This is often caused by a failed start capacitor, which provides the initial electrical boost needed for rotation. Without it, the motor tries to run but stalls.
Check these components first:
- Capacitor health using a multimeter
- Drive belt condition if present
- Mechanical obstructions in the drum
- Seized bearings preventing rotation
Pro tip: If the motor starts after a manual spin of the drum, the capacitor is likely weak or dead.
Washer Fills But No Agitation
When water enters but the drum doesn’t move, the motor isn’t running—often due to a safety interlock failure. Top-loaders have faulty lid switches that prevent motor activation, while front-loaders have defective door locks that disable power. Use a multimeter to check continuity across the switch when closed. No continuity means replace the switch.
Intermittent Operation or Stuttering Start
If the motor starts and stops unpredictably during cycles, suspect worn carbon brushes in brushed motors or failing windings. Look for sparks visible near the motor housing and listen for crackling or popping sounds during startup. Replace brushes and bed them properly against the commutator for best results.
Grinding or Screeching During Spin
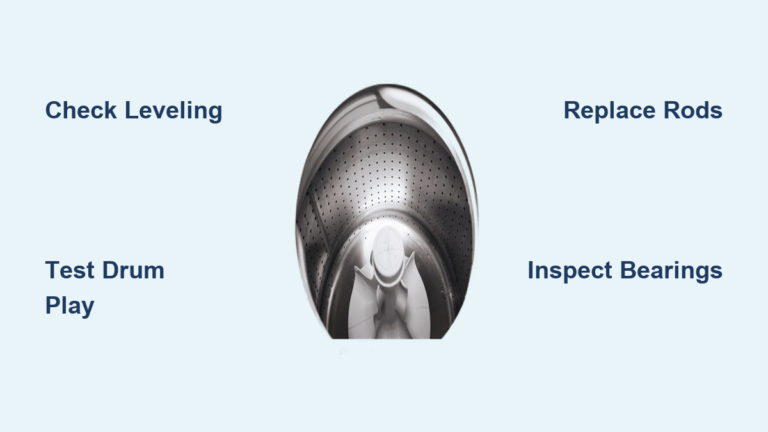
Loud noises during high-speed spinning usually indicate bearing failure, not motor damage. Symptoms include rumbling or grinding especially at high RPM, visible drum wobble when rotated manually, and oil stains under the machine from a failed tub seal. Repair requires replacing both front and rear drum bearings.
Complete Silence at Cycle Start
No sound at all when the cycle should start? The problem may lie upstream of the motor. Possible causes include a blown thermal fuse, failed control board, or loose wiring. Test for voltage at motor terminals during spin cycle initiation to diagnose.
Identify Your Motor Type First

Belt-Drive vs. Direct Drive Systems
Knowing your drive system determines how you approach repair.
Belt-drive models have motors connected to the drum via belt and pulley. These are common in older or budget machines, and issues often involve belt wear or pulley misalignment.
Direct-drive models have motors mounted directly to the drum or transmission with no belts, resulting in fewer moving parts and quieter operation. Found in LG, Samsung, and Whirlpool high-efficiency units, failures usually involve motor coupling or internal electronics.
Brushed vs. Brushless Motors
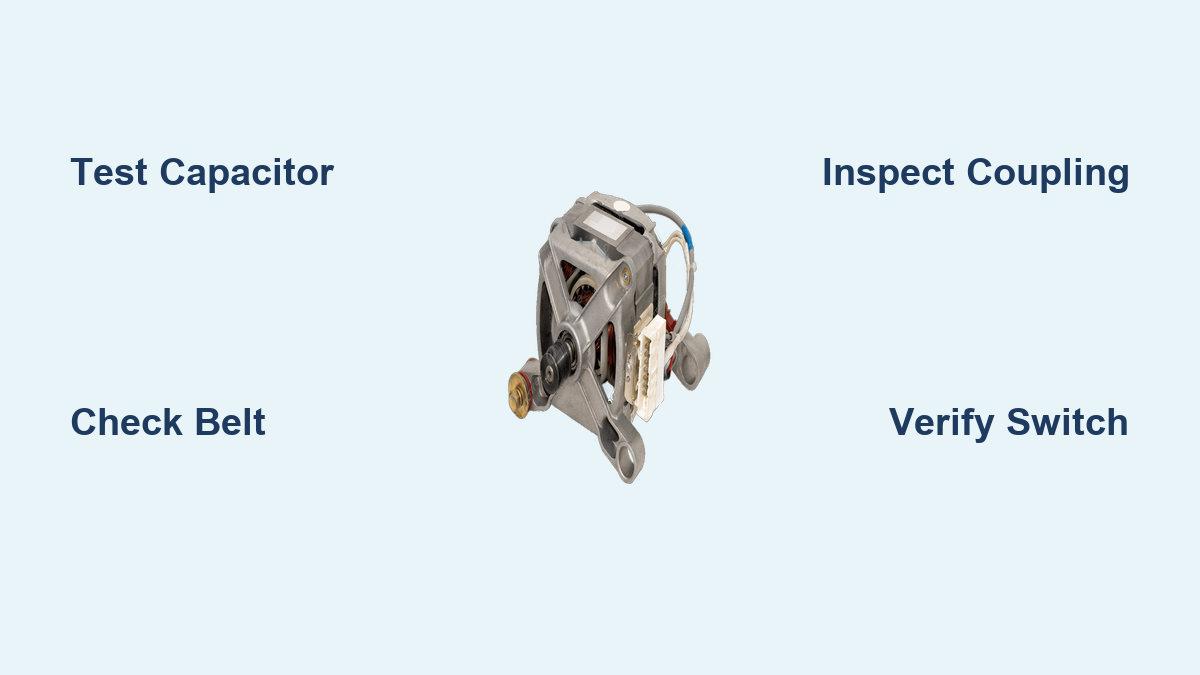
Motor technology affects repairability. Brushed AC motors are repairable—you can replace brushes, capacitors, and windings. Common issues include worn brushes and failed capacitors.
Brushless DC motors are limited in repairability and are often replaced as a unit. Common issues include sensor failure and inverter board problems.
Universal motors allow partial repair—brushes are replaceable but the design tends toward high noise and brush wear.
Note: BLDC motors dominate modern washers due to energy efficiency and variable speed control. However, if the internal inverter fails, full motor replacement is usually required.
Test Critical Electrical Components
Check the Start Capacitor
The capacitor gives the motor the jolt it needs to start. When it fails, the motor hums but won’t turn.
How to test:
- Unplug the washer and discharge the capacitor by shorting terminals with an insulated screwdriver.
- Disconnect wires and set multimeter to capacitance mode.
- Place probes on terminals and compare reading to rated µF (usually 10–30 µF).
- Replace if value is below 80% of rating.
A failed capacitor costs $15–$30 and takes 20 minutes to replace—this resolves approximately 40% of “motor not working” cases.
Inspect the Thermal Fuse
This safety device cuts power if the motor overheats. It’s typically mounted on the motor housing or control board with a rating of 10–15 A, 125–250 VAC. Failure signs include no power to motor and a burnt smell near the housing. Test using a multimeter in continuity mode—infinite resistance means the fuse is blown.
Never bypass a thermal fuse—it’s a fire prevention device.
Verify Lid and Door Switch Function
A broken switch stops the motor for safety. Testing steps include locating the switch near the door or lid frame, setting the multimeter to continuity, closing the door or lid, and testing across terminals. Should show near-zero resistance. Open circuit means replace the switch.
Perform Mechanical Checks

Inspect the Drive Belt on Belt-Drive Models
A stretched, cracked, or broken belt prevents drum movement even if the motor runs. Remove the rear or front panel and look for cracks or fraying, glazing (shiny surface), or the belt being off the pulley. For tension check, press the midspan—it should deflect about half an inch under finger pressure.
Always install an OEM-specified belt. Incorrect length causes slippage or premature wear.
Examine the Motor Coupling on Direct-Drive Models
In direct-drive washers, a small rubber or plastic coupling links the motor to the transmission. Symptoms of failure include the motor running but drum not moving, or clicking or grinding at startup. Cause is usually overloading, imbalance, or age-related cracking. Replace the coupling kit which includes upper and lower halves—this takes 30–45 minutes.
Diagnose Motor Windings and Internal Faults
Test for Open or Shorted Windings
Use a multimeter to check winding integrity. Disconnect motor wiring, set the meter to ohms, and measure resistance between motor terminals (such as T1–T2). Expected reading is 3–6 Ω for healthy windings. Infinite resistance indicates an open winding requiring motor replacement. Zero resistance indicates a shorted winding also requiring replacement.
Test for ground fault by placing one probe on a terminal and one on the motor casing. Any continuity means there’s a short to ground.
Look for Brush and Commutator Wear
In brushed motors, worn brushes cause intermittent operation. Signs of wear include brushes shorter than a quarter inch, uneven wear or chipping, and black dust buildup around the motor.
Replacement process involves removing the motor and opening the housing, installing new brushes matching specifications, and bedding brushes using 360-grit sandpaper wrapped around the commutator—rotate back and forth three times. The goal is an even black contact trace across the commutator surface.
Expert note: Improper bedding leads to arcing and rapid failure.
Replace Failed Bearings
Why Bearings Fail
Bearings support the drum shaft. As they wear, friction increases, straining the motor. Common causes include water ingress from a failed tub seal, overloading or unbalanced loads, and age (7–10 years typical lifespan).
How to Replace Rear and Front Bearings
Tools needed include a bearing puller or hydraulic press, wire brush to remove locking lacquer, and a soft hammer for plastic housing.
Steps:
- Remove pump, belts, and motor to access the tub.
- Drain water and disconnect the inner drum.
- Extract the old rear bearing using a puller.
- Press out the front bearing while watching for spline damage.
- Install new bearings using a hydraulic press.
- Reassemble and test for smooth rotation.
Replace both front and rear bearings even if only one looks bad—wear is usually matched.
Disassemble and Rebuild the Motor
Safe Disassembly Steps
- Disconnect power and drain water.
- Remove the access panel (usually rear).
- Label all wires before disconnecting.
- Release the motor connector by pressing the sprung tab and wiggling free.
- Remove mounting bolts (2–4, sometimes hidden).
- Slide the motor forward and extract.
Support the motor weight—don’t let it hang by wires.
Internal Motor Rebuild Tips
Mark brush orientation before removal to ensure correct reinstallation. Remove rear cover nuts and separate housing carefully. Extract the rotor and speed encoder, inspecting the magnet for damage. Clean the commutator with electrical contact cleaner if pitted.
Reassemble and Align Correctly
Reinstall the Motor Safely
- Slide motor into position ensuring no wires are pinched.
- Align mounting holes and insert bolts loosely.
- Reconnect the electrical plug until the tab clicks.
- Reattach the drive belt with proper tension.
- Tighten all bolts securely.
Final Alignment Checks
Verify belt is centered on pulley ribs with no rubbing between motor and cabinet. The drum should rotate freely by hand. Check that the speed encoder gap remains intact—this is critical for BLDC motors.
Test and Validate the Repair
Initial Power-Up Test
- Restore power and run a short spin cycle with no laundry.
- Watch for brush fire (arcing at commutator), unusual noises like grinding or scraping, and overheating (touch motor after 5 minutes).
- Confirm full spin speed is achieved.
Performance Validation
Noise level should be under 55 dB when functioning properly. Vibration should be minimal—the machine should not walk across the floor. Run with a normal laundry load to verify stability under actual conditions.
Success signs include smooth drum spinning, no error codes, and consistent speed control.
Know When to Repair vs. Replace
Repair If
Fault involves capacitor, belt, coupling, or switch. Brushes or bearings are worn but housing is intact. Cost of parts is under $200.
Replace the Motor If
Burned windings indicate open or shorted circuit. Severe overheating damage shows melted insulation or charring. Shaft wobble or binding indicates internal bearing failure. BLDC motor with failed inverter—repair is not cost-effective.
Cost Comparison
| Repair Type | Cost (Parts + Labor) | Worth It? |
|---|---|---|
| Capacitor | $90–$150 | Yes |
| Drive Belt | $100–$180 | Yes |
| Motor Coupling | $120–$200 | Yes |
| Full Motor | $300–$500 | Only if machine is under 7 years old |
Rule of thumb: If repair exceeds 50% of appliance value, consider replacing the washer.
Prevent Future Motor Problems
Follow Preventive Maintenance Tips
Avoid overloading—stick to manufacturer capacity. Balance loads to reduce stress on motor and bearings. Clean the pump filter every three months to prevent clogs. Level the machine so all feet touch the floor. Inspect belts annually for wear. Vacuum the motor area to prevent dust buildup and overheating. Listen for early warning sounds and address noise before failure.
Upgrade for Longevity
Choose models with direct-drive BLDC motors (such as LG Inverter Direct Drive). Look for 10-year motor warranties—sign of durability. Ensure IP55-rated components for moisture resistance in humid environments.
Repurpose Old Motors Creatively
Even if no longer fit for laundry duty, a removed washing machine motor can find new life. DIY project ideas include belt sanders (attach sanding belt to motor pulley), rock tumblers (power a rotating drum for polishing stones), wind generators (pair with gears and rectifier for off-grid power), and drill press drives (use as a benchtop tool motor).
Always use grounding, insulation, and protective guards when repurposing motors.
Troubleshooting Flowchart Summary
Washer Won’t Spin?
Check lid/door switch first, then test for power at motor. Inspect belt or coupling. Rotate drum manually to check for binding. Test capacitor. Check thermal fuse.
Motor Humming?
Test capacitor. Look for obstructions. Check bearings. Measure winding resistance.
Burning Smell?
Disconnect power immediately. Inspect for melted wires and blown fuse. Do not restart until fully diagnosed.
Machine Stops Mid-Cycle?
Check load balance. Verify drainage. Test control board and sensors.
Frequently Asked Questions About Washing Machine Motor Repair
How do I know if my washing machine motor is bad?
Signs of a bad motor include the drum not spinning despite the machine filling with water, a humming motor that won’t turn the drum, grinding or screeching noises during spin cycles, and complete silence when the cycle should start. Use a multimeter to test windings for open or shorted circuits.
Can I repair a washing machine motor myself?
Yes, many washing machine motor repairs are DIY-friendly. Common fixes like replacing the capacitor, drive belt, motor coupling, or lid switch are straightforward. However, internal motor repairs like winding replacement or bearing work require mechanical skill and proper tools.
What causes washing machine motors to fail?
Most motor failures aren’t actually motor problems—they’re related component failures. The most common causes include failed start capacitors, worn drive belts, faulty lid or door switches, damaged motor couplings, and failed thermal fuses. True motor winding failures usually result from prolonged bearing failure or overheating.
How much does washing machine motor repair cost?
Capacitor replacement costs $90–$150. Drive belt replacement runs $100–$180. Motor coupling replacement costs $120–$200. Full motor replacement averages $300–$500 including labor. Many repairs cost far less than replacement and extend your washer’s life by years.
How long do washing machine motors last?
AC induction motors typically last around 8 years. Brushless DC and direct-drive motors can last over 10 years with proper maintenance. Lifespan depends on usage patterns, load handling, and environmental conditions like humidity.
Should I replace or repair my washing machine motor?
Repair if the fault involves replaceable components like capacitors, belts, couplings, or switches and the cost is under $200. Replace the motor if you have burned windings, severe overheating damage, shaft wobble, or a BLDC motor with failed inverter electronics. Also consider replacement if repair costs exceed 50% of the machine’s value.
Key Takeaways for Successful Washing Machine Motor Repair
Most “washing machine motor repair” issues aren’t actually motor failures—they’re fixable component problems. By testing the capacitor, switch, belt, and coupling first, you’ll save hundreds on unnecessary replacements. The capacitor alone resolves approximately 40% of motor not working cases, making it the first component to check.
With proper tools, safety precautions, and this guide, you can restore full function and extend your washer’s life by years. Prioritize preventive care by avoiding overloading, balancing loads, and cleaning the pump filter regularly. Act fast on strange noises—grinding typically means bearing failure, while humming usually points to a bad capacitor.
Always verify alignment and connections during reassembly. Check that wires aren’t pinched, belts have proper tension, and the speed encoder gap is intact on BLDC motors. Test immediately after reassembly for brush fire or abnormal noises. Following these steps ensures your repair lasts and your washing machine runs reliably for years to come.