Washing Machine Pressure Switch Repair Guide
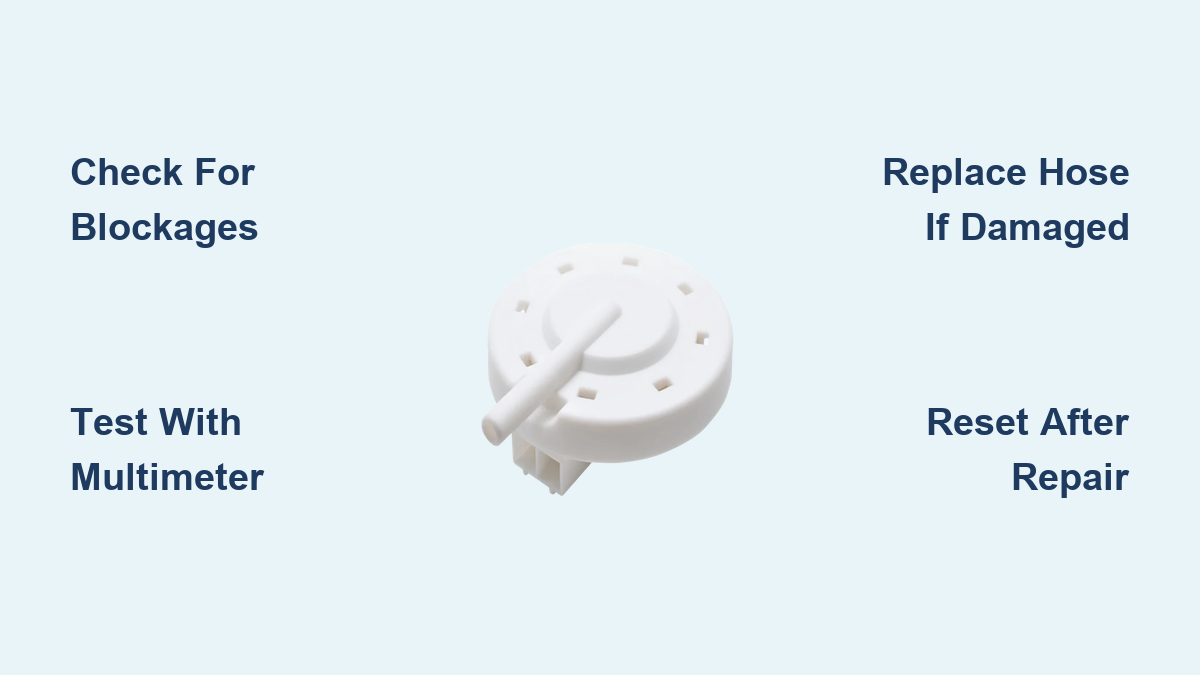
If your washing machine won’t stop filling, refuses to spin, or displays error codes like E10 or F01, the pressure switch could be the culprit. This small component monitors water levels by detecting air pressure changes in the drum, and when it fails or gets blocked, your entire wash cycle can grind to a halt. Learning how to diagnose and repair a faulty pressure switch yourself saves time, money, and unnecessary service calls. In this guide, you’ll discover how to identify symptoms, test the system safely, replace damaged parts, and prevent future failures.
Recognize Pressure Switch Failure Symptoms
Washer Overflows or Continuously Fills
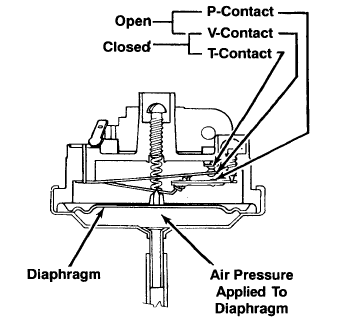
When water keeps flowing into the drum with no shutdown, the pressure switch isn’t signaling the inlet valve to close. This overfilling typically stems from a blocked pressure hose preventing accurate pressure readings, a leaking hose that cannot build enough pressure, or a ruptured diaphragm inside the switch. If your machine has an overflow safety valve, it may activate and drain excess water.
Washer Won’t Fill at All
If the washer doesn’t fill at all, the control board may think the tub is already full due to a false signal from the pressure switch. Common causes include a clogged air dome port at the drum base, residue buildup in the hose from detergent or fabric softener, or stuck switch contacts sending a permanent full signal.
Washer Won’t Agitate or Spin
After draining, the machine should spin, but if it stalls, the pressure switch might falsely detect water in the drum. This happens due to water siphoning back into the tub from low drain hose positioning, moisture trapped in the hose creating false pressure, or an intermittent electrical connection in the switch or wiring.
Error Codes Appear on Display
Modern washers display pressure sensor error codes that point directly to pressure system problems. E10 on Bosch or Siemens models indicates water intake timeout, likely a pressure switch or blockage issue. F01 on GE or Hotpoint models shows communication failure between the control board and sensor. LF on Maytag or Amana models means long fill with no pressure change detected.
Test the Pressure Hose and Air Path
Check for Blockages in the Air System
- Unplug the machine and shut off water supply.
- Remove the top panel to access the pressure switch.
- Disconnect the hose from both the switch and tub port.
- Blow gently through the hose toward the drum end. You should hear bubbling in the outer tub. No sound means the air dome or hose is blocked.
Never blow into the switch side, especially on digital models, because this can destroy sensitive sensors.
Clear the Air Dome Opening
Locate the air dome at the base of the drum, a small plastic chamber that traps air as water rises. Clean the opening with a cotton swab or compressed air. Remove any lint, scale, or soap scum blocking airflow. This takes about 10 minutes and often resolves false signals.
Inspect the Hose Condition
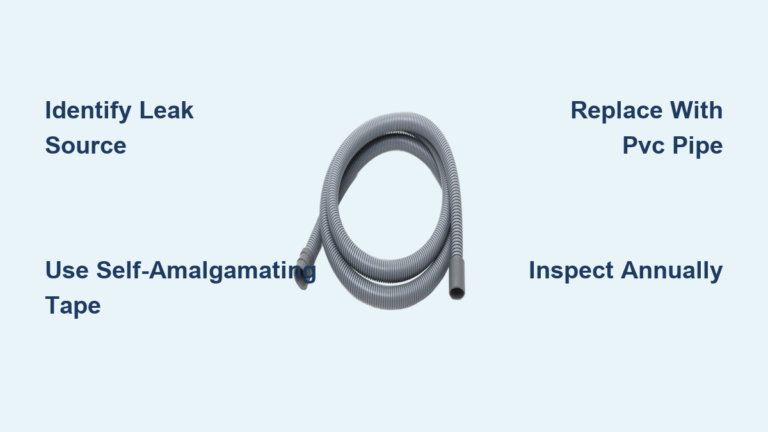
Look for cracks, soft spots, or brittleness in the rubber tubing. Check for kinks or sharp bends that restrict airflow. Examine the inside of the tube for moisture or residue buildup. Replace the hose if you find any damage, because even small leaks disrupt pressure readings and cause intermittent problems.
Diagnose the Pressure Switch with a Multimeter
Prepare for Electrical Testing
Unplug the washer before testing. Label or photograph all wire connections so you can reconnect them correctly. Set your multimeter to ohms or continuity mode. Having a helper hold the probes makes testing easier.
Test the Switch at Rest
With the hose disconnected from the switch, test continuity between terminal pairs. The COM to NC terminal should show 0 ohms, indicating continuity. The COM to NO terminal should read infinity or OL, indicating an open circuit. This confirms the switch starts in fill mode.
Test Under Simulated Pressure
Reattach the hose to the switch. Gently blow into the hose while pinching the end shut. You should hear a click as the diaphragm moves. Now retest the terminals. The COM to NC should now read infinity, and COM to NO should show 0 ohms. No change means the switch is defective and needs replacement.
Replace the Pressure Switch

Find the Correct Replacement Part
Locate your washing machine model number on the rear panel or inside the door seal. Use this number to search for compatible parts on sites like eSpares or appliance parts retailers. Avoid cheap generic switches because they often have different pressure thresholds that cause incorrect fill levels.
Install the New Switch
Unplug the machine and remove the top panel. Disconnect wires from the old switch, using your labels or photos as a guide. Remove mounting screws and detach the pressure hose. Install the new switch by securing it with screws, reconnecting the same hose or replacing it if worn, and attaching wires to the correct terminals. Reassemble the panel and restore power.
Fix Siphoning and Drain Hose Issues
Prevent False Not-Empty Signals
Siphoning occurs when the drain hose outlet sits below the drum’s water level, allowing water to siphon back after draining. This tricks the pressure switch into thinking the tub still contains water, preventing the spin cycle. Position the highest point of the drain hose above the maximum water level. Use a drain hose clip to secure it to the standpipe or utility sink rim. Never let the hose rest in a bucket or floor drain.
Handle Modern Digital Sensors
Test Voltage Output Instead of Continuity
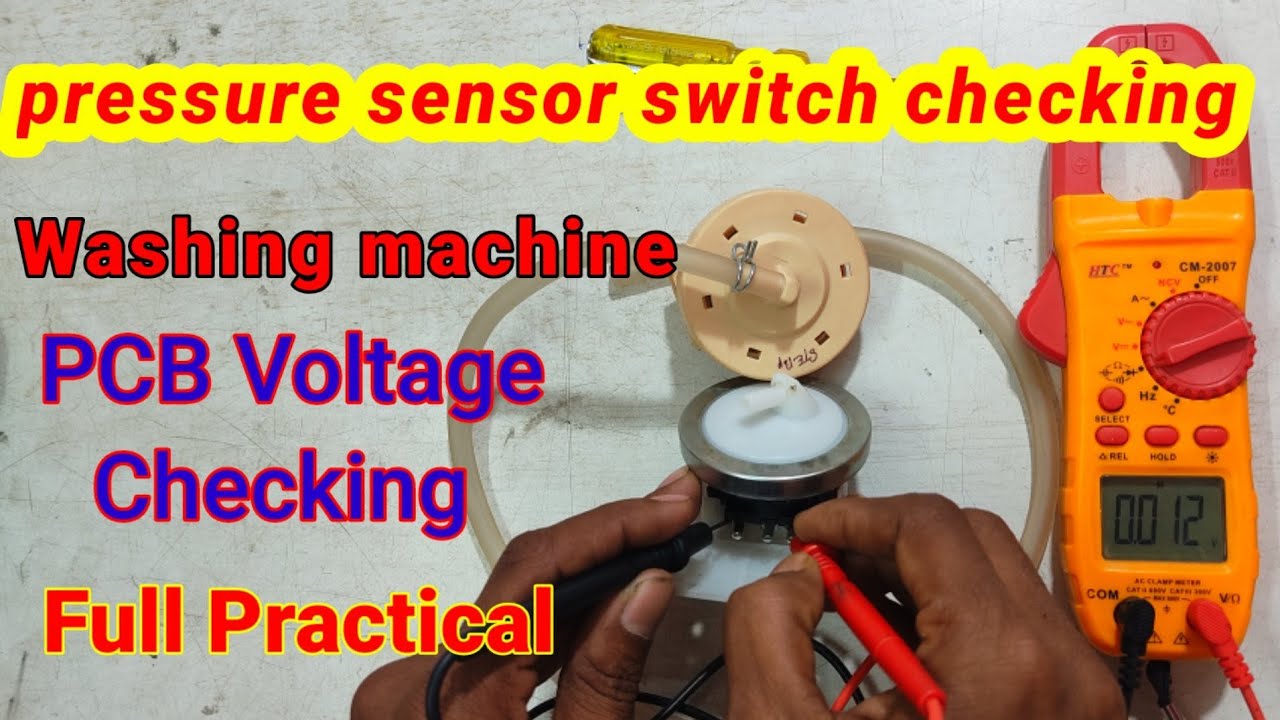
Newer machines use electronic pressure sensors that send voltage signals to the control board instead of mechanical contacts. These sensors have no mechanical contacts. They output a variable signal, typically 0.5 to 4.5 volts. Blowing into them destroys the sensor.
To test voltage output, set your multimeter to DC volts. Reconnect wires and power on the machine. Measure voltage between the signal wire and ground during fill. Voltage should rise steadily as water level increases. A flat or erratic reading indicates a sensor or control board issue.
Reset the System After Repair
Some models require a reset cycle after servicing. Unplug the machine for 1 to 2 minutes. Pour 2 liters of water into the drum via the detergent drawer. Select the Drain or Spin cycle and let it complete. This recalibrates the pressure system using real water dynamics.
Avoid Common Repair Mistakes
Never Blow Into the Switch
Many DIYers blow into the switch to test it, but this destroys analog and digital sensors and can rupture mechanical diaphragms. Only blow into the hose toward the drum, never the switch itself.
Don’t Ignore the Hose
A new switch won’t fix the problem if the hose is clogged or leaking. Always inspect and clean or replace the hose when replacing the switch. This prevents repeat issues within months.
Use the Correct Part Number
Aftermarket switches may look identical but have different pressure thresholds. A mismatch causes incorrect fill levels. Match the exact part number using your model number.
Perform the Reset Cycle
After moving or repairing the machine, modern control boards may not recognize the pressure system until reset. Perform the 2-liter water reset if cycles won’t start after repair.
Maintain the Pressure System Long-Term
Monthly and Annual Care
Clean the detergent drawer monthly because excess softener clogs the air path over time. Use HE detergent to reduce residue buildup. Wipe down hose connections during deep cleaning. Annually check the pressure hose for cracks or stiffness. Verify the drain hose height is correct. Test switch operation if minor issues arise. This proactive maintenance extends switch life to 7 to 10 years.
When to Call a Professional Technician
Consider professional help if the control board shows recurring error codes after switch replacement. You should also call a pro if you suspect a wiring harness fault behind the console. Additionally, seek help if the machine uses a proprietary digital sensor requiring software calibration. DIY repair success rate exceeds 90 percent when diagnosis is confirmed, because most issues are simple blockages or worn hoses.
Final Thoughts on Pressure Switch Repair
The pressure switch is a simple device that causes complex problems when it fails. Start with the easiest checks first, because approximately 65 percent of pressure switch issues are actually clogged hoses or air domes. Always test with a multimeter before buying replacement parts. Replace both the hose and switch together for lasting results. Use OEM or high-quality compatible parts rather than cheap generics. After any repair or machine relocation, perform the reset cycle to ensure the control board recognizes the system. With the right approach, washing machine pressure switch repair takes about 30 minutes and costs around $30, preventing costly service calls and extending your machine’s life.
Frequently Asked Questions About Washing Machine Pressure Switch Repair
How Do I Know If My Pressure Switch Is Bad?
Test the switch with a multimeter. At rest, COM to NC should show 0 ohms and COM to NO should show infinity. When you apply pressure by blowing into the hose, these readings should reverse. No change indicates a defective switch.
Can I Repair a Pressure Switch, or Do I Need to Replace It?
Pressure switches cannot be repaired. The internal diaphragm and contacts wear out over time. Replacement is the only option, and the part typically costs $20 to $50 depending on your machine brand.
Why Does My Washer Keep Overfilling?
Overfilling usually means the pressure switch isn’t detecting the correct water level. This happens due to a blocked pressure hose, a leaking hose, or a ruptured diaphragm in the switch. Check the hose first before replacing the switch.
What Happens If I Don’t Fix a Faulty Pressure Switch?
Ignoring the problem leads to water waste from overflow, potential water damage to your floor, the washer refusing to spin or complete cycles, and increased strain on other components like the inlet valve and control board.
How Often Should I Replace the Pressure Hose?
Inspect the pressure hose annually and replace it if you see cracks, brittleness, or kinks. Many technicians recommend replacing the hose whenever you replace the pressure switch, because both components age together.