How to Clean Washing Machine Filter: Quick Steps
Is your front-load washer leaving clothes soaked, making strange noises, or emitting a musty smell? The culprit could be a clogged washing machine filter. This small but vital component traps lint, coins, hairpins, pet fur, and other debris to protect your machine’s pump and drainage system. When neglected, a dirty filter leads to poor performance, error codes, and even premature appliance failure.
Regular cleaning prevents these issues and extends your washer’s life. Most manufacturers, including Samsung, LG, Whirlpool, and Maytag, recommend cleaning the filter every 4 to 6 weeks, especially in high-use households or homes with pets. In this guide, you’ll learn exactly how to locate, remove, clean, and reinstall your washing machine filter safely and effectively.
Locate the Washing Machine Filter
Finding the filter is the first step. The location varies depending on your machine type, so understanding where to look saves time and frustration.
Front-Load Models: Access Panel at Base
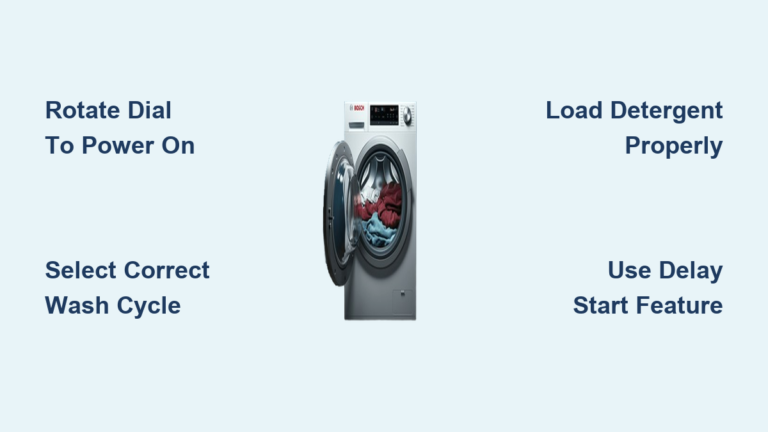
On most front-loading washers, the filter is located behind a small access panel on the lower front, near the floor. It’s typically rectangular or square and may have a subtle seam or slot at the top.
To open the panel, insert a coin or flat-head screwdriver into the slot and gently pry upward. On some Samsung and European models, press both top corners inward to release spring-loaded latches. If your machine has a child safety lock, follow the manual’s steps, which often involve a push-and-turn motion on the filter knob.
Once open, you’ll see the pump filter with a knob or handle, and possibly a short emergency drain hose coiled inside.
Top-Load Models: Hidden Lint Screens
Many top-loading machines do not have a traditional pump filter. Instead, they use internal lint screens located in different areas depending on the model.
Check under the agitator cap. Remove the cap and lift out the mesh screen. Some models have filters along the drum rim, hidden under the rubber flange or behind a removable cover. A few brands place the screen inside the central post, requiring you to lift the agitator to access it.
Clean these screens every 1 to 2 months to prevent lint buildup from affecting performance.
Washer-Dryer Combos: Compact and High-Maintenance
Combo units have smaller, more frequent-clogging filters due to shared wash and dry systems. Located at the front base, these filters require cleaning every 4 to 6 weeks, sometimes more often with heavy use.
Always consult your user manual or the manufacturer’s website for exact location and access method, especially for brands like Bosch, LG, or Miele, which may have unique designs.
Prepare for Safe Filter Removal

Proper preparation prevents messes and ensures safety during the cleaning process. Taking a few minutes to set up correctly makes the entire procedure smoother.
Power Off and Unplug
Before starting, turn off the washer using the control panel, then unplug it from the wall. This prevents accidental startup and reduces electrical risk during water drainage. Never attempt filter removal while the machine is powered.
Set Up for Water Spill
Expect 2 to 3 liters of residual water to drain when you open the filter. Prepare by placing a shallow pan, bucket, or tray directly under the access panel. Lay absorbent towels around the machine’s base to catch spills and protect flooring. Keep a sponge or rag nearby for quick cleanup.
Gather Cleaning Supplies
You will need the following items for effective cleaning.
A soft-bristled brush, such as an old toothbrush, works well for scrubbing. You will also need a bowl for soaking, hot water, and dish soap or laundry detergent. A flashlight helps inspect dark cavities, and gloves are recommended since filters can harbor mold and bacteria. No harsh chemicals are required.
Drain Residual Water First
Skipping this step risks water spilling onto your floor. Always drain residual water before removing the filter.
Use the Emergency Drain Hose
Inside the filter compartment, locate the emergency drain hose. This is a short, flexible tube with a removable cap, usually white or transparent.
Pull out the cap and let water flow into your catch basin. Wait until the flow stops completely before proceeding. This step prevents a flood when you remove the filter.
Handle Partial Drainage Issues
If water stops too soon but the drum still feels full, a partial blockage may be present in the hose or pump. Reinsert the cap, run a spin-only cycle, then repeat the drain step. Use a flashlight to check the hose for kinks or debris.
Remove and Clean the Pump Filter
With the area prepared and water drained, you can now access and clean the filter itself.
Unscrew the Filter Safely
Grasp the filter knob and turn it counterclockwise. It should unscrew by hand. Do not use tools, as they can damage the threads.
If the filter is stuck, wriggle gently side-to-side to break the seal. Check for debris around the threads and confirm you are turning in the correct direction. Pull the filter straight out, as more water will spill.
Remove Trapped Debris
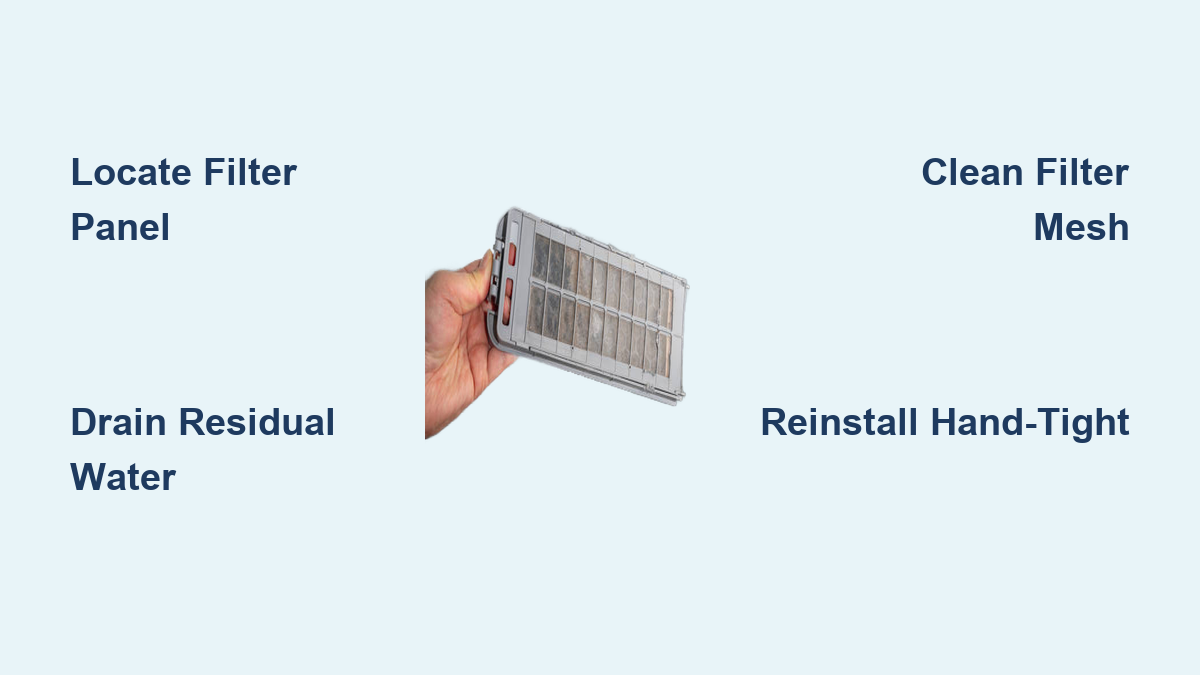
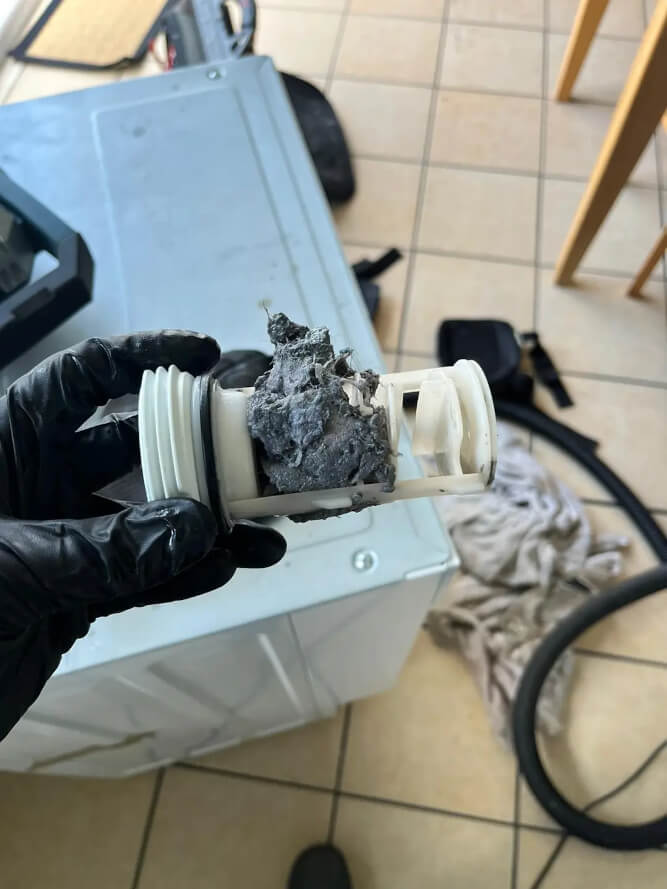
Inspect the filter’s mesh or perforated screen. Common finds include coins, buttons, hair clips, zippers, clumps of lint and pet fur, tissues, and grass. Remove all material by hand.
For stubborn buildup, soak the filter in hot, soapy water for 10 minutes. Scrub with a soft brush to remove biofilm and sludge. Rinse under running water until the water runs clear.
Inspect the Filter Condition
Check for cracks or warping in the plastic. Examine the rubber O-ring for damage, as this is critical for leak prevention. Look inside the internal basket for clogging. Replace the filter if you find any damage. OEM parts are available from the manufacturer.
Clean the Filter Housing and Pump Cavity
The filter itself is not the only area that needs attention. The housing and pump cavity also accumulate debris over time.
Wipe the Interior Compartment
Use a damp cloth to clean the filter housing. Focus on the threads where the filter screws in, the rubber seal area, and any visible sludge or mold. Avoid harsh cleaners. Soap and water are sufficient.
Inspect the Drain Pump Impeller
Shine a flashlight into the cavity. At the bottom, you should see the impeller, a small fan-like blade. Ensure it rotates freely when gently nudged and is not blocked by string, hair, or small objects.
If the impeller is stuck, use tweezers to remove visible debris. Do not force it. If it will not move, contact a technician, as this can indicate pump damage.
Flush the Drain Hose
If drainage issues persist, disconnect the drain hose from the standpipe. Flush it with hot water using a pitcher or hose. Check for blockages where it connects to the wall or floor spigot.
Reinstall the Filter Correctly
Proper reinstallation prevents leaks and ensures the machine operates correctly.
Hand-Tighten Only
Reinsert the clean, dry filter into the housing. Turn it clockwise until snug. Critical: Tighten by hand only. Over-tightening can strip plastic threads, crush the O-ring, and cause leaks. Stop when resistance increases.
Reattach the Drain Hose Cap
Ensure the emergency drain hose cap is fully reinserted and seated. A loose cap is a common cause of leaks during the next cycle.
Close the Access Panel
Snap or fold the panel shut until it lies flat or clicks into place. If it does not close smoothly, recheck the filter alignment and confirm the drain hose is not caught in the latch.
Test the Machine After Cleaning
Running a test cycle verifies that your cleaning was successful and identifies any remaining issues.
Restore Power and Run a Test Cycle
Plug the washer back in and turn it on. Run an empty hot wash, quick rinse, or spin-only cycle to flush remaining debris, verify proper drainage, and check for leaks around the filter.
Monitor for Issues
Watch for error codes such as 5C, E13, ND, or F02. Listen for unusual noises during drain and spin phases. Look for water pooling under the machine and slow drainage or incomplete spins.
If errors appear, unplug the machine for 5 minutes to reset the system, then restart and retest. If the problem persists, refer to troubleshooting.
Confirm Success
A successful cleaning results in fast, complete drainage, quiet operation, no leaks, and clothes that spin dry normally.
Troubleshoot Common Filter Issues
Even with proper cleaning, problems can occur. Knowing how to address them saves time and prevents damage.
Filter Won’t Unscrew
Cause: Debris jam, tight seal, or incorrect turning direction. Ensure you are turning counterclockwise. Wriggle gently to break suction, clean around the threads, and retry.
Water Doesn’t Drain Fully
Cause: Blockage in drain hose or impeller. Flush the emergency drain hose, check the main drain line for kinks, and inspect the pump impeller for obstructions.
Filter Leaks After Reinstallation
Cause: Damaged O-ring, misalignment, or over-tightening. Remove the filter and inspect the rubber gasket. Replace if cracked, torn, or misshapen. Reinstall with proper alignment and hand-tightening.
Machine Shows Error Code After Cleaning
Cause: Air lock, sensor trigger, or incomplete reset. Run a rinse or spin cycle to clear air from the pump. Unplug for 5 minutes, then restart. For Samsung 5C error, check the drain hose, ensure the machine is level, and verify the spigot is unclogged.
Impeller Doesn’t Rotate
Cause: Foreign object or pump failure. Visually inspect and remove debris. If still stuck, do not force it. Contact a technician.
Maintain Machines Without Removable Filters
Some modern washers have self-cleaning pumps with no user-accessible filter. Maintenance is still necessary through alternative methods.
Run Monthly Cleaning Cycles
Maintain these machines by running a hot wash at 90°C monthly with 2 cups of white vinegar or a washing machine cleaner tablet. This dissolves soap scum, lime scale, and bacteria.
Clean the Door Seal and Drum
Wipe the gasket weekly with a damp cloth to prevent mold. Leave the door and detergent drawer open between uses for airflow. Remove lint from drum rim screens if present.
Inspect the Drain Hose Annually
Even without a filter, the drain hose can clog. Check it yearly for blockages, kinks, and wear.
Follow a Smart Maintenance Schedule
Consistent maintenance prevents most filter-related problems before they start.
Clean Every 4 to 6 Weeks
For average use, clean front-loader filters every 4 to 6 weeks. Washer-dryer combos need cleaning every 4 weeks. Top-loaders with screens need cleaning every 1 to 2 months.
Increase Frequency for Heavy Use
Clean more often if you wash pet bedding or outdoor gear, have infants with small items in pockets, live in a hard water area, or use excessive detergent. Pet owners should inspect the filter every 2 to 4 weeks.
Clean Immediately If You See These Signs
Act fast if water remains in the drum, clothes are soaking after spin, a musty odor appears, an error code displays, or the machine makes grinding noises. Delaying can lead to pump damage.
Prevent Problems Before They Start
Prevention is easier than repair. A few simple habits keep your filter cleaner longer.
Check Pockets Before Washing
Ninety percent of filter debris comes from pockets. Always empty pockets of coins, tissues, keys, and pens. Check hems for loose threads or buttons.
Use HE Detergent Properly
Use high-efficiency detergent in recommended amounts. Excess suds trap dirt and form sludge.
Avoid Overloading
Overstuffing reduces cleaning efficiency and strains the pump. Leave space at the top of the drum.
Schedule Visual Checks
Even if full cleaning is monthly, peek behind the panel every 2 weeks. If water looks dirty or debris is visible, clean it early.
Keep the Area Accessible
Ensure space under the machine is clear. Blocked access delays maintenance and increases flood risk.
Maximize Performance and Lifespan
Regular filter cleaning delivers measurable benefits beyond just clean laundry.
Enjoy Cleaner, Drier Clothes
A clean filter ensures better drainage, less lint transfer, and no residue recirculation. Your clothes come out fresher and drier.
Prevent Costly Repairs
Regular cleaning reduces pump strain, motor overheating, and error code frequency. This can add years to your machine’s life and prevent repair bills over $200.
Save Energy and Water
An efficient washer completes cycles faster and uses less water and electricity. A clogged filter forces longer drain times and repeated cycles, wasting both resources.
Protect Your Warranty
Most manufacturers require routine filter maintenance to keep warranties valid. Skipping it may void coverage for pump or drainage issues.
Frequently Asked Questions About Cleaning Washing Machine Filters
How often should I clean my washing machine filter?
For average household use, clean the filter every 4 to 6 weeks. If you have pets, wash outdoor gear frequently, or have infants, clean it every 2 to 4 weeks instead.
Can I clean my washing machine filter without draining water first?
No. Skipping the drain step causes water to spill onto your floor when you remove the filter. Always use the emergency drain hose first.
What happens if I don’t clean my washing machine filter?
A clogged filter causes poor drainage, wet clothes after spin cycles, musty odors, error codes, and eventually pump damage. Neglected filters lead to costly repairs.
Why does my washing machine still smell after cleaning the filter?
Persistent smells indicate biofilm buildup inside the drum or door seal. Run a hot wash with white vinegar or washing machine cleaner. Wipe the gasket weekly and leave the door open between uses.
Can I use bleach to clean the filter?
Avoid bleach. Hot water and dish soap are sufficient for cleaning the filter. Use bleach only for monthly drum cleaning cycles, and follow manufacturer recommendations.
Key Takeaways for Cleaning Your Washing Machine Filter
Cleaning your washing machine filter is a simple 15 to 20 minute task that prevents major problems. Locate your filter behind the lower front access panel, drain residual water using the emergency hose, then remove and clean the filter with hot soapy water and a soft brush.
Reinstall hand-tight only, test with an empty cycle, and establish a regular maintenance schedule of every 4 to 6 weeks. This keeps your washer running efficiently, extends its lifespan, and ensures every load comes out fresh and clean.