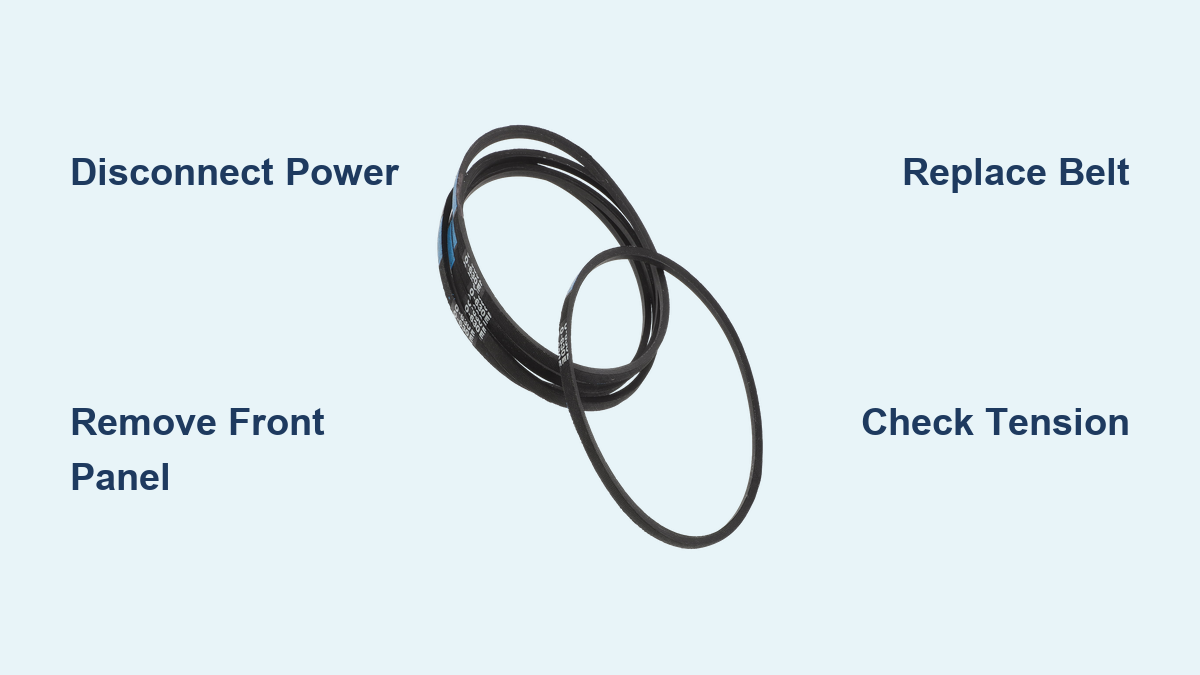
How to Change Washing Machine Drive Belt
A washing machine that won’t spin but still agitates could be suffering from a worn or broken drive belt. This crucial component connects the motor to the drum, transferring power so clothes come out properly drained. When the belt fails, performance drops fast, leaving you with soggy laundry and frustrating noises. The good news? Replacing a drive belt is a repair most homeowners can handle in under an hour with basic tools. In this guide, you will learn exactly how to change a drive belt on a washing machine safely, correctly, and without costly service calls.
Safety First: Power and Water Shutdown
Before touching any part of your washer, you must disconnect it from all power and water sources. This is not optional. Skipping this step risks electric shock, flooding, and injury.
Disconnect Electrical Power
Start by unplugging the washer from the wall outlet. Even low-voltage controls can trigger motor activation if circuits are live. For extra safety, turn off the circuit breaker dedicated to the laundry room. Use a voltage tester on the outlet to confirm no current is present. Never skip this step. Electric shock risks are real and preventable.
Shut Off Water Supply
Close both the hot and cold water valves behind the machine. This prevents accidental flooding when you move or tilt the washer. Once closed, disconnect the inlet hoses and drain any residual water through the drain hose into a bucket or floor drain. This keeps your workspace dry and avoids leaks during repair.
Stabilize and Position the Washer
Pull the machine away from the wall carefully. Most repairs require tilting it backward to access the drive belt. Place wooden blocks or a sturdy support under the front to hold it securely in place. Always work on a flat surface and wear gloves and safety glasses. Sharp metal edges and falling components are common hazards.
Identify Your Washer Type and Belt Style

Not all washers use drive belts, so confirming your machine is belt-driven saves wasted effort.
Confirm Belt-Driven Design
Many modern front-loaders and high-efficiency top-loaders use direct-drive systems where the motor attaches directly to the drum. These models have no belt. If your washer spins weakly or not at all, check for a belt under the unit. A visible rubber belt running between pulleys means your machine is belt-driven and repairable using this guide.
Locate the Drive Belt
For top-load models, tilt the washer back and look beneath. The belt typically wraps from the motor pulley to the transmission pulley near the base. On front-load washers, access may require removing the rear panel. The belt runs from the motor to the drum pulley at the back of the tub. If you see a ribbed or V-shaped belt, proceed with replacement.
Recognize Belt Types
Most modern machines use ribbed multi-groove belts, also known as serpentine style. Older models might have V-belts. Check the old belt for wear signs including cracks, fraying, glazing (shiny surface), or separated ribs. Note the part number if visible, or take it to a hardware store for matching. Never install a flat or mismatched belt. Proper fit ensures grip and longevity.
Gather Required Tools and Replacement Parts
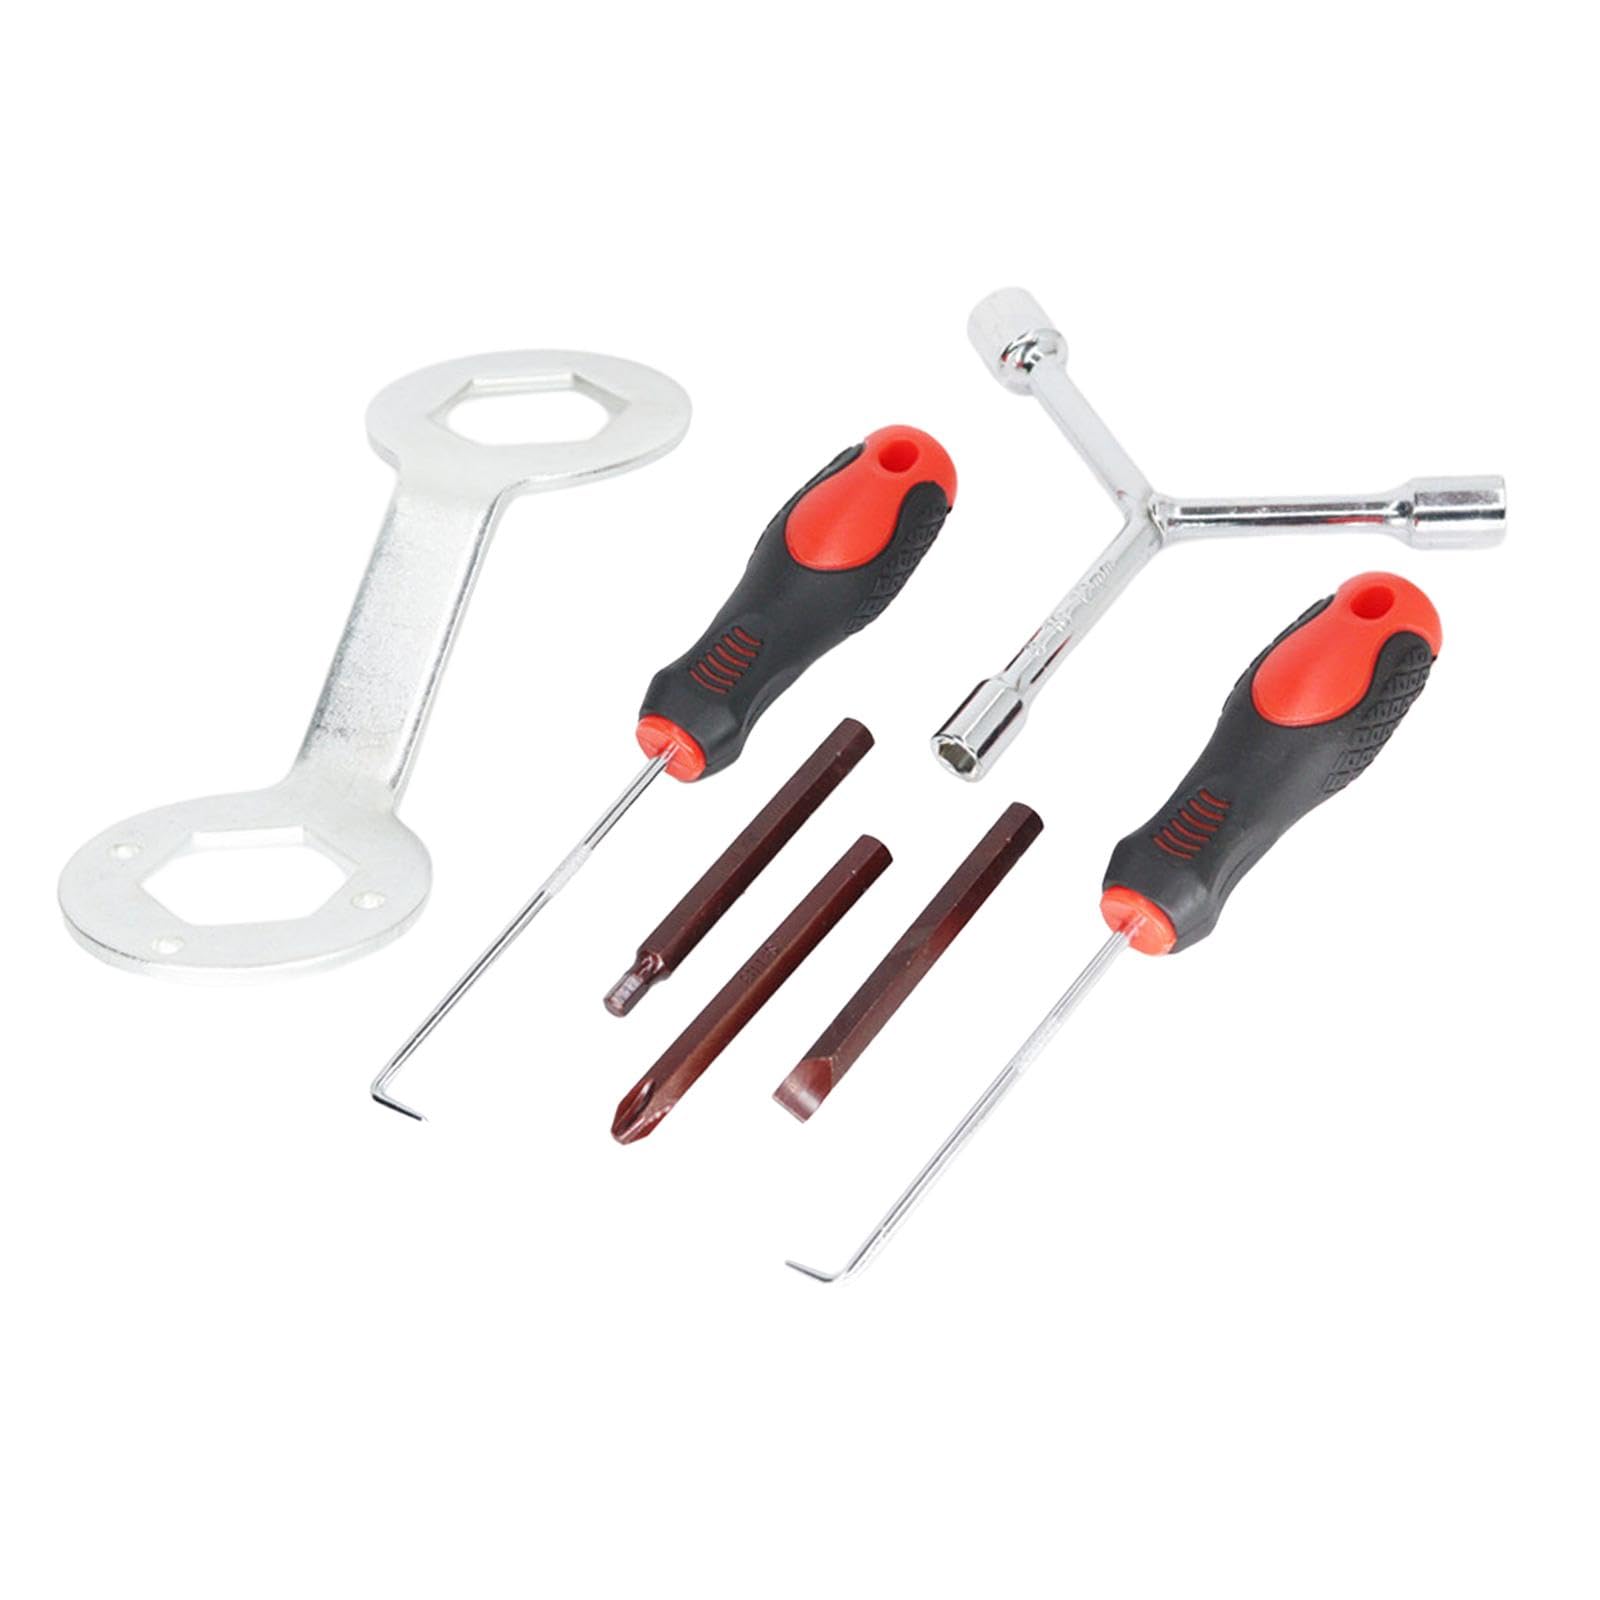
Having the right tools ready saves time and prevents mistakes during the repair process.
Essential Tool List
You will need these basic tools for most washer models:
- Phillips screwdriver for removing front and access panels
- 5/16-inch nut driver or socket, commonly used on Whirlpool and Maytag models
- Putty knife for releasing spring clips on Frigidaire-style fronts
- 10 mm socket wrench for loosening motor mounts on Samsung models
- 3/8-inch socket set for general fastener removal
- Pliers to help compress the idler pulley
- Voltage tester to confirm power is off
- Work gloves and safety glasses to protect hands and eyes
A combo set with metric and standard sockets covers most models.
Source the Correct Replacement Belt
Use your full model number (found on the door rim, back, or control panel) to order the correct belt. Common OEM part numbers include:
- Whirlpool/Maytag: WPW10006384 or W11239857
- GE: WH01X24180
- Frigidaire: 8574157
- Samsung: Model-specific, verify before purchase
Buy from trusted sources like appliancepartspros.com, RepairClinic.com, or applianceparts.com for guaranteed compatibility and fast shipping.
Access the Drive Belt System
How you open the washer depends on the brand and design. Choose the method that matches your model.
Remove Front Panel (Frigidaire-Style)
This method works on Frigidaire, Electrolux, and some Whirlpool top-loaders:
- Insert a putty knife 2 to 3 inches from each side at the top of the front lower panel to release spring clips.
- Press down and pull the panel forward to disengage it.
- Remove two bottom screws with a Phillips screwdriver.
- Push the panel down and tilt outward to remove.
Do not lift the main top. Once clips are released, it floats loosely.
Tilt and Access Rear (Whirlpool, GE, Samsung)
For models with rear or bottom access:
- Carefully tilt the washer backward onto wooden blocks or a dolly.
- Place a towel underneath to protect flooring.
- Remove screws securing the rear access panel or bottom cover.
- Take off the panel, watching for clips or retaining tabs.
Remove leveling legs or wedge wood under corners to prevent rolling.
Remove the Old Drive Belt
With access achieved, focus on safe removal of the worn belt.
Release Belt Tension
Locate the idler pulley, which is a small spring-loaded wheel pressing against the belt. Use pliers or your hand to push it inward toward the motor, relieving tension. Hold it compressed throughout removal.
Take Off the Old Belt
- Slide the belt off the large transmission or drum pulley first.
- Pull it over the motor pulley.
- Extract the old belt from beneath the assembly.
Inspect the old belt for cracking, glazing, or fraying. These indicate age and wear. A burnt smell suggests slippage or overheating.
Check Pulleys and Idler Assembly
Examine all components before installing the new belt:
- Idler pulley should spin freely. Replace if stiff or noisy.
- Motor and drum pulleys need checking for wobble, cracks, or debris in grooves.
- Tighten any loose motor mounts. Movement affects tension.
Replace the idler pulley assembly if the spring feels weak or the bearing is seized.
Clean and Prepare for New Belt Installation
A clean system extends belt life and prevents slippage.
Wipe Down Pulleys
Use a dry cloth to remove dust and rubber residue from all pulley surfaces. For oily buildup, apply isopropyl alcohol or degreaser and scrub gently. Ensure grooves are clear. Debris reduces grip and causes premature wear.
Clear Obstructions
Check the belt path for sharp edges, loose wires, or misplaced hardware. File down burrs and reposition any components that could rub against the new belt. Confirm pulleys are aligned and secure. Misalignment leads to noise and tracking issues.
Install the New Drive Belt
Correct routing and tension are key to long-term performance.
Route the Belt Properly
- Place the new belt under the drum or transmission pulley.
- Loop it over the idler pulley.
- Ensure the ribbed side faces inward if applicable to match pulley grooves.
Ribbed belts must sit fully in the grooves with no twisting or misalignment.
Engage Motor and Large Pulley
- Stretch the belt onto the motor pulley, seating it completely.
- Push the idler pulley inward to create slack.
- Roll the belt onto the large pulley by hand, rotating it slowly to guide the belt into place.
Manually turn the drum clockwise. The belt should move smoothly without jumping or catching.
Verify Tension and Alignment
Press the belt midway between pulleys. It should deflect about 1/2 inch vertically. Too loose causes slippage. Too tight strains the motor. Adjust by repositioning the motor on adjustable mounts or confirming the idler arm is functioning properly.
Brand-Specific Installation Tips

Different brands require unique steps for proper fit.
Whirlpool, Maytag, KitchenAid
Tilt washer back and remove rear panel with a 5/16-inch nut driver. Install belt on motor pulley first, then stretch over transmission pulley. Tension is automatic via spring-loaded idler arm with no adjustment needed. Compatible with Amana and some Kenmore models. Verify model number first.
GE Models
Remove belt cover with a 1/4-inch bit or 3/8-inch socket. Place new belt on large pulley first, rib side inward. Stretch over small motor pulley. Rotate pulleys to align, then reattach cover with three screws.
Samsung (Top-Load)
Tilt machine back with no panel removal needed. Use a 10 mm socket to loosen motor mounting bolts. Route belt around drum pulley first, then motor pulley. Lift motor slightly to tighten belt, then retighten bolts.
Frigidaire
Remove front panel with putty knife and Phillips screwdriver. Compress idler pulley to release tension. Install belt under transmission pulley, over idler, then motor pulley. Reinstall panel by aligning hooks, pushing up, and securing bottom screws.
Reassemble the Washer
Careful reassembly prevents future issues.
Reattach Front Panel (Frigidaire-Style)
- Align lower hooks of the panel with cabinet slots.
- Push panel upward until flush with the top.
- Reinstall two bottom screws.
- Press down on the main top to re-engage spring clips.
Replace Rear or Bottom Panel
- Slide the access cover back into position.
- Align locating pins with transmission or gear case.
- Secure with 5/16-inch or 3/8-inch screws.
- Return washer to upright position slowly. Watch for pinched hoses.
Ensure the machine is level and stable before reconnecting utilities.
Test the Repair
A proper test confirms your success.
Reconnect and Restore
- Reattach hot and cold water hoses. Hand-tighten plus a quarter turn.
- Plug in the power cord and restore the circuit breaker.
- Open water valves and check for leaks at connections.
Run a Diagnostic Cycle
Select a normal wash cycle with spin. Observe these indicators:
- Drum spins freely during agitation and high-speed spin
- No squealing, grinding, or slapping noises
- Belt stays centered and seated
- Clothes come out adequately dry
Full spin speed achieved with no error codes and smooth operation indicates success. Belt slips, squeals, or drum does not turn mean recheck routing, tension, or test lid switch and motor.
Troubleshoot Common Post-Replacement Issues
Even careful installs can go wrong. Here is how to fix common problems.
Belt Slips During Spin
Cause: Incorrect tension, wrong belt size, or glazed pulleys. Fix: Recheck fit, clean pulleys with alcohol, or replace if worn.
Squealing Noise
Cause: Misalignment or dirty pulley grooves. Fix: Reinstall belt, ensure full seating, and clean all contact surfaces.
Belt Comes Off After Running
Cause: Weak or broken idler spring. Fix: Replace the entire idler pulley assembly, not just the belt.
Drum Won’t Spin
Cause: Incorrect routing, failed motor coupling, or lid switch issue. Fix: Double-check belt path. Test motor and lid switch separately.
Burning Rubber Smell
Cause: Belt too tight, wrong type, or rubbing against housing. Fix: Verify correct model-specific belt and proper clearance.
Excessive Vibration
Cause: Loose motor mounts or misaligned pulleys. Fix: Tighten all bolts and realign components.
If the idler arm feels loose or does not spring back, replace the whole assembly. It is cheap insurance.
Extend Belt Life with Smart Maintenance
Prevent future failures with simple habits.
Inspect Annually
If your washer is over 5 years old, check the belt during routine maintenance. Look for cracks, glazing, or stretching. Replace proactively. Do not wait for failure.
Keep It Clean
Wipe pulleys during inspection. Dirt and oil reduce grip and accelerate wear.
Avoid Overloading
Excessive weight strains the belt and motor. Follow load guidelines in your manual.
Level the Washer
An unbalanced machine increases stress on the drive system. Use a level and adjust feet as needed.
Replace Idler Pulley with Belt
If the idler pulley shows wear, replace it with the belt. A failing pulley will ruin a new belt fast.
Under normal use, expect 6 to 10 years of belt life. Heavy loads or imbalance may shorten this to 4 to 5 years.
Key Takeaways for Changing Your Washing Machine Drive Belt
Replacing a washing machine drive belt is a moderately simple repair that saves $150 to $300 in service fees. Most homeowners complete it in 30 to 60 minutes with basic tools. Key to success lies in correct part matching, safe access, and proper tensioning. Always use your full model number when ordering parts. Consult RepairClinic.com or appliancepartspros.com for exploded diagrams and videos. If your washer uses a direct-drive system, this guide does not apply. Seek motor or control board diagnostics instead. With the right approach, you will restore full spin performance and extend your washer’s life for years.
Frequently Asked Questions About Changing a Washing Machine Drive Belt
How do I know if my washing machine belt needs replacement?
Signs include the drum not spinning during the spin cycle while agitation still works, loud squealing or slapping noises, a burning rubber smell, visible cracks or fraying on the belt, and clothes coming out excessively wet. If your motor runs but the drum does not turn, the belt is likely the culprit.
How long does it take to replace a washing machine drive belt?
Most homeowners complete the job in 30 to 60 minutes. The time depends on your model, your experience level, and how easily you can access the belt. Having the right tools ready beforehand speeds up the process significantly.
Can I replace just the belt, or do I need to replace the idler pulley too?
You can replace just the belt if the idler pulley is in good condition. However, if the idler pulley shows signs of wear, feels stiff, or has a weak spring, replace it at the same time. A failing idler pulley will quickly ruin a new belt.
Where can I find the correct belt for my washing machine model?
Use your full model number (found on the door rim, back panel, or control panel) to order from appliancepartspros.com, RepairClinic.com, or applianceparts.com. Entering the exact model number ensures you get the correct belt. Common part numbers include WPW10006384 for Whirlpool/Maytag and WH01X24180 for GE models.
What should I do if the belt still slips after replacement?
Check the tension by pressing the belt midway between pulleys. It should deflect about 1/2 inch. If it deflects more, the belt is too loose. Clean the pulleys with isopropyl alcohol to remove any glaze or debris. If problems persist, inspect the idler pulley spring or motor mounts for weakness or damage.