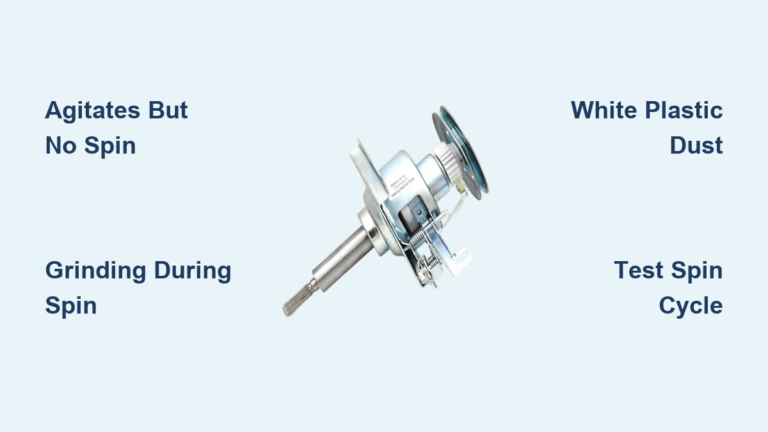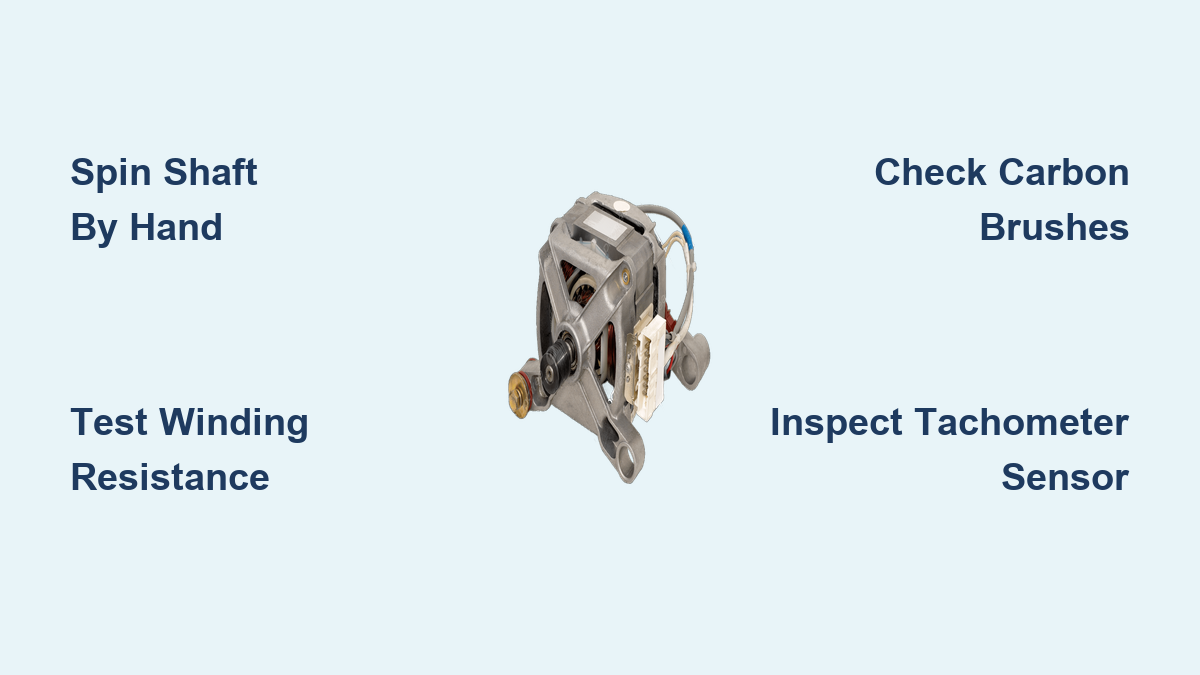
How to Check Washing Machine Motor: Quick Steps
Is your washing machine filling with water but refusing to spin? Does it make grinding noises or fail to agitate properly? These symptoms often point to motor problems, but the truth is most motor issues are actually caused by worn carbon brushes, faulty sensors, or broken shift actuators. Jumping straight to motor replacement can cost you $150 or more unnecessarily. This guide gives you a step-by-step, technician-approved method to diagnose your washing machine motor with confidence.
You will learn how to test for mechanical seizure, measure winding resistance, check the tachometer sensor, inspect carbon brushes, and rule out common false alarms using a simple multimeter. By the end, you will know whether the motor is truly bad or if a $20 part is all you need to get your washer running again.
Access the Washing Machine Motor
To test the motor properly, you must first reach it safely. Motor location and access methods vary depending on your washer type.
Motor Location by Washer Type
Front-load models with direct drive have the stator mounted on the rear of the outer tub. You will need to either tip the washer backward or remove the front panel to access it. Top-load direct drive models have the motor sitting directly beneath the tub, requiring cabinet removal for access from below. Belt-driven models have the motor under the tub, connected via a drive belt, and are accessed the same way as front-load units.
Steps to Reach the Motor
Unplug the washer and move it away from the wall. Tip the machine carefully onto its back, using a mat to protect your floor. Remove the belt cover using a 5/16-inch socket or screwdriver. Disconnect any hoses or brackets blocking access. Remove the drive belt from the motor pulley. Finally, unplug the motor wiring harness to prepare for testing.
Always unplug the washer and turn off the water supply before starting any repair work. Never work on a powered machine.
Spin the Motor Shaft by Hand
Before performing any electrical testing, check the motor mechanical condition. This simple test can save you time on unnecessary electrical diagnostics.
How to Test Shaft Rotation
With the belt removed, try rotating the motor shaft or pulley by hand. Listen carefully for grinding sounds, resistance, or clicking during rotation.
What the Results Mean
If the shaft spins freely and quietly, the motor is mechanically sound and you should proceed to electrical tests. If the shaft feels stiff or seized, the bearings have failed and the motor must be replaced. If you hear grinding or roaring noises during rotation, there is internal damage and the motor needs replacement. A seized motor will not work no matter how good the electrical connections are.
Test Motor Winding Resistance

Use a digital multimeter to check the motor windings. This reveals open circuits, shorts, or out-of-spec coils that indicate winding failure.
Set Up Your Multimeter
Turn the dial to resistance mode. Use the lowest range, typically 200 to 500 ohms. Always disconnect the motor wiring harness before testing.
Check Resistance Based on Motor HP
For 1/4 HP motors, the expected resistance range is 5 to 9.5 ohms. For example, white to red reading of 6.1 ohms and white to yellow reading of 6.2 ohms would both be acceptable. For 1/3 HP motors, the expected range is 3.5 to 6 ohms. For instance, white to orange reading of 4.8 ohms and white to red reading of 5.2 ohms would both fall within acceptable range.
If any reading shows infinite resistance or zero ohms, the motor has an open or shorted winding and must be replaced.
Universal Test When HP Is Unknown
Measure resistance between all three terminals. Find the pair with the highest total resistance, as these are the running and starting windings. The third terminal is the common. Compare each to common to identify which is the running winding (lower resistance to common) and which is the starting winding (higher resistance to common). The combined resistance should approximately equal the sum of the individual windings.
Diagnose Carbon Brush Failure
Worn carbon brushes are the number one cause of motor not spinning issues, and they are remarkably easy to fix. This is often the culprit when the drum fills but does not spin.
Signs of Bad Carbon Brushes
Watch for these indicators that brushes need attention. The drum fills but does not spin. Operation is intermittent. There is visible sparking at the back of the motor.
Inspect Brush Length
Remove the motor or brush caps to access the brushes. Measure the brush length. New brushes measure 15 to 20 millimeters. Replace brushes if they measure less than 5 millimeters, are chipped, or appear uneven.
Test Brush Continuity
Set your multimeter to resistance mode. Probe the blue and purple wires, which connect to the brushes. The expected reading is 1 to 7 ohms. A reading of 5 ohms indicates good condition. A reading of infinite ohms indicates an open circuit and the brushes must be replaced.
Carbon brushes cost only $10 to $20 and are user-replaceable. This simple fix often resolves the problem without touching the motor at all.
Test the Tachometer RPM Sensor

The tachometer tells the control board how fast the motor is spinning. If it fails, the washer thinks the motor is not working even when it actually is.
Locate the Sensor
Find the sensor at the end of the motor housing. It is connected by two red wires in most models.
How to Test
Disconnect the sensor wires. Set your multimeter to resistance mode. Probe both red terminals.
Expected Reading
The typical range is 50 to 100 ohms. For Whirlpool and Maytag models, 70 to 71 ohms is common. A reading of 70.5 ohms indicates a functional sensor. A reading of zero ohms or infinite ohms indicates a failed sensor.
If the sensor is bad and not sold separately, you may need to replace the entire motor assembly.
Check for Ground Faults
A short to ground can trip breakers, damage the control board, or create shock hazards. This test is critical for safety.
How to Test
Set your multimeter to continuity or resistance mode. Place one probe on the motor metal body. Touch the other probe to each terminal, including white, red, yellow, and any other colored wires.
What to Look For
No beep or infinite ohms between live terminals and chassis indicates the motor is good. A beep or low resistance indicates a short to ground, meaning the motor is unsafe and defective. A beep when testing the green wire indicates proper grounding and is expected.
Never use a motor with a ground fault. It poses a fire and shock risk.
Identify Motor Terminals Without Labels
If wire colors are faded or labels are missing, use resistance measurements to identify terminals safely.
Terminal Identification Steps
Measure resistance between all three terminals. The pair with highest resistance represents the running and starting windings combined. The third terminal is the common. Compare each terminal to common to identify which has lower resistance (running winding) and which has higher resistance (starting winding).
Never rely on wire color alone. Always verify with resistance measurements.
Rule Out Non-Motor Failures First
Over 60% of motor problems are actually caused by other parts. Always check these components before replacing the motor.
Is It the Shift Actuator
The shift actuator is the most common failure in Whirlpool and Maytag washers. It controls motor-to-transmission engagement. Error code F7 E5 indicates a likely actuator issue. Replacement costs $20 to $25 compared to $150 or more for a motor.
Inspect the actuator for broken arms or looseness. Replace if damaged. Run a calibration cycle after replacement. This often fixes no spin issues without touching the motor.
Test the Lid Switch
The lid switch prevents spin when the lid is open. Failure disables the motor even if it is healthy. Unplug the washer. Set multimeter to continuity. Probe the switch terminals. The multimeter should beep when the switch is closed. No beep means replace the lid switch.
Inspect the Drive Belt
The belt can slip or break, stopping drum rotation. Look for cracks, fraying, or looseness. Replace if worn. This takes about 10 minutes.
Check the Control Board
The control board sends power to the motor. Look for burn marks or bulging capacitors. Test with a multimeter or swap with a known-good board if available.
Test the Drain Pump
Clogs prevent the spin cycle from starting. Listen for humming and check for blockages. Clear or replace if faulty.
Read Error Codes Using Diagnostic Mode
Modern washers self-diagnose. Always check error codes before replacing expensive parts.
Common Error Codes
F7 E5 indicates a motor speed issue, pointing to the shift actuator or tachometer. ND or F02 indicates no drain or spin, requiring checks of the pump, lid switch, or belt. SUD indicates excess suds, which inhibits the spin cycle.
How to Enter Diagnostic Mode
Close the door. Turn the dial to Spin Only or Rinse. Press and hold Start/Pause for 3 to 5 seconds. Watch for flashing lights or code display on the control panel.
Use error codes to target specific subsystems and avoid unnecessary motor replacement.
Final: Is the Motor Bad
Use this checklist to make the final call on whether your motor needs replacement.
Replace the Motor If
The shaft will not spin or makes grinding noise. Any winding shows infinite resistance. Resistance falls outside the horsepower-specific range. A short to ground is detected. The tachometer or field windings have failed. All other parts have tested good but the problem persists.
Motor Is Likely Good If
The shaft spins smoothly. All windings show finite, correct resistance. No ground faults exist. Brushes and sensors test good. The problem can be traced to the actuator, lid switch, or belt instead.
Most bad motor diagnoses actually turn out to be failed shift actuators or worn brushes. Test systematically before spending money on a replacement.
Reassemble and Test
After diagnosis or replacement, follow these steps to get your washer running again.
Reconnect all wire harnesses securely. Reinstall the drive belt with proper tension, allowing about 1/2 inch of deflection. Replace the belt shield and fasten all bolts. Return the washer to its upright position carefully. Reconnect water supply and power. Run a test spin cycle.
Monitor for smooth high-speed spinning with no grinding or stuttering. Verify complete drainage and ensure no error codes appear.
Get the Right Parts
Use OEM or compatible parts from trusted sources. Check eSpares.co.uk for carbon brushes, motors, and stators. AppliancePartsPros.com carries Maytag motors like W10832724 along with installation guides. Always match the part number to your model label, located inside the door or on the back panel.
Frequently Asked Questions About Checking Washing Machine Motors
How do I know if my washing machine motor is bad
Signs of a bad motor include the drum not turning despite normal water fill, grinding or roaring noises during spin, visible sparking near the motor, and error codes related to motor speed. However, many symptoms attributed to motor failure are actually caused by worn brushes, faulty sensors, or failed shift actuators, so systematic testing is essential.
What tools do I need to test a washing machine motor
You need a digital multimeter set to resistance mode. A 5/16-inch socket or screwdriver helps remove the belt cover. Screwdrivers and pliers are useful for accessing components. A voltage tester verifies power is off before working. Protective gloves are recommended.
Can I test the motor without removing it
You can perform some tests by accessing the motor in place. Spin the shaft by hand to check mechanical condition. Check for ground faults by testing from the motor terminals to the chassis. However, you must remove the motor to test winding resistance, brush continuity, and tachometer sensor readings accurately.
What resistance should a washing machine motor have
Resistance varies by motor horsepower. A 1/4 HP motor should read 5 to 9.5 ohms across its windings. A 1/3 HP motor should read 3.5 to 6 ohms. The tachometer sensor typically reads 50 to 100 ohms, with 70 to 71 ohms common in Whirlpool and Maytag models.
How much does it cost to replace a washing machine motor
A replacement motor typically costs $150 or more, plus labor if professionally installed. However, the actual problem is often a failed shift actuator costing $20 to $25 or worn carbon brushes costing $10 to $20. Always diagnose thoroughly before committing to motor replacement.
Can I replace just the carbon brushes instead of the whole motor
Yes, carbon brushes are user-replaceable and often fix spinning issues. New brushes measure 15 to 20 millimeters. Replace them if they are shorter than 5 millimeters, chipped, or uneven. Brush continuity should read 1 to 7 ohms. This simple fix resolves many motor-related symptoms without motor replacement.
Key Takeaways for Checking Your Washing Machine Motor
Checking a washing machine motor requires a systematic approach combining mechanical inspection, electrical testing, and fault exclusion. Always start by spinning the shaft by hand to rule out mechanical seizure before wasting time on electrical tests. Winding resistance should fall within 3.5 to 9.5 ohms depending on motor horsepower, while the tachometer sensor should read 50 to 100 ohms.
Most importantly, over 60% of motor problems turn out to be failed shift actuators, worn carbon brushes, or faulty sensors instead of actual motor failure. Check error codes first, inspect the shift actuator in Whirlpool and Maytag models, and test carbon brushes before committing to expensive motor replacement. With a multimeter and these diagnostic steps, you can accurately identify the problem and get your washer running again without unnecessary parts purchases.