How to Connect Washing Machine to Tap
Connecting a washing machine to a tap is a practical solution for homes without dedicated laundry plumbing. Whether you’re renting, setting up in a garage, or using a utility room, this method lets you install your machine quickly without calling a plumber. The key is creating a secure, leak-free connection between your tap and the washing machine’s cold water inlet.
This guide covers every step: choosing the right adapter for your tap type, assembling components properly, avoiding common leaks, and testing the system safely. You’ll learn how to connect threaded, one-touch, and non-threaded taps, route hoses correctly, and what mistakes to cost you time and money.
Identify Your Tap Type
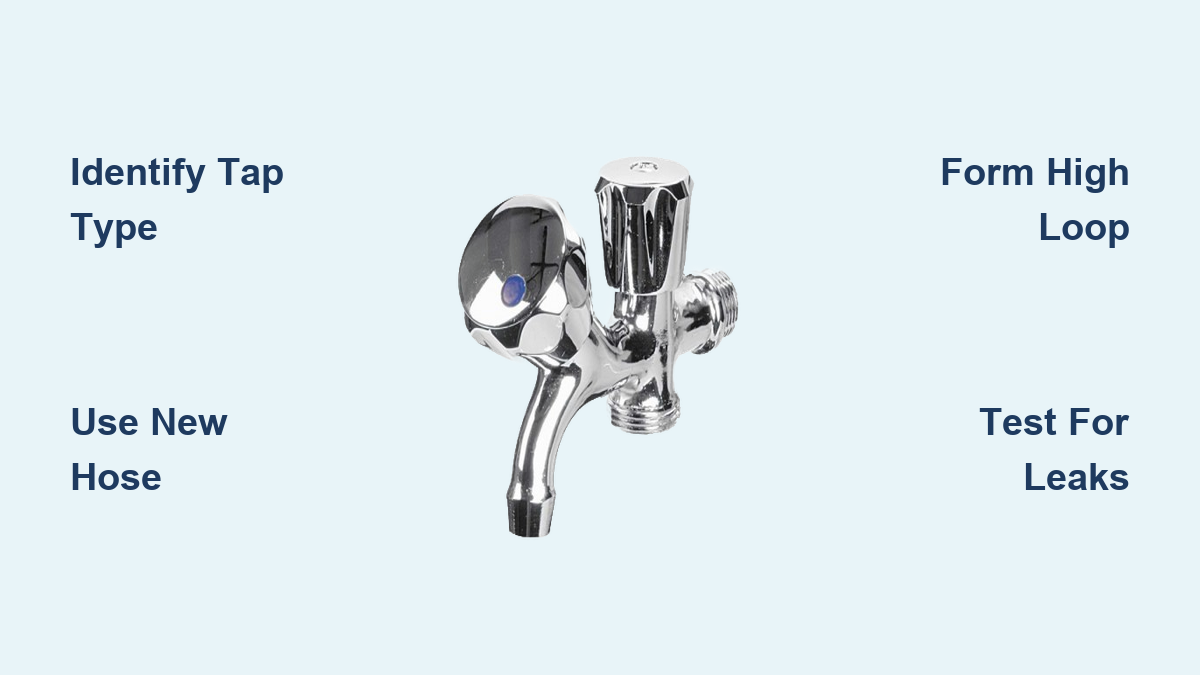
Before buying any adapters, you need to know what kind of faucet you have. This determines everything else about your installation.
Threaded Tap Connection
Older sinks typically have threaded spouts where the aerator screws off, exposing male threads.
To confirm your tap type, unscrew the tip of the tap. If it comes off and reveals screw threads, you have a threaded tap. The flat end of the washing machine hose attaches directly to these threads. Always use a new hose with an intact rubber washer, as reused or damaged washers cause most leaks.
Pro Tip: Wrap the tap threads with PTFE tape for extra sealing. Apply it clockwise, 3-4 wraps only.
One-Touch Tap Setup
Modern faucets often use push-fit one-touch systems with a locking latch mechanism. This system includes an adapter ring, rubber seal, and latch plate.
To connect, slide the adapter onto the spout and tighten the four screws evenly. Insert the hose nozzle into the adapter until it clicks, then pull gently to confirm it’s locked. If the seal doesn’t compress fully, leaks will occur under pressure.
Fix Tip: If the hose won’t lock, the adapter may be too loose. Retighten the screws or replace if worn.
Non-Threaded Tap Solution
Smooth, unthreaded spouts common in modern faucets need a one-touch adapter. Remove the aerator if present, then fit the adapter with rubber seal over the spout. Secure with four screws, but do not over-tighten. Connect the hose via the latch mechanism.
Best Practice: Test the adapter before attaching the machine. Turn on the tap briefly to check for drips.
Install the Faucet Adapter Correctly

A universal faucet adapter lets you connect a washing machine to almost any sink. This 3-part system includes a plastic nozzle, metal ring, and rubber seal.
Assemble the Adapter
Insert the Teflon backup ring into the four screw recesses of the metal ring, aligning grooves with the screws. Place the rubber seal into the base of the plastic nozzle, then screw the plastic nozzle into the metal ring until slight resistance is felt. A small gap should remain between the nozzle and screw heads, indicating proper tension.
Critical: Never skip the Teflon backup ring. Without it, the rubber seal lifts over the screws when tightened, causing leaks.
Mount Adapter to Tap
Loosen the four screws on the metal ring and insert the assembly into the tap spout. Rotate so screws face backward toward the wall for easy access. Tighten screws evenly using hand pressure only. Finalize by slightly tightening the plastic nozzle until dripping stops.
Visual Check: After installation, look for even contact between the rubber seal and tap face. Gaps mean leaks.
Attach the Water Supply Hose

The supply hose links the tap to your washing machine’s cold water inlet. Choosing the right hose matters more than most people realize.
Choose the Right Hose
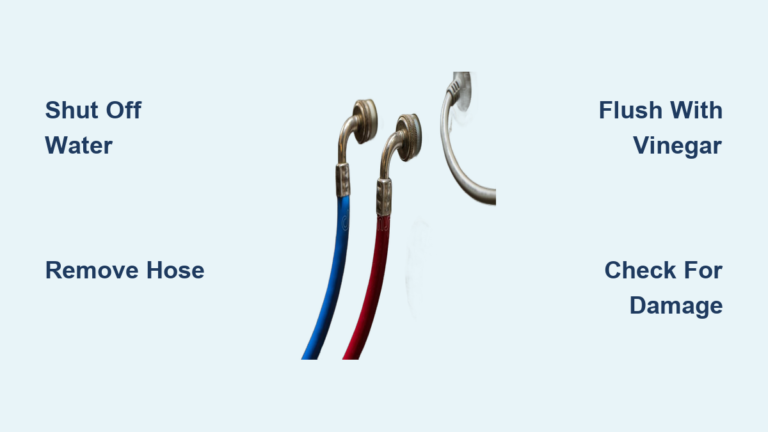
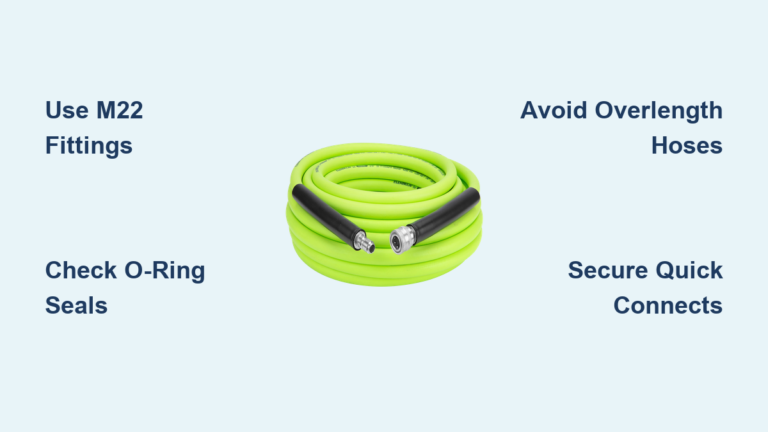
Select a hose that is 1.5-2 meters long, long enough to reach without kinking. The flat end connects to the tap, while the curved end connects to the machine. Most hoses use 3/4 inch BSP threads, and factory-sealed rubber washers come at both ends.
Always use a new hose. Old hoses degrade and cause 70% of post-installation leaks.
Connect Hose to Tap
Hand-tighten the flat end to the tap or adapter. Never use tools on hose connections, as over-tightening strips plastic threads or crushes seals. Ensure no kinks or twists in the hose path.
Connect Hose to Machine
Locate the cold water inlet on the back of the machine, usually marked with a snowflake symbol. Attach the curved end by hand and route the hose smoothly without sharp bends.
Warning: Never force-thread the hose. If it resists, check for cross-threading.
Route and Secure the Waste Water Hose
Your washing machine’s waste hose must drain properly to prevent siphoning or overflow.
Install High Loop
The waste hose needs a minimum height of 60 cm above the floor, with a maximum of 90-100 cm. This prevents dirty water from siphoning back into the machine. Feed the open end into a standpipe, sink trap, or U-bend. Form a U-shape and secure the hose under the countertop or cabinet using a hose clamp or plastic clip.
Never seal the hose into the drain. A closed system can siphon water or cause overflow.
Use a U-Bend or Standpipe
A U-bend, also called a P-trap, works ideal for sink connections because it keeps a water seal to block odors. A standpipe is a vertical pipe, minimum 60 cm tall, for floor drains. Secure with a clamp to prevent the hose from popping out during drainage.
Pro Tip: Place a drip tray under the connection to catch minor leaks.
Level the Washing Machine
An unlevel machine vibrates violently, damages floors, and may fail prematurely.
Adjust Machine Legs
Use a spirit level on top of the machine, checking front-to-back and side-to-side. Loosen the locking nuts on the front legs, then turn legs clockwise to raise or counterclockwise to lower. Retighten nuts once level, then rock the machine gently. No movement means it’s stable.
Critical: Remove transit bolts before leveling. Leaving them in causes loud banging and internal damage.
Test Stability
Push down on each corner. No wobble indicates proper stability. Run a short spin cycle and watch for excessive vibration. If the machine shakes violently, re-level.
Quick Fix: Place anti-vibration pads under feet for extra stability on hard floors.
Test for Leaks and Function
Never run a full wash without testing first. Water damage from leaks can cost thousands in repairs.
Step-by-Step Leak Check
Turn on the water supply slowly. Sudden pressure can burst weak seals. Inspect these points carefully: tap adapter, hose connections at both ends, machine inlet valve, and waste hose junction. Place dry paper towels under joints to detect slow leaks.
Run a short rinse cycle without clothes. Monitor that water fills normally, no leaks appear under pressure, and the machine drains completely.
Night Test: If unsure about leaks, run the cycle overnight with a bucket or drip tray below.
Fix Slow Fill or No Fill
Common causes include a kinked supply hose, partially closed tap, clogged inlet filter, or low water pressure below 0.5 bar. Straighten kinks and open the tap fully. Clean the inlet filter annually by unscrewing the cap on the machine’s cold inlet, removing the mesh filter, and rinsing under running water. For low pressure, consider installing a pressure booster.
Prevention: Flush the hose before connecting. Run water through it to remove debris.
Prevent Backflow and Flooding
Protect your home and water supply with smart safety practices.
Install an Aqua Valve
An aqua valve prevents wastewater from siphoning back into drinking water. Install it between the tap and hose. This is required for potable water taps in many regions by law.
Winterize in Cold Climates
Before freezing temperatures arrive, drain the line completely. Shut off water, disconnect the hose, and drain all residual water. Store the hose indoors if possible. This prevents cracked hoses, valves, or adapters.
Tip: In garages or sheds, insulate hoses or use heat tape to prevent freezing.
Maintain and Replace Components
Long-term reliability depends on routine care every six months.
Inspect Every Six Months
Check for bulges or cracks in the hose, dampness under connections, loose screws on the adapter, and mineral buildup on the tap face. Replace hoses every five years, even if they look fine.
Clean Faucet Face Regularly
Hard water deposits prevent proper sealing. Turn off the water, then use 400+ grit emery paper to sand the tap face smooth. Wipe clean and reinstall the adapter.
Pro Tip: Inspect the faucet angle. It must be 90 degrees to the spout. A tilted face causes leaks.
Avoid Common Installation Mistakes
These errors cause most installation failures. Avoid them to save time and prevent water damage.
Over-tightening screws crushes rubber seals and warps plastic. Always hand-tighten only. Misaligned adapter screws face forward, making them hard to access for tightening. Rotate the adapter so screws face rearward before final tightening.
Reusing old hoses risks cracked washers and weak reinforcement. Always use new hoses from the machine box or OEM source. Forgetting transit bolts causes loud banging during spin and can destroy shock absorbers while voiding your warranty.
Checklist Reminder: Remove all transit bolts, level the machine, run a test cycle, and inspect for leaks before regular use.
Alternative Use: Tap from Washing Machine Inlet
You can reverse the setup and use the machine’s inlet to install a new tap in a garage or garden.
Steps to install:
- Shut off main and isolation valves
- Disconnect supply hose, catching water in a bucket
- Install a two-way isolation valve on the inlet
- Run a blue cold water hose to the desired location
- Drill a wall opening, avoiding wires and pipes
- Mount the tap on a backing board for support
- Use a reducer adapter if thread sizes differ
- Apply PTFE tape clockwise on male threads
- Hand-tighten all connections
- Test for leaks and proper flow
Drainage Tip: Slope the hose slightly downward to prevent freezing and ensure proper drainage.
Frequently Asked Questions About Connecting a Washing Machine to a Tap
Can I connect a washing machine to any kitchen tap?
Most kitchen taps work with the right adapter. Threaded taps accept the hose directly. Non-threaded and one-touch taps need a universal adapter kit. Check your tap type before buying adapters.
Why does my washing machine leak at the tap connection?
Leaks usually come from three causes: missing or damaged rubber washers, over-tightened connections that deform seals, or mineral buildup on the faucet face preventing a seal. Always use new hoses and clean the tap face before installing adapters.
Do I need a plumber to connect a washing machine to a tap?
No, most homeowners can do this themselves in under an hour. The process requires no specialized plumbing skills. Just follow the adapter instructions and hand-tighten all connections.
How high should the waste hose loop be?
The high loop must be at least 60 cm above the floor and no higher than 90-100 cm. This prevents siphoning while allowing proper drainage.
Can I leave the adapter on the tap permanently?
Yes, permanent installations work fine. Just inspect the adapter and hose every six months for wear. In cold climates, remove and store the adapter during winter to prevent freeze damage.
Key Takeaways for Connecting Your Washing Machine to a Tap
Connecting a washing machine to a tap is straightforward when you focus on three things: seal integrity, correct adapter use, and thorough leak testing. Choose the right adapter for your tap type, whether threaded, one-touch, or non-threaded. Always use new hoses with intact rubber washers, and never skip the Teflon backup ring in the adapter assembly.
Hand-tighten every connection. Over-tightening damages plastic threads and crushes seals. Form a proper high loop for the waste hose between 60-100 cm above the floor to prevent siphoning. Remove all transit bolts from new machines before use, and level the unit with a spirit level for stable, vibration-free operation.
Test the entire system with a short rinse cycle before running regular loads. Place paper towels under connections to catch slow drips. Inspect components every six months, replace hoses every five years, and winterize in freezing climates. Following these steps ensures safe, efficient operation whether your installation is temporary or permanent.