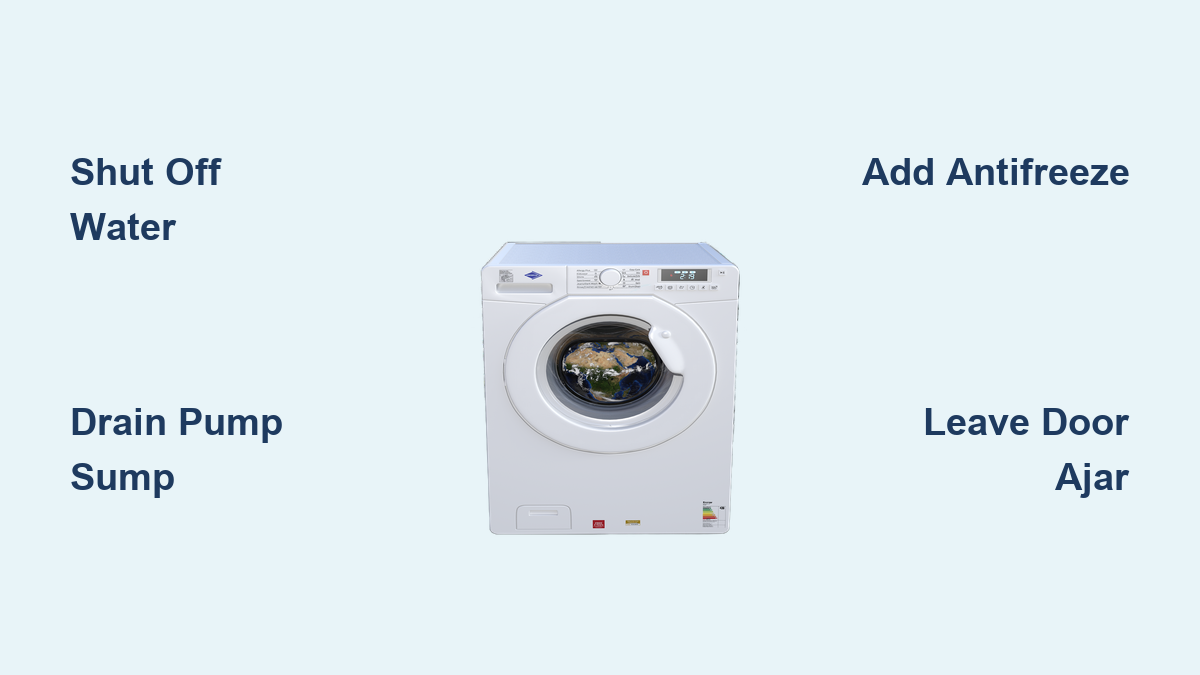
How to Winterize a Washing Machine: Quick Steps
If you’re preparing a seasonal home, RV, or unheated cabin for winter, how to winterize a washing machine is a critical question. When temperatures drop below freezing, residual water inside your washer can expand and cause cracked hoses, burst pumps, or ruined valves. This leads to expensive repairs or total appliance failure. Winterizing prevents freeze damage by removing or protecting all standing water in the system.
This guide delivers a complete, step-by-step process for safely winterizing any washing machine. You’ll learn how to drain internal components, use non-toxic antifreeze correctly, protect vulnerable parts like the pump and door seal, and reactivate the machine safely in spring.
Shut Off Water and Power Before Winterizing
Before beginning any winterization steps, cut off both water and electricity to prevent accidents and system pressurization.
Turn Off Hot and Cold Water Valves
Locate the wall-mounted supply valves behind the washer. Turn both the hot and cold handles clockwise until fully closed. This stops water from entering the machine during disconnection and prevents backflow.
Unplug the Washer or Flip the Breaker
Pull the power cord from the outlet, or switch off the circuit breaker if hardwired. Never work on a live appliance. Even low-voltage controls can pose risks. Confirm power is off before disconnecting hoses or accessing internal parts.
Pro Tip: Label the breaker panel “Washer Off – Winter Storage” to prevent accidental reactivation.
Drain Inlet Hoses Completely
Residual water in the fill hoses can freeze and crack connections, especially in unheated spaces.
Disconnect Hoses Safely
Place a shallow pan or absorbent towel beneath the back of the washer. Unscrew the hot and cold inlet hoses from the machine’s water inlet valves. Let them drain fully into the pan. This often releases one to two cups of water.
Store Hoses Properly
Lay hoses flat or coil them upright to prevent re-siphoning. Leaving them connected increases freeze risk, so disconnecting is strongly recommended even if using antifreeze.
Visual Cue: Look for color-coded fittings. Red is for hot, blue is for cold. This simplifies reconnection in spring.
Empty the Drain Pump Sump on Front-Load Models

The drain pump sump is the most vulnerable part of any washer. It traps one to two quarts of water even after spinning, making it a prime location for freeze damage.
Access the Pump Filter
On front-load washers, locate the small access panel at the bottom front. Usually bottom right. Use a screwdriver or coin to remove the cover.
Drain and Clean the Filter
Place a towel or bucket underneath. Slowly unscrew the filter cap to release pressure and let water drain. Once empty, remove the filter, clean out lint or debris, and store it inside the drum.
Expert Note: Some high-efficiency models retain significant water. Manual drainage is non-negotiable for freeze protection.
Leave Housing Open Slightly
After removal, leave the filter housing open a crack to promote air circulation and prevent moisture buildup during storage.
Dry the Detergent Dispenser Thoroughly
The fabric softener compartment is notorious for holding water long after cycles end.
Remove the Detergent Drawer
Pull the drawer out fully. Some models require pressing a release tab. Empty all compartments, especially the softener well.
Dry Every Section Completely
Use a lint-free cloth or compressed air to dry every section. Reinsert the drawer only if storing in a dry climate. Otherwise, leave it out to prevent mold.
Warning: Moisture here can lead to mildew and clogs upon reactivation.
Add Non-Toxic RV Antifreeze Properly
Even after draining, water remains in valves, hoses, and the pump. Antifreeze lowers the freezing point of residual fluid, protecting components down to -50°F (-45°C).
Use Only Propylene Glycol Antifreeze
Pour one quart of pink-colored, non-toxic RV antifreeze directly into the drum. This type is safe for plumbing and septic systems.
Approved Types:
• RV antifreeze (pink, propylene glycol)
• Marine antifreeze (propylene glycol-based)
• Pah-Nol non-toxic antifreeze
Never Use:
• Automotive (ethylene glycol) antifreeze (toxic and damaging)
Adjust Quantity by Model
Standard top-load models need one quart. Front-load or large capacity models may need up to one-half gallon. Some users in extreme cold zones add two cups extra.
User Verified: Reports from Vermont users confirm two cups (16 oz) is sufficient with full drainage.
Circulate Antifreeze Through the System

Running a short cycle ensures the antifreeze reaches all internal lines, including the pump, sump, and drain hose.
Run Rinse and Spin for 30 to 60 Seconds
Reconnect power temporarily. Select Rinse and Spin or Spin-Only. Start the cycle and let it run for 30 to 60 seconds, then pause or stop.
Purpose: Distributes antifreeze without fully draining it. Leaving a protective mix in the system is essential.
Do Not Complete the Cycle
Stopping early retains the antifreeze in hoses and pump, which is essential for freeze protection.
Tech Insight: This brief spin moves fluid through solenoid valves and outlet tubing, covering areas manual flushing misses.
Clear Residual Water from Fill Lines
Some water remains trapped in inlet valves even after draining. This optional enhanced step helps purge it.
Activate Fill Phases Briefly
Run the fill portion of multiple cycles without completing them. Each activation opens the valves and allows residual water to drain.
Note: Do not add water. Just use the machine’s internal pump to clear lines.
Dry and Position the Drain Hose
The drain hose can hold standing water that freezes and blocks the system.
Blow Out Moisture with Cold Air
Disconnect the hose from the standpipe. Use a hair dryer on cold air setting for three to five minutes to blow out water. Avoid heat, which can warp plastic.
Loop Downward for Gravity Drainage
Alternatively, loop the hose downward to encourage full drainage. Reconnect only if using antifreeze. Otherwise, leave disconnected.
Keep Door and Dispenser Ajar for Airflow
Trapped moisture leads to mold and seal degradation. Promote airflow to prevent mildew.
Support Front-Load Doors Properly
Never leave a heavy front-load door fully open. This strains hinges. Use a one to two inch wooden block or foam spacer to maintain a small gap.
Secure with Elastic Cord
Gently hold the door in place with an elastic strap. Avoid adhesives that damage paint or seals.
Leave Top-Load Lid Open
For top-load models, prop the lid open with a towel or block to allow drying.
Pro Tip: Label “Door Open – In Storage” to prevent accidental closure.
Disconnect Power and Label the Unit
Finalize storage with safety measures to prevent accidental use.
Cut Power Completely
Unplug the machine or turn off the circuit breaker. This eliminates electrical hazards during winter.
Post a Clear Warning Label
Attach a note: “Contains antifreeze – Do not operate until flushed.” This prevents accidental startup and potential contamination of laundry.
Real-World Risk: Running the washer without flushing can transfer antifreeze to clothes. This is dangerous if ingested.
Winterize RV and Mobile Washers Specifically
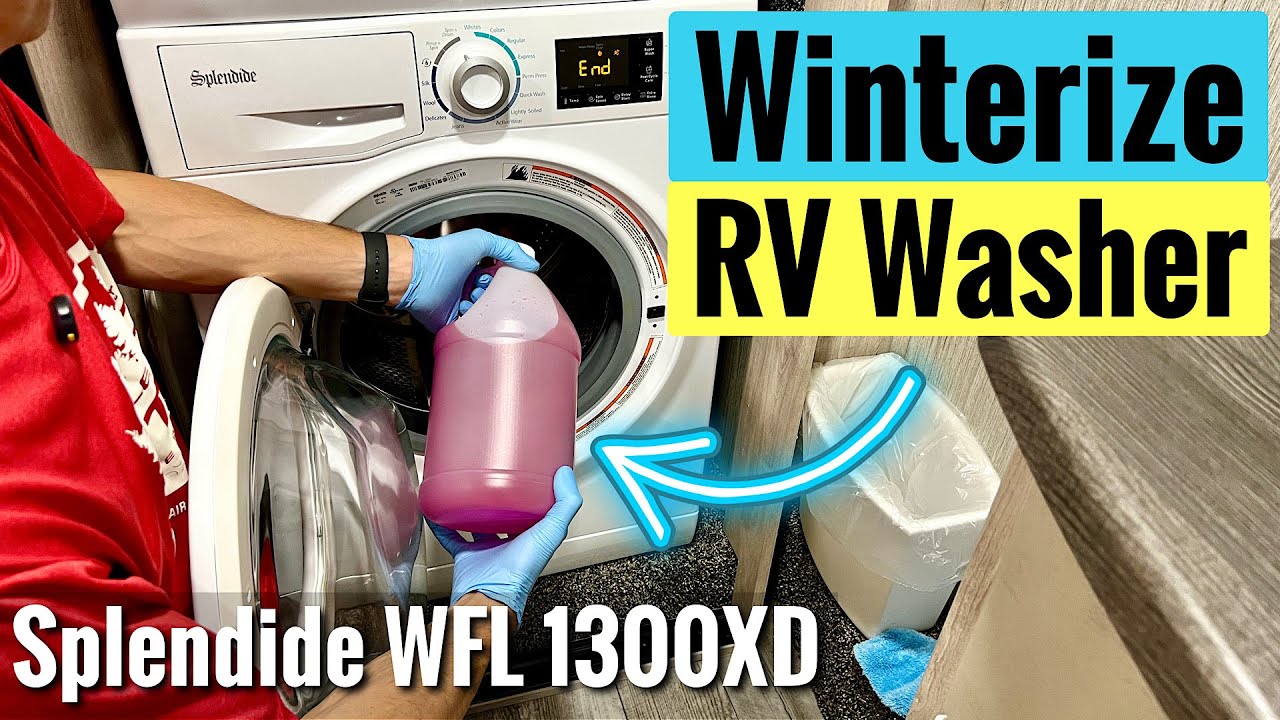
RV washers are part of the vehicle’s plumbing and require integration with whole-system winterization.
Use a 12V Antifreeze Pump
Connect a portable pump to a jug of RV antifreeze. Open all faucets in the RV until pink fluid flows. This primes the system.
Run Warm Wash Cycle
Open the washer door or drawer. Select Warm Wash and run for 30 to 60 seconds until antifreeze appears in the drum. Power off. Most models auto-drain, circulating antifreeze through the pump.
Splendide-Specific Sequential Method
- Set temperature to HOT. Select Cotton Heavy Duty.
- Press ON/OFF. Let fill until antifreeze enters drum.
- Advance to RESET. Wait five seconds.
- Select SPIN. Drain antifreeze.
- Repeat with COLD setting.
- Turn off.
Verification: Pink fluid from both lines confirms full protection.
Reactivate the Washer Safely in Spring
Before using the machine again, flush all antifreeze to prevent health risks and odors.
Reconnect Hoses and Filter
Reattach inlet hoses to water valves and washer. Reinstall the drain filter if removed. Close the detergent drawer.
Restore Water and Power
Turn on hot and cold valves slowly. Check for leaks. Reconnect power or flip the breaker.
Run a Hot Cleaning Cycle
Select Bulky/Sheets, Deep Water Wash, or Heavy Duty cycle. Use half the normal amount of HE detergent. No laundry. This flushes out antifreeze and cleans internal components.
Repeat if Needed: If you detect a sweet odor or residue, run a second cycle.
Inspect Before Normal Use
After flushing, check for leaks, odd noises, or drainage issues. Once clear, resume regular operation.
Special Washer Type Considerations
Different models have unique needs during winterization.
Front-Load Washers
Drain pump filter must be emptied. This is the highest freeze risk. Use a door spacer. Never leave heavy door fully open. Dry softener compartment. It is a common moisture trap.
Top-Load Washers
Often lack accessible pumps. The antifreeze method is essential. Add antifreeze to tub and run spin cycle. No need to remove hoses if antifreeze is used, but draining adds safety.
Stacked Units and Washer-Dryer Combos
If the unit has a condenser dryer, remove the heat exchanger module. Leave compartment open to prevent condensation.
Antifreeze Best Practices and Critical Warnings
Using the right product and amount is critical for successful winterization.
Always Use RV or Marine Antifreeze
Only pink, propylene glycol-based antifreeze is safe. It is non-toxic, biodegradable, and compatible with rubber seals.
Never Substitute Automotive Coolant
Ethylene glycol is lethal if ingested and damages plumbing, seals, and septic systems. Avoid at all costs.
Recommended Quantity by Washer Type
| Washer Type | Recommended Amount |
|---|---|
| Standard top-load | 1 quart (32 oz) |
| Front-load | 1 to 2 quarts |
| Extreme cold | 2 cups extra (16 oz) |
Expert Consensus: One quart is sufficient for most units. Draining the pump sump is more important than excess antifreeze.
Prevent Damage and Extend Your Washer’s Lifespan
Proper winterization protects your investment and maintains warranty eligibility.
Annual Maintenance Routine
Winterize every year if exposed to freezing temps. Include hose inspection for cracks. Clean the pump filter. Check door seal for wear.
Protect Your Warranty
Some manufacturers may void coverage for freeze damage if winterization was skipped in cold climates.
Mold Prevention Tips
Leave door and dispenser open. Use moisture absorbers in storage area. Flush thoroughly before reuse.
Universal Winterization Protocol Checklist
Use this checklist for complete protection:
• Shut off hot and cold water valves
• Unplug washer or turn off breaker
• Disconnect and drain inlet hoses
• Drain pump sump (front-load models)
• Dry detergent dispenser thoroughly
• Add 1 quart non-toxic RV antifreeze to drum
• Run Rinse and Spin for 30 to 60 seconds
• Leave door slightly open with spacer
• Disconnect power and label unit
Key Takeaways for Winterizing Your Washing Machine
By following this proven winterization process, you will protect your washing machine from freeze damage, avoid costly repairs, and ensure reliable performance when warm weather returns. The most critical step is draining the pump sump, where most freeze damage occurs. Using one quart of non-toxic RV antifreeze and running a brief spin cycle provides protection down to -50°F. Always label your unit and flush thoroughly before reuse. Whether in a cabin, RV, or seasonal home, these steps have been validated by manufacturers, technicians, and users enduring decades of sub-zero winters.
Frequently Asked Questions About Winterizing a Washing Machine
At What Temperature Should I Winterize My Washing Machine?
Winterize when temperatures are expected to drop below 32°F (0°C) for extended periods. This applies to unheated spaces like seasonal homes, cabins, and garages.
Can I Skip Antifreeze If I Fully Drain the Washer?
Draining reduces risk significantly, but residual water often remains in valves, pump, and hoses. Using antifreeze provides a safety net, especially in extremely cold climates.
How Much Antifreeze Do I Need for a Front-Load Washer?
Front-load models typically need one to two quarts. Some users in extreme cold add an extra two cups for added protection.
Is Automotive Antifreeze Safe for Washing Machines?
No. Automotive antifreeze contains ethylene glycol, which is toxic and damages rubber seals and plumbing. Always use RV or marine-grade propylene glycol antifreeze.
How Do I Know If the Washer Is Properly Winterized?
The pump sump should be empty, inlet hoses disconnected and drained, antifreeze added and circulated through a brief spin cycle, and the door left slightly open with a spacer.
What Happens If I Forget to Flush Before Using the Washer?
Running a washer still containing antifreeze can transfer the chemical to clothing. This poses health risks. Always run a hot cleaning cycle with detergent and no laundry before regular use.