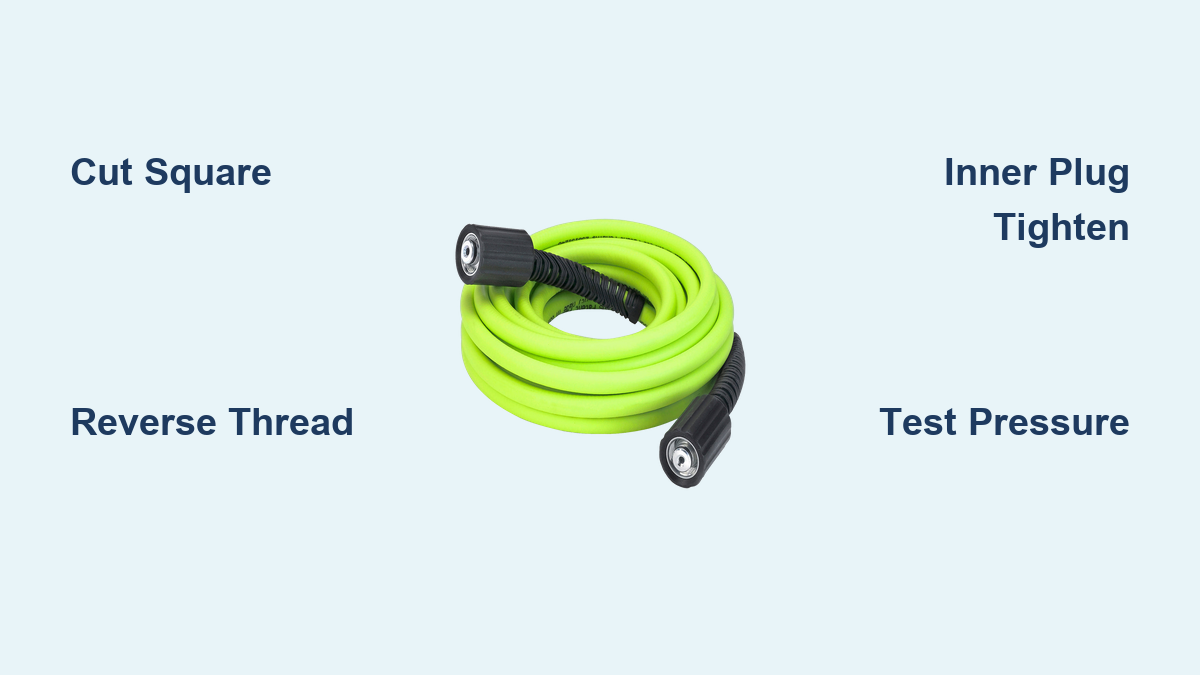
How to Fix a Pressure Washer Hose
A sudden leak or burst in your pressure washer hose can stop your cleaning project instantly. Instead of buying a costly replacement, you can often fix a pressure washer hose quickly using the right mechanical fittings.
This guide explains safe, proven repair methods that restore full pressure without dangerous shortcuts. You will learn to diagnose damage, install reusable compression fittings, and prevent future failures effectively.
Assess Damage Before Attempting a Pressure Washer Hose Repair
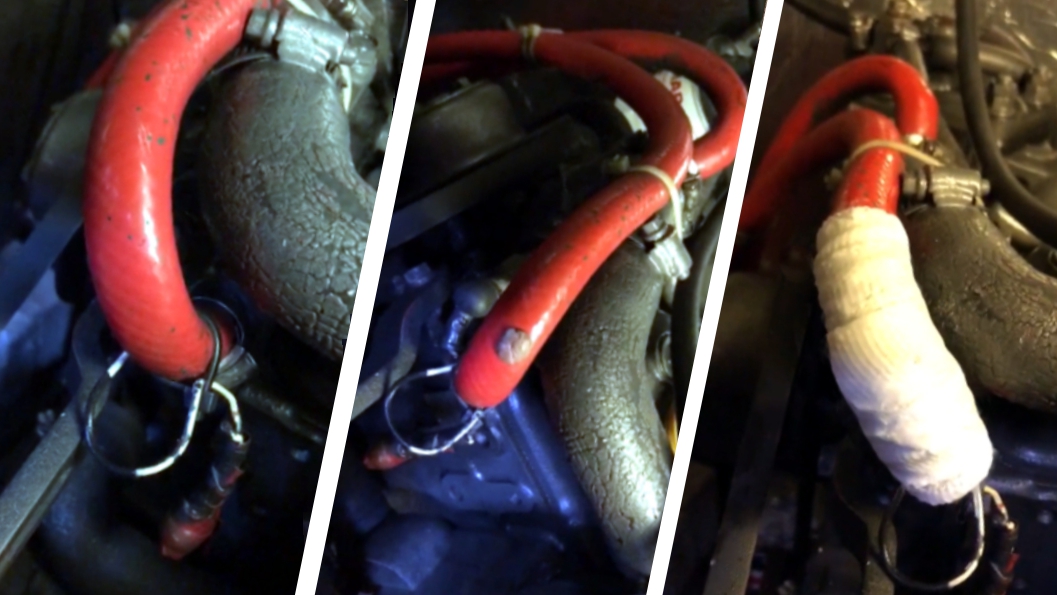
Inspecting your hose thoroughly determines if a repair is safe or if replacement is necessary. Skipping this step risks catastrophic failure under high pressure.
Identify the Type of Hose Failure
You must pinpoint exactly where and how the damage occurred to choose the right solution.
* Pinhole leaks often appear near the engine due to contact with hot exhaust components.
* Mid-hose bursts usually indicate worn reinforcement layers or severe kinking.
* Fitting cracks occur at the connection points and may allow for simple end replacement.
Determine If Your Hose Is Repairable
Not every damaged hose can be saved safely with a field repair kit.
* Repair only if the rest of the hose remains flexible and free of cracks.
* Ensure the damage is isolated and not too close to the opposite end.
* Verify the hose uses standard 1/4-inch ID and 1/2-inch OD construction.
Replace the entire hose if it feels brittle, shows multiple weak spots, or has frayed extensively. Attempting to fix a pressure washer hose that is globally degraded invites dangerous blowouts.
Why Tape and Glue Solutions Fail
Common household fixes like duct tape or epoxy cannot withstand operating pressures.
* Electrical tape handles only about 18 PSI, far below the 3,000+ PSI of most washers.
* Self-fusing silicone tape maxes out around 700 PSI, which is insufficient for cleaning tasks.
* These patches burst instantly under load, often causing water to seep between layers and worsen internal damage.
Stick to mechanical compression fittings or professional crimping for a safe, lasting seal.
Gather Tools for DIY Pressure Washer Hose Fix
Preparing the right equipment ensures your repair goes smoothly and holds under pressure. Having everything ready saves time and prevents frustration during the process.
Select the Correct Compression Fitting
Choosing the right fitting matches your specific hose construction type.
* Use 6C1T fittings for single-wire reinforced hoses.
* Use 6C2T fittings for double-wire, high-pressure models.
* Confirm your hose dimensions are 1/4-inch ID by 1/2-inch OD before purchasing.
Essential Tools and Supplies List
You need specific items to complete the repair safely and effectively.
* Reusable compression fitting kit (matched to your hose type)
* Sharp utility knife or dedicated hose cutter
* Two adjustable wrenches or channel locks
* PTFE Teflon tape for thread sealing
* Motor oil or silicone grease for lubrication
* Safety gloves and eye protection gear
Cut the Damaged Section Square
A clean cut is the foundation of a successful repair that holds pressure. Any angle or jagged edge prevents the fitting from sealing properly.
Make a Clean 90-Degree Cut
Remove the damaged portion of the hose with precision.
1. Mark the hose just past the damaged area to ensure clean material.
2. Use a sharp utility knife to slice completely through the hose.
3. Rotate the hose while cutting to maintain an even depth.
4. Check that the cut edge is perfectly straight and not angled.
Pro Tip: For steel-wire reinforced hoses, a grinder with a thin cutoff wheel may help achieve a flusher edge than a knife alone.
Install the Reverse-Thread Outer Sleeve
The outer sleeve of the compression fitting uses a unique threading direction that confuses many first-timers. Understanding this prevents stripped threads and failed seals.
Tighten Counter-Clockwise
This specific fitting component requires left-hand threading to function correctly.
1. Slide the female outer sleeve onto the cut end of the hose.
2. Begin threading it by hand until it feels snug against the hose.
3. Use a wrench to tighten the sleeve fully in a counter-clockwise direction.
4. Back off exactly 1/4 turn after reaching the bottom.
⚠️ Critical Step: Skipping the 1/4-turn backoff prevents the inner plug from compressing the hose properly. This gap is essential for creating the high-pressure seal.
Insert and Tighten the Inner Plug
The inner plug creates the friction lock that holds the repair together under extreme pressure. Proper installation generates heat, confirming a tight seal.
Secure the Connection Firmly
Follow these steps to lock the fitting in place permanently.
1. Lubricate the tip of the male inner plug with a drop of motor oil.
2. Push the plug fully into the hose until it seats against the outer sleeve.
3. Hold the outer sleeve steady with one wrench to prevent rotation.
4. Turn the inner plug clockwise with the second wrench.
5. Apply significant force until the two pieces meet flush and feel firm.
You will feel resistance increase as the fitting expands internally. The heat generated by friction indicates a proper seal is forming.
Attach the M22 Quick Connect Adapter
Reconnecting your hose to the pressure washer requires a standard adapter and proper thread sealing. This step ensures compatibility with most gas and electric models.
Seal Threads and Prevent Leaks
Prepare the adapter to handle high-pressure water flow without dripping.
1. Wrap 3 to 4 layers of Teflon tape around the M22 adapter threads.
2. Insert the taped adapter into the female end of your new fitting.
3. Tighten with two wrenches until snug, avoiding excessive torque.
4. Apply silicone grease to any O-rings to prevent dry rubbing and wear.
This standard M22 thread configuration fits the majority of pressure washer pumps on the market today.
Test the Repair for Leaks Safely
Verifying your work before full operation prevents accidents and ensures the repair holds. A systematic test reveals issues while they are still easy to fix.
Perform a Gradual Pressure Check
Increase pressure slowly to inspect all joints for potential failures.
1. Connect the repaired hose to the washer pump outlet with Teflon tape on threads.
2. Start the pressure washer at the lowest setting possible.
3. Inspect all connection points closely for any signs of dripping.
4. Gradually ramp up to full operating pressure while watching the repair.
5. Shut off the machine immediately if any seepage appears.
If you detect a leak, disassemble the fitting, re-cut the hose end, and retry the installation. A crooked cut or missed 1/4-turn adjustment is usually the culprit.
Consider Professional Hydraulic Crimping Options
For a permanent, factory-grade solution, professional hydraulic crimping offers superior reliability. This method uses industrial machinery to create a bond stronger than the original hose.
How the Crimping Process Works
Hydraulic shops use specialized equipment to compress fittings permanently onto hoses.
* The shop cuts out your damaged section cleanly.
* Technicians match fittings precisely to your hose ID and wire count.
* A hydraulic swaging press compresses the fitting to exact specifications.
* The result is a seamless connection rated beyond standard hose limits.
Costs typically range from $14 to $25, which is significantly cheaper than buying a new high-pressure hose.
Benefits Over DIY Compression Fittings
Professional crimping provides distinct advantages for heavy-duty users.
* Higher reliability under continuous commercial use.
* Cleaner profile without bulky reusable fitting components.
* Custom options like swivel connectors for better hose routing.
Some shops require you to purchase the hose from them, so call ahead to confirm their policies.
Prevent Future Pressure Washer Hose Damage
Extending the life of your repaired or new hose requires proper handling and storage habits. Simple preventative measures avoid repeat failures.
Avoid Heat-Related Pinhole Leaks
Many hose failures occur due to contact with hot engine components.
* Install a sheet metal heat shield around the muffler area.
* Use a swivel fitting to route the hose away from exhaust heat.
* Position new fittings at the pump end to allow better hose positioning.
Store and Handle Your Hose Correctly
Proper maintenance extends the operational life of your equipment significantly.
* Drain water after every use to prevent freezing and internal rust.
* Coil loosely to avoid sharp bends that stress wire reinforcement.
* Inspect regularly for abrasions near fittings and mounting points.
Keeping a small repair kit with spare fittings and tape in your vehicle ensures you are never stuck with a broken hose on the job site.
Compare Repair Methods for Best Results

Understanding the differences between repair options helps you choose the right approach for your situation. Each method has distinct cost, time, and safety profiles.
| Feature | Compression Fitting | Hydraulic Crimp | Tape/Clamp Fix |
|---|---|---|---|
| Pressure Rating | 3,000–5,000 PSI | Exceeds hose rating | Under 700 PSI |
| Cost | Under $10 | $14–$25 | $2–$5 (Wasted) |
| Time Required | 6–10 minutes | 1–2 days (Shop wait) | Instant failure |
| Tools Needed | Wrenches, knife | Hydraulic crimper | None |
| Safety Level | High (If done right) | Highest | Dangerous |
Avoid tape fixes entirely as they are unsafe and ineffective for high-pressure applications. Invest in a real mechanical solution for safety.
Troubleshoot Common Installation Issues
Even with careful work, issues can arise during the repair process. Knowing how to diagnose and fix these problems saves time and frustration.
Address Fitting Leaks After Assembly
Leaks usually stem from installation errors rather than defective parts.
* Check for a crooked hose cut that prevents even sealing.
* Verify you backed out the reverse thread exactly 1/4 turn.
* Ensure the inner plug was tightened sufficiently to generate friction heat.
Disassemble, re-cut the hose if needed, and reinstall carefully to resolve leaks.
Resolve Fitting Blow-Offs Under Pressure
If a fitting blows off, the hose reinforcement or fitting type is likely mismatched.
* Confirm you used the correct fitting for one-wire versus two-wire hose.
* Check that the hose reinforcement was not damaged too close to the end.
* Ensure you did not use counterfeit or poor-quality fittings.
Always match the fitting type strictly to your hose construction specifications.
Frequently Asked Questions About Pressure Washer Hose Repair
Can I use duct tape to fix a high-pressure washer hose temporarily?
No, duct tape fails instantly under the 3,000+ PSI pressure of a washer. It creates a dangerous situation where the patch bursts and causes injury. Only mechanical fittings or professional crimping are safe.
How do I know if my hose needs a one-wire or two-wire fitting?
Inspect the hose labeling or cut end to count the steel wire reinforcement layers. Use 6C1T fittings for single-wire hoses and 6C2T for double-wire construction to ensure proper pressure ratings.
What size compression fitting fits most pressure washers?
Most gas and electric pressure washers use hoses with a 1/4-inch inside diameter and 1/2-inch outside diameter. Verify your specific model, as some small electric units use different dimensions.
Is professional crimping worth the cost compared to DIY fittings?
Yes, if you want a permanent, factory-grade repair. Professional crimping costs about $14–$25 and creates a bond stronger than the original, making it ideal for heavy commercial use.
Why did my compression fitting leak after installation?
Leaks usually occur from a crooked cut, forgetting to back out the reverse thread 1/4 turn, or insufficient tightening of the inner plug. Re-cutting and reinstalling often solves the issue.
Key Takeaways for Fixing Your Pressure Washer Hose
Repairing your pressure washer hose is a safe, cost-effective alternative to replacement when you use the correct mechanical methods. Reusable compression fittings offer a reliable DIY solution, while professional hydraulic crimping provides a permanent industrial-grade fix.
Avoid dangerous tape or glue shortcuts that cannot handle high pressure. By mastering the square cut, reverse-thread technique, and proper testing, you can extend your equipment’s life and get back to cleaning quickly. Keep a repair kit handy to handle future leaks with confidence.