
How to Clean Stucco Without a Pressure Washer
Stucco walls collect dirt and algae over time, yet high-pressure water causes permanent cracks and water damage. You need a method that cleans deeply without destroying the porous surface of your home exterior.
This guide reveals how to clean stucco without pressure washer equipment using safe soft wash techniques. You will learn specific chemical mixes, application steps, and rinsing tricks to restore your walls safely.
Why High Pressure Damages Stucco Surfaces
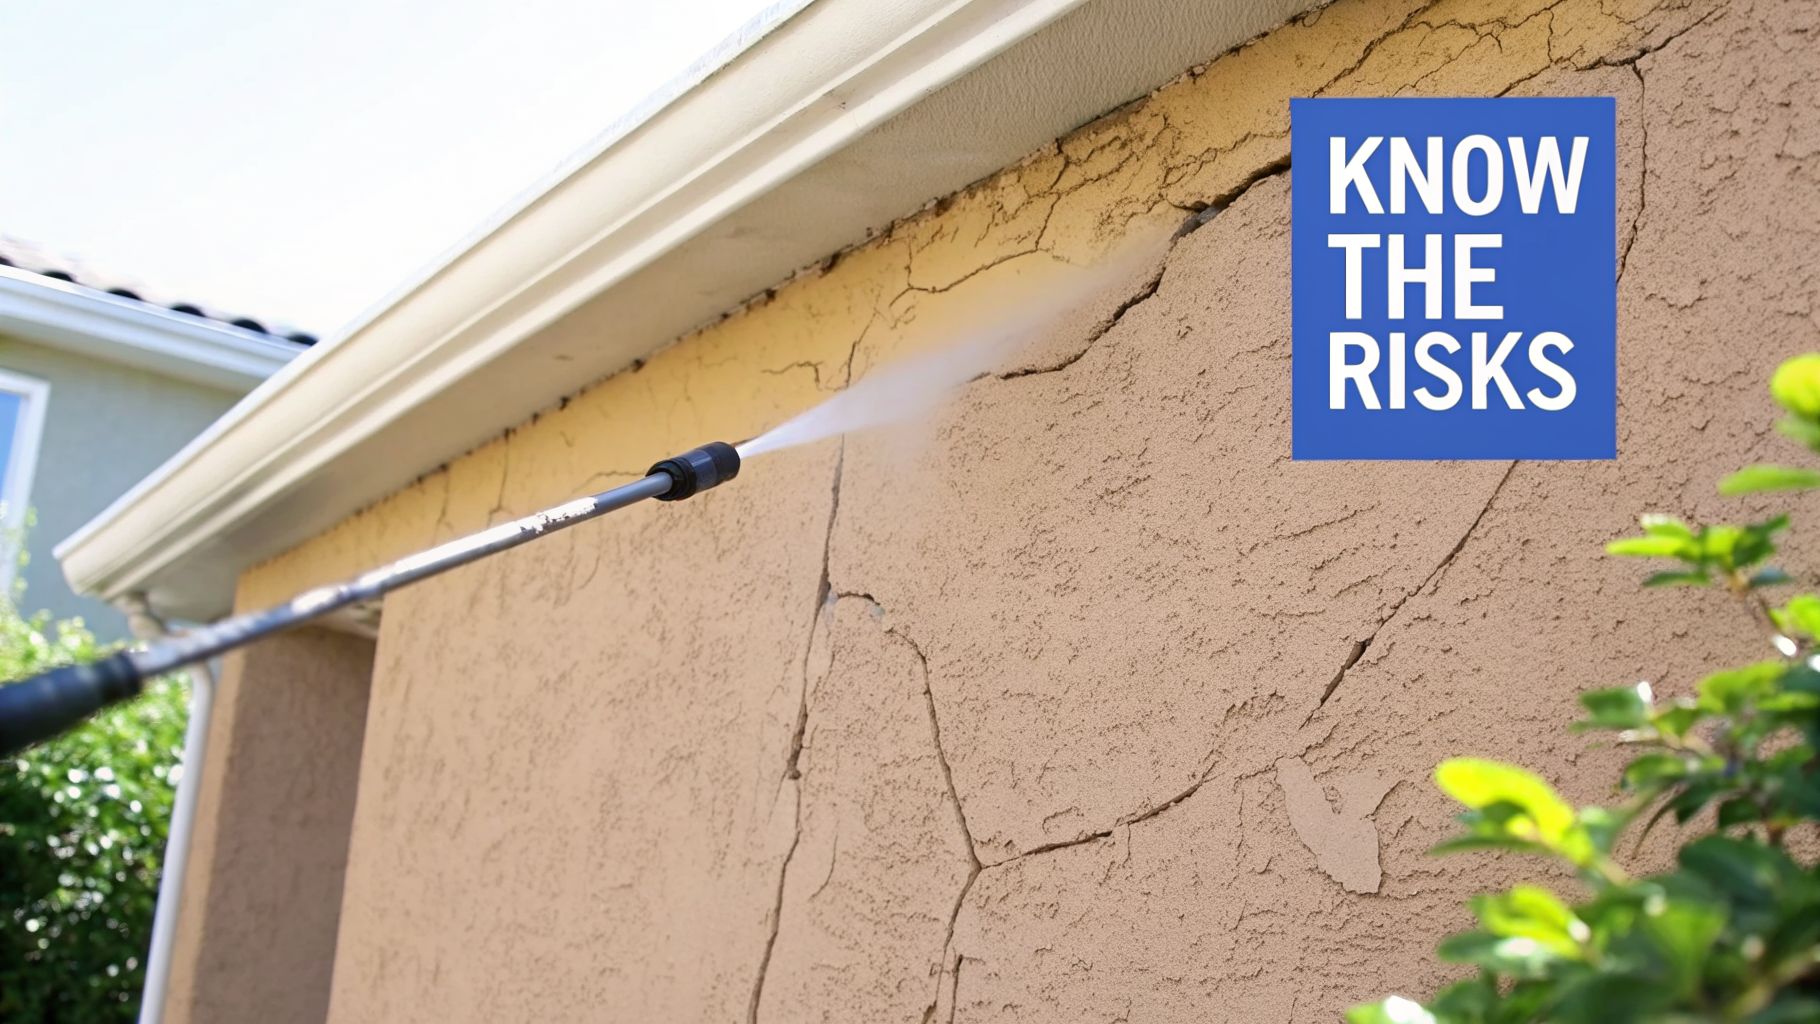
Stucco is naturally porous and brittle, making it highly vulnerable to forceful water streams. Standard pressure washers operate between 1,500 and 4,000 PSI, which creates micro-fractures in the finish. This damage allows water to intrude behind the wall, leading to mold growth and structural rot.
Even low settings on a pressure washer can chip the surface if held too close. The risk of eroding the textured finish outweighs any speed benefits from blasting dirt away.
What Happens When Water Gets Behind Stucco?
Water forced into the wall cavity creates a damp environment perfect for hidden mold. This moisture can rot wood framing and compromise the structural integrity of your home.
Trapped water also causes paint to peel and stucco to crumble from the inside out. Preventing water intrusion is the primary reason to avoid high-pressure cleaning methods.
How Soft Washing Protects Your Home Exterior
Soft washing combines low-pressure application with specialized cleaning solutions to dissolve grime. Instead of relying on force, this method uses chemical dwell time to break down organic growth at the root.
This technique preserves the stucco texture while effectively killing algae and mildew. It is the professional standard for cleaning delicate exterior surfaces safely.
Why Chemical Dwell Time Matters More Than Pressure
Cleaning solutions need time to penetrate pores and kill biological growth deep within the material. Rushing this process by rinsing too soon leaves spores alive to regrow quickly.
Allowing the solution to sit ensures a longer-lasting clean compared to simple water rinsing. Patience during this step is the secret to professional results.
Choose the Right Cleaning Solution for Stucco

Selecting the correct mixture depends on the type of stain and your concern for nearby plants. Three primary formulas address different levels of dirt and biological growth effectively.
General Dirt Removal with Dish Soap Mix
Use this blend for routine maintenance on walls with dust, grease, or light organic buildup. It is gentle enough for annual cleaning without harsh chemicals.
- 1/2 cup Dawn dish soap
- 1/2 cup non-bleach laundry detergent
- 1 gallon warm water
Mix these ingredients gently to avoid creating excessive suds that complicate rinsing. Apply the solution and let it sit for 10 to 15 minutes before rinsing.
Mineral-Based Cleaning with Borax
Borax provides mild abrasive action and inhibits mold growth without corrosive properties. This solution works well on older stucco with embedded dirt particles.
- 1/4 cup Borax per gallon of water
- 1–2 pumps of dish soap
- Water to fill the container
Ensure the Borax dissolves completely to prevent clogging your sprayer nozzle. Use a dedicated pump sprayer to avoid chemical reactions from residue.
Killing Algae and Mold with Bleach Options
Dark streaks and green patches require a stronger agent to kill the organism completely. You can choose between chlorine bleach for tough stains or oxygen bleach for plant safety.
Chlorine Bleach for Tough Stains
Mix 1 part household bleach with 10 parts water for general cleaning tasks. For stubborn spots, a 50/50 mix of bleach and water offers maximum strength.
Warning: Chlorine harms vegetation and corrodes metal fixtures. Cover plants and rinse foliage immediately if overspray occurs.
Oxygen Bleach for Plant-Safe Cleaning
Oxygen bleach breaks down algae and mold safely around gardens and driveways. Mix according to package instructions for an eco-friendly alternative.
This option leaves no toxic residue and poses no risk to landscaping. It is slightly slower acting than chlorine but much safer for the environment.
Gather Essential Tools for Stucco Cleaning
You do not need expensive machinery to achieve professional results. A few basic tools are sufficient to clean stucco without pressure washer devices.
Required Equipment List
- Pump sprayer (1-gallon): Essential for even application of cleaning solutions.
- Soft-bristle brush: Nylon or natural fiber brushes agitate grime without scratching.
- Garden hose with nozzle: Provides pre-rinsing and final rinsing capabilities.
- Gloves and eye protection: Mandatory safety gear when handling bleach or detergents.
- Bucket and stir stick: Used for mixing large batches of cleaning solution.
Optionally, you may use a power washer set strictly to 1,500–2,500 PSI for final rinsing only. Never use high pressure for the actual cleaning phase.
Tool Preparation Tips
Flush your pump sprayer with clean water before filling it with your chosen solution. Residue from previous chemicals can cause adverse reactions or clog the mechanism.
Test the spray pattern on a small area to ensure even coverage before tackling the whole wall. Keep your brushes clean and dry between uses to prevent mold growth on the tools.
Step-by-Step Process to Clean Stucco Safely

Following a strict sequence ensures you remove dirt without leaving streaks or causing damage. Each step builds upon the previous one to maximize cleaning efficiency.
Pre-Wet the Surface Thoroughly
Start by wetting the stucco from bottom to top, then top to bottom, using a garden hose. Saturate the wall until the surface is evenly damp to the touch.
Pre-wetting prevents the porous stucco from absorbing the cleaning solution too rapidly. This step activates the chemical reaction and reduces the risk of streaking.
Work in shaded conditions or during early morning hours to prevent rapid evaporation. Direct sunlight dries solutions too fast, reducing their effectiveness.
Apply Cleaning Solution in Sections
Fill your pump sprayer with the prepared formula and work in manageable 3×3 foot sections. Spray a thin, uniform coat starting at the bottom to prevent drips on clean areas.
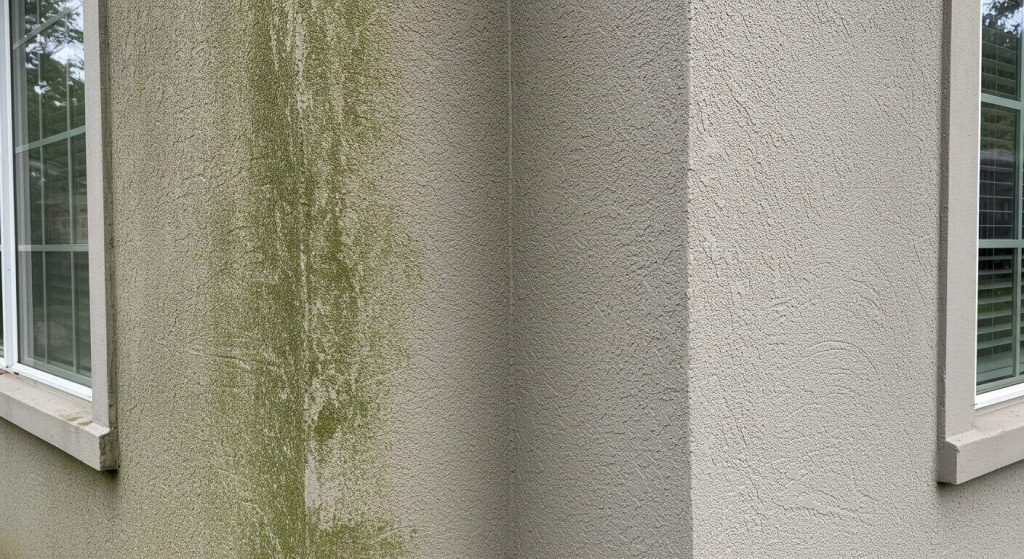
Pay extra attention to stained zones where algae often clusters near downspouts. Lightly scrub the solution into the texture with a soft-bristle brush for deeper penetration.
Let the Solution Dwell Properly
Allow the cleaning agent to sit on the surface for the recommended time based on your formula. Soap and Borax mixes need 10 to 15 minutes, while bleach solutions require 30 minutes.
Critical Rule: Do not let the solution dry on the surface. If the wall starts to look white or lose its sheen, mist it with clean water immediately.
Stay nearby during this time to re-wet any areas that begin to dry out. Dried cleaner leaves mineral deposits that are difficult to remove.
Rinse From Top to Bottom
Rinse the wall starting from the top and working your way down to avoid streaking. Use a garden hose or low-pressure setting held at least 2 feet from the wall.
Hold the nozzle at a 45-degree angle and use overlapping strokes for complete coverage. Watch the runoff water and continue rinsing until it runs clear.
Avoid spraying water directly into windows, electrical outlets, or weep screeds at the base. Your goal is to remove residue, not to blast the surface.
Handle Problem Scenarios During Cleaning
Certain situations require adjusted techniques to ensure success without damaging your home. Address these common issues proactively for the best outcome.
Dealing with Stubborn Algae Stains
If green or black stains persist after the first attempt, intensify the treatment locally. Apply a 50/50 chlorine bleach and water mixture directly to the stubborn spots.
Let this stronger solution sit for 30 minutes while keeping it moist. Lightly brush the area again and rinse thoroughly to remove dead organisms.
Protecting Nearby Plants and Landscaping
Use oxygen bleach instead of chlorine if you have sensitive plants nearby. Soak the surrounding soil and foliage with water before applying any cleaning solution.
Lay down drop cloths or plastic sheets to shield vegetation from accidental overspray. Rinse any leaves immediately if they get wet with cleaning chemicals.
Preventing Solution from Drying Too Fast
Work in smaller sections if you are cleaning on a warm or sunny day. Have a second person mist the wall with water during the dwell time to keep it wet.
Using a pump sprayer with a shut-off nozzle allows you to pause and re-wet as needed. Focus on one wall at a time to maintain control over the drying process.
Fixing Clogged Sprayers
Powdered detergents or Borax can clog sprayers if not dissolved completely. Dissolve powders in hot water before adding them to the tank to prevent blockages.
Filter your solution through a coffee filter or fine mesh before pouring it into the sprayer. Clean the equipment immediately after use with warm water and vinegar.
Prevent Streaks and Avoid Common Mistakes
Success depends on avoiding simple errors that lead to unsightly results. Understanding these pitfalls helps you achieve a uniform finish.
Common Mistakes to Avoid
- Skipping the pre-wet step: Causes uneven absorption and visible streaks.
- Letting solution dry: Leaves white mineral deposits on the surface.
- Using high pressure: Cracks stucco and forces water behind the wall.
- Cleaning in direct sun: Reduces dwell time and increases fume risks.
Always perform a patch test in an inconspicuous area before full application. This ensures the solution does not discolor or damage your specific stucco type.
Importance of Thorough Rinsing
Leftover soap or bleach residue attracts dirt faster and may degrade the stucco over time. Rinse until no suds remain and the water runs completely clear.
Use a sponge or squeegee on lower sections to remove pooling water near the foundation. Proper rinsing is the final step in ensuring a clean, long-lasting result.
Evaluate Results After Drying

Stucco takes time to dry completely due to its porous nature. Wait at least 24 hours before judging the final cleanliness of your work.
Allow Full 24-Hour Dry Time
What looks clean when wet may reveal shadow stains once the material dries. Give the surface ample time to settle before deciding if a second application is needed.
Avoid re-cleaning too soon as this can saturate the wall unnecessarily. Patience during the drying phase ensures an accurate assessment.
Inspect for Missed Areas
Walk around the house in natural daylight to check for remaining dark streaks. Look closely at joints, seams, and areas under eaves where dirt often hides.
Touch up only the affected zones with a spot treatment rather than re-cleaning the whole wall. Most minor imperfections can be fixed with targeted application.
Maintain Clean Stucco Long-Term
Regular maintenance prevents heavy buildup and reduces the need for strong chemicals in the future. A proactive approach keeps your home exterior looking fresh.
Schedule Regular Cleanings
Plan to clean your stucco every 1 to 2 years to prevent deep-rooted growth. In humid climates or shaded yards, annual cleaning may be necessary to maintain appearance.
Regular maintenance keeps algae and mold from taking hold and spreading. This schedule extends the life of your stucco finish significantly.
Prevent Future Buildup
- Trim trees and bushes to improve airflow and sunlight exposure.
- Clean gutters regularly to prevent overflow and damp conditions.
- Redirect sprinklers away from walls to reduce moisture retention.
Consider applying a breathable masonry sealer every few years to repel water. Ensure the sealer is vapor-permeable to avoid trapping moisture inside the wall.
Frequently Asked Questions About Cleaning Stucco
Can I use a pressure washer on stucco at all?
You should avoid using high pressure as it causes micro-fractures and water intrusion. If you must use one, limit it to 1,500–2,500 PSI strictly for final rinsing at a distance.
How often should I clean my stucco exterior?
Plan to clean your stucco every 1 to 2 years to prevent heavy buildup. Humid climates may require annual cleaning to stop algae and mold growth.
Will bleach damage my stucco or plants?
Chlorine bleach can harm plants and corrode metal but is safe for stucco if rinsed properly. Use oxygen bleach as a plant-safe alternative for landscaping areas.
What causes white streaks after cleaning stucco?
White streaks usually occur when the cleaning solution dries on the surface before rinsing. Keep the wall wet during dwell time and rinse thoroughly to prevent this.
Is soft washing better than pressure washing for stucco?
Yes, soft washing is safer because it uses chemicals to kill growth without damaging the porous surface. Pressure washing often forces water behind the stucco causing structural issues.
Key Takeaways for Cleaning Stucco Without Pressure Washer
Cleaning stucco requires a gentle approach that prioritizes chemical action over mechanical force. By using soft wash methods, you avoid the micro-fractures and water intrusion caused by high-pressure equipment.
Remember to pre-wet the surface, allow proper dwell time, and rinse thoroughly from top to bottom. These steps ensure you remove dirt and algae without damaging your home exterior.
Start your next cleaning project with the right solution and a pump sprayer for safe, professional results. Your stucco will look refreshed and last longer with this careful maintenance routine.