Fix Honda Pressure Washer No Pressure
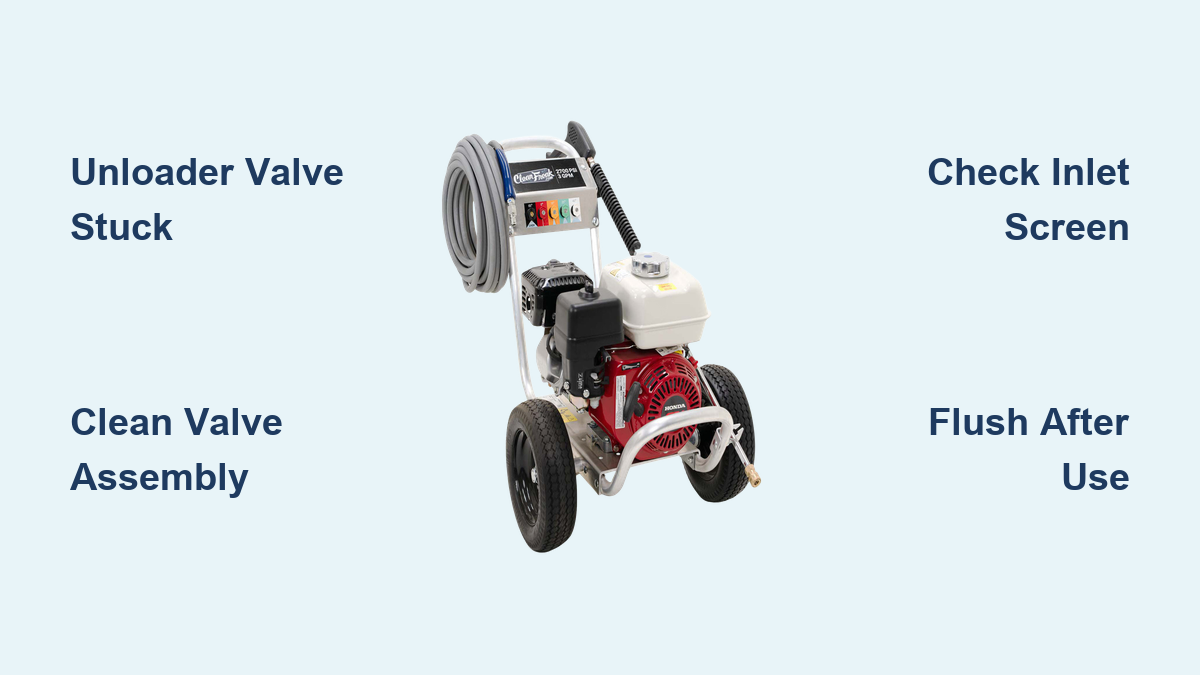
You fire up your Honda pressure washer, the engine runs smoothly, but when you pull the trigger, nothing. No powerful jet, no pressurized spray, just a weak stream or sputter. If your Honda-powered pressure washer starts fine but delivers no pressure, you’re not alone. This is a common issue across models like the GCV160-powered units rated at 2600 to 2700 PSI. The good news? The engine is likely fine. The culprit is almost always the unloader valve, a small but critical component in the pump system. Left unattended, this problem won’t fix itself. But with basic tools and under $10 in supplies, you can restore full pressure in less than an hour. This guide walks you through diagnosing and fixing no pressure issues step by step, including hidden access points, cleaning techniques, and how to prevent recurrence.
Confirm Engine Functionality
Before diving into the pump, verify the engine is working properly. Since the Honda GCV160 is known for reliable starts, this step rules out fuel or ignition issues.
Start the Engine Normally
- Ensure the fuel tank is filled and oil level is correct
- Pull the choke out for cold starts
- Pull the starter cord. The engine should fire immediately
- Let it warm up for 30 seconds with the trigger closed
If the engine runs smoothly but no pressure builds, the issue is in the pump, not the engine.
Listen for Load Response
When a pressure washer builds pressure, the engine should slightly labor or load up when the trigger is pulled. If the RPMs stay constant and the engine sounds unchanged, the pump isn’t creating resistance. This confirms the problem is downstream of the engine, pointing directly to the unloader valve or inlet screen.
Pro Tip: If the engine stalls or struggles to start, troubleshoot fuel, spark, or carburetor issues first. But if it runs fine, focus on the pump.
Locate the Unloader Valve

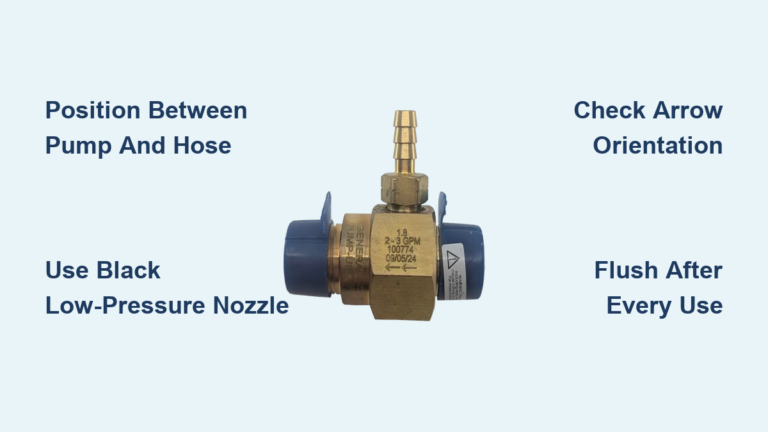
The unloader valve is the most common cause of no pressure in Honda-powered washers. It regulates water flow and builds pressure when the trigger is pulled. When stuck open, it bypasses water instead of pressurizing it.
Find Hidden Access Points
Access varies by model, but common locations include:
- Under a rubber boot near the pump outlet
- Behind a plastic shroud. Some spin freely, requiring careful removal
- Under the high-pressure hose connection. Look for an Allen screw
- Under a large cover (for example, Karcher K2600 models. Refer to schematic pages C and E)
Key Insight: Many users miss the valve because it’s hidden. Look for an Allen key screw beneath the hose port. This often leads to the unloader assembly.
Remove the Valve Safely
- Disconnect water supply and relieve any residual pressure
- Remove the boot or cover protecting the valve
- Extract the retaining pin or remove the Allen screw
- Gently wiggle the valve out. It may be stuck due to corrosion
- Use a flathead screwdriver to help pry it loose if needed, but avoid damaging the housing
Warning: Do not force the valve. If it’s frozen, apply penetrating oil first (see next section).
Diagnose a Stuck Unloader Valve

Once removed, inspect the valve for signs of failure. A seized or corroded plunger prevents the valve from closing, keeping water in recirculation mode.
Check for Corrosion and Sticking
- Plunger movement: Should slide up and down freely. If stiff or frozen, it’s likely corroded
- Spring condition: Look for rust, loss of tension, or inability to compress
- Body and bore: Check for pitting, mineral deposits, or debris buildup
- Gasket integrity: Ensure it’s seated properly and not cracked or deformed
Common Failure Signs
- Valve stuck in the open position, causing water to bypass the system
- Heavy rust on spring, preventing retraction
- Seized plunger that won’t close to build pressure
- Sputtering stream when trigger is pulled, indicating partial flow with no pressurization
Fact: Corrosion is the number one cause, especially in units stored with water inside or used infrequently.
Clean and Restore the Valve
Most stuck unloader valves can be restored with cleaning and lubrication. Replacement costs more and isn’t always necessary.
Apply Penetrating Oil
- Spray Liquid Wrench or similar penetrating oil into the valve chamber
- Let it soak for 5 to 10 minutes
- Work the plunger back and forth with your fingers or pliers
- Repeat until movement improves
This step loosens rust and frees seized components.
Deep Clean with Carb Cleaner
- Use carburetor cleaner to flush out corrosion and debris
- Spray inside the valve bore and on the plunger
- For stubborn rust, gently polish with fine-grit sandpaper (400 grit or higher)
- Wipe clean with a lint-free cloth
Alternative: A wire wheel on a bench grinder works faster but avoid overheating or damaging the plunger finish.
Lubricate and Reassemble
- Apply silicone-based lubricant to the plunger stem
- Light grease is acceptable if silicone isn’t available
- Reinsert the plunger, spring, and gasket
- Ensure the gasket is properly seated
- Gently tap the valve back into the bore. Do not force it
- Reinstall the retaining pin or Allen screw
- Reattach the boot or cover
Critical: Do not fully tighten adjustment screws yet. Test first, then fine-tune if needed.
Test for Pressure Restoration
After reassembly, verify the fix works before declaring victory.
Perform a Live Test
- Reconnect the water supply
- Open the faucet fully
- Start the engine
- Pull the trigger on the spray gun
Expected result: Immediate pressure buildup. The engine should load slightly, and the stream should be strong and steady.
Troubleshoot Partial Success
- Still no pressure? The valve may still be partially stuck. Disassemble and clean again
- Sputtering continues? Check the inlet screen next (see below)
- Pressure builds but drops? Ensure the water supply is adequate (minimum 5 GPM recommended)
Inspect the Inlet Screen

If the unloader valve is clean and functional but pressure remains low, the next suspect is the inlet screen.
Locate the Screen
- Found inside the garden hose inlet fitting
- Often hidden. Unscrew the hose connector to access
- Present on all Karcher and most Honda-compatible units
Remove and Clean
- Shut off water supply
- Unscrew the inlet fitting
- Pull out the small mesh screen
- Rinse under running water
- Use a soft brush to remove grit or mineral deposits
- Reinstall and tighten gently
Why it matters: A clogged screen causes cavitation. The pump can’t draw enough water, so pressure fails to build even if the unloader valve is working.
Replace the Unloader Valve (If Needed)

Cleaning works in most cases, but replacement is necessary if:
- Valve is bent, cracked, or severely corroded
- Plunger is pitted or damaged
- Cleaning fails to restore movement
- Spring is broken or lacks tension
Use Genuine Honda Parts
- OEM valves ensure proper fit and function
- Aftermarket parts may not seal correctly
- Check part number on old valve or consult owner’s manual
Installation Steps
- Insert new valve with fresh gasket
- Hand-tighten first, then snug with tool if needed
- Reconnect retaining pin or screw
- Test as above
Cost Note: A new valve costs less than $50. Compare to $200 to $300 for a full pump replacement, making this repair highly cost-effective.
Prevent Future Pressure Loss
Avoid recurring issues with simple maintenance habits.
Flush After Every Use
- Run clean water through the system for 30 seconds
- Helps remove debris and detergent residue
- Prevents mineral buildup in valves and pump
Store Dry and Upright
- Drain water from hose and pump
- Store in a dry, covered area
- Moisture left inside accelerates corrosion
Run Regularly
- Use the unit every 4 to 6 weeks
- Prevents seals and valves from seizing
- Keeps internal components lubricated
Pro Tip: Corrosion is the enemy, especially in infrequently used equipment. Regular use and flushing prevent 90% of unloader valve failures.
Recognize Cavitation vs. Valve Failure
Both conditions cause low pressure, but the causes differ.
Cavitation Symptoms
- Pump makes a whining or rattling noise
- Stream sputters or pulses
- Caused by restricted water flow (clogged inlet screen, kinked hose, low supply)
- Fix: Clear blockage, ensure adequate water source
Unloader Valve Failure
- Engine runs normally with no load
- Water flows but isn’t pressurized
- Valve stuck open due to corrosion or debris
- Fix: Clean or replace unloader valve
Key Difference: Cavitation often makes noise. Unloader failure is usually silent.
Cost and Time Comparison
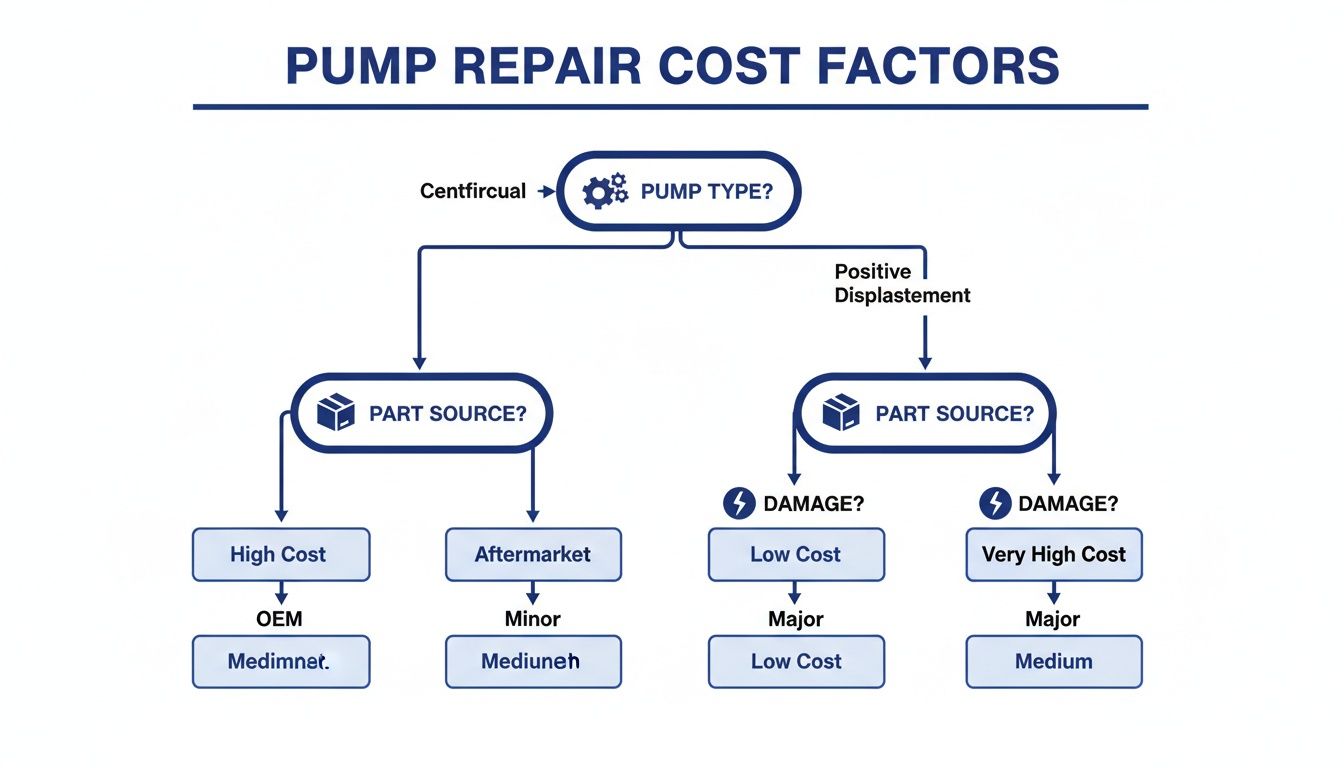
Fixing no pressure is fast and affordable, especially compared to replacement.
| Solution | Cost | Time Required | Success Rate |
|---|---|---|---|
| Clean unloader valve | Under $10 | Under 1 hour | High |
| Replace unloader valve | $30 to $50 | 30 to 45 min | Very High |
| Replace entire pump | $200 to $300 | 1 to 2 hours | Guaranteed |
Bottom Line: Spend 60 minutes and under $10 to save hundreds. Most users restore full pressure with basic cleaning.
Final Fix Checklist
Before calling it done, run through this quick verification:
- Engine starts and runs normally
- Unloader valve moves freely and is clean
- Inlet screen is clear of debris
- Water supply is full-flow (no kinks or clogs)
- All connections are tight and leak-free
- Pressure builds immediately on trigger pull
If all boxes are checked and pressure returns, the repair is complete.
Frequently Asked Questions About Honda Pressure Washer No Pressure
Why does my Honda pressure washer run but have no pressure?
The most common cause is a stuck unloader valve. When this valve seizes in the open position due to corrosion or debris, water recirculates instead of building pressure. The engine runs normally because it isn’t under load. Cleaning the unloader valve restores pressure in most cases.
Where is the unloader valve located on a Honda pressure washer?
The location varies by model. Common access points include under a rubber boot near the pump outlet, behind a plastic shroud, or beneath the high-pressure hose connection where an Allen screw provides access. On Karcher units with Honda engines, the valve sits under a large cover.
How do I fix a stuck unloader valve?
Remove the valve assembly and clean it thoroughly. Apply penetrating oil like Liquid Wrench to loosen rust, then use carb cleaner to flush debris. For stubborn corrosion, gently polish with fine-grit sandpaper. Lubricate with silicone-based lubricant before reinstalling.
What tools do I need to repair a Honda pressure washer unloader valve?
You need basic tools including screwdrivers, Allen wrenches, and pliers. For cleaning, gather penetrating oil, carburetor cleaner, fine-grit sandpaper, and silicone-based lubricant. Total cost for supplies is under $10.
How much does it cost to replace a pressure washer pump?
A full pump replacement costs between $200 and $300. However, cleaning a seized unloader valve costs under $10 and takes less than an hour. Replacing just the unloader valve costs $30 to $50, making it far more economical than pump replacement.
How can I prevent my Honda pressure washer from losing pressure?
Flush the system after each use to remove debris and mineral deposits. Store the unit dry and upright to prevent corrosion. Use the pressure washer every 4 to 6 weeks to keep seals and valves from seizing. Regular maintenance prevents most pressure loss issues.
Key Takeaways for Fixing Your Honda Pressure Washer
Honda pressure washer troubleshooting no pressure almost always leads to the unloader valve. Corrosion, infrequent use, and lack of maintenance are the usual suspects. By locating the valve, often hidden under a hose port or shroud, cleaning it with penetrating oil and carb cleaner, and lubricating it properly, you can restore full performance in under an hour.
Always check the inlet screen if cleaning the valve doesn’t work. A clogged screen causes cavitation, which prevents pressure buildup even with a functional unloader valve. With regular flushing and dry storage, you can prevent this issue entirely.
Don’t replace the pump or buy a new unit. Fix the unloader valve and keep your Honda pressure washer running strong for years. Start with the cleaning method today, and you’ll likely save hundreds of dollars while gaining valuable repair skills.