How to Clean Windows With a Pressure Washer
Dirty window tracks and grimy frames often ruin the look of your home even after you wipe the glass. Learning how to clean windows with a pressure washer solves this by removing hidden grime that causes streaks and seal damage.
This guide reveals the exact pressure settings, tools, and sequences professionals use to achieve spot-free results. You will discover safe methods for ground-level panes and high-rise windows without risking water intrusion or broken seals.
Choose the Right Cleaning Method for Your Windows
Selecting the correct approach depends entirely on your window height and available equipment. Ground-level windows benefit from a deep scrub and squeegee finish using standard tap water.
Higher windows require a different strategy to ensure safety and prevent spotting. You must match your technique to the specific challenges of your home’s architecture.
Standard Soap Method vs Pure Water Systems
The standard method uses tap water mixed with mild detergent followed by manual scrubbing and squeegeeing. This approach works best for accessible windows where you can reach the glass easily.
The pure water method relies on deionized (DI) water that evaporates without leaving spots. This system eliminates the need for squeegeeing and is ideal for second-story or commercial buildings.
Matching Techniques to Window Height
Low windows allow you to use full deep-clean protocols with detergent and physical squeegeeing. High windows demand safer techniques that avoid direct high-pressure spraying.
- Ground-Level Windows: Use detergent, soft scrubbing brushes, and a squeegee for a flawless finish.
- Second-Story Windows: Avoid direct pressure washing. Use extension poles with microfiber scrubbers and DI water.
- Three+ Stories: Requires water-fed pole systems or lifts. DI water is essential since squeegeeing is not feasible.
Set Correct Pressure and Equipment Specifications
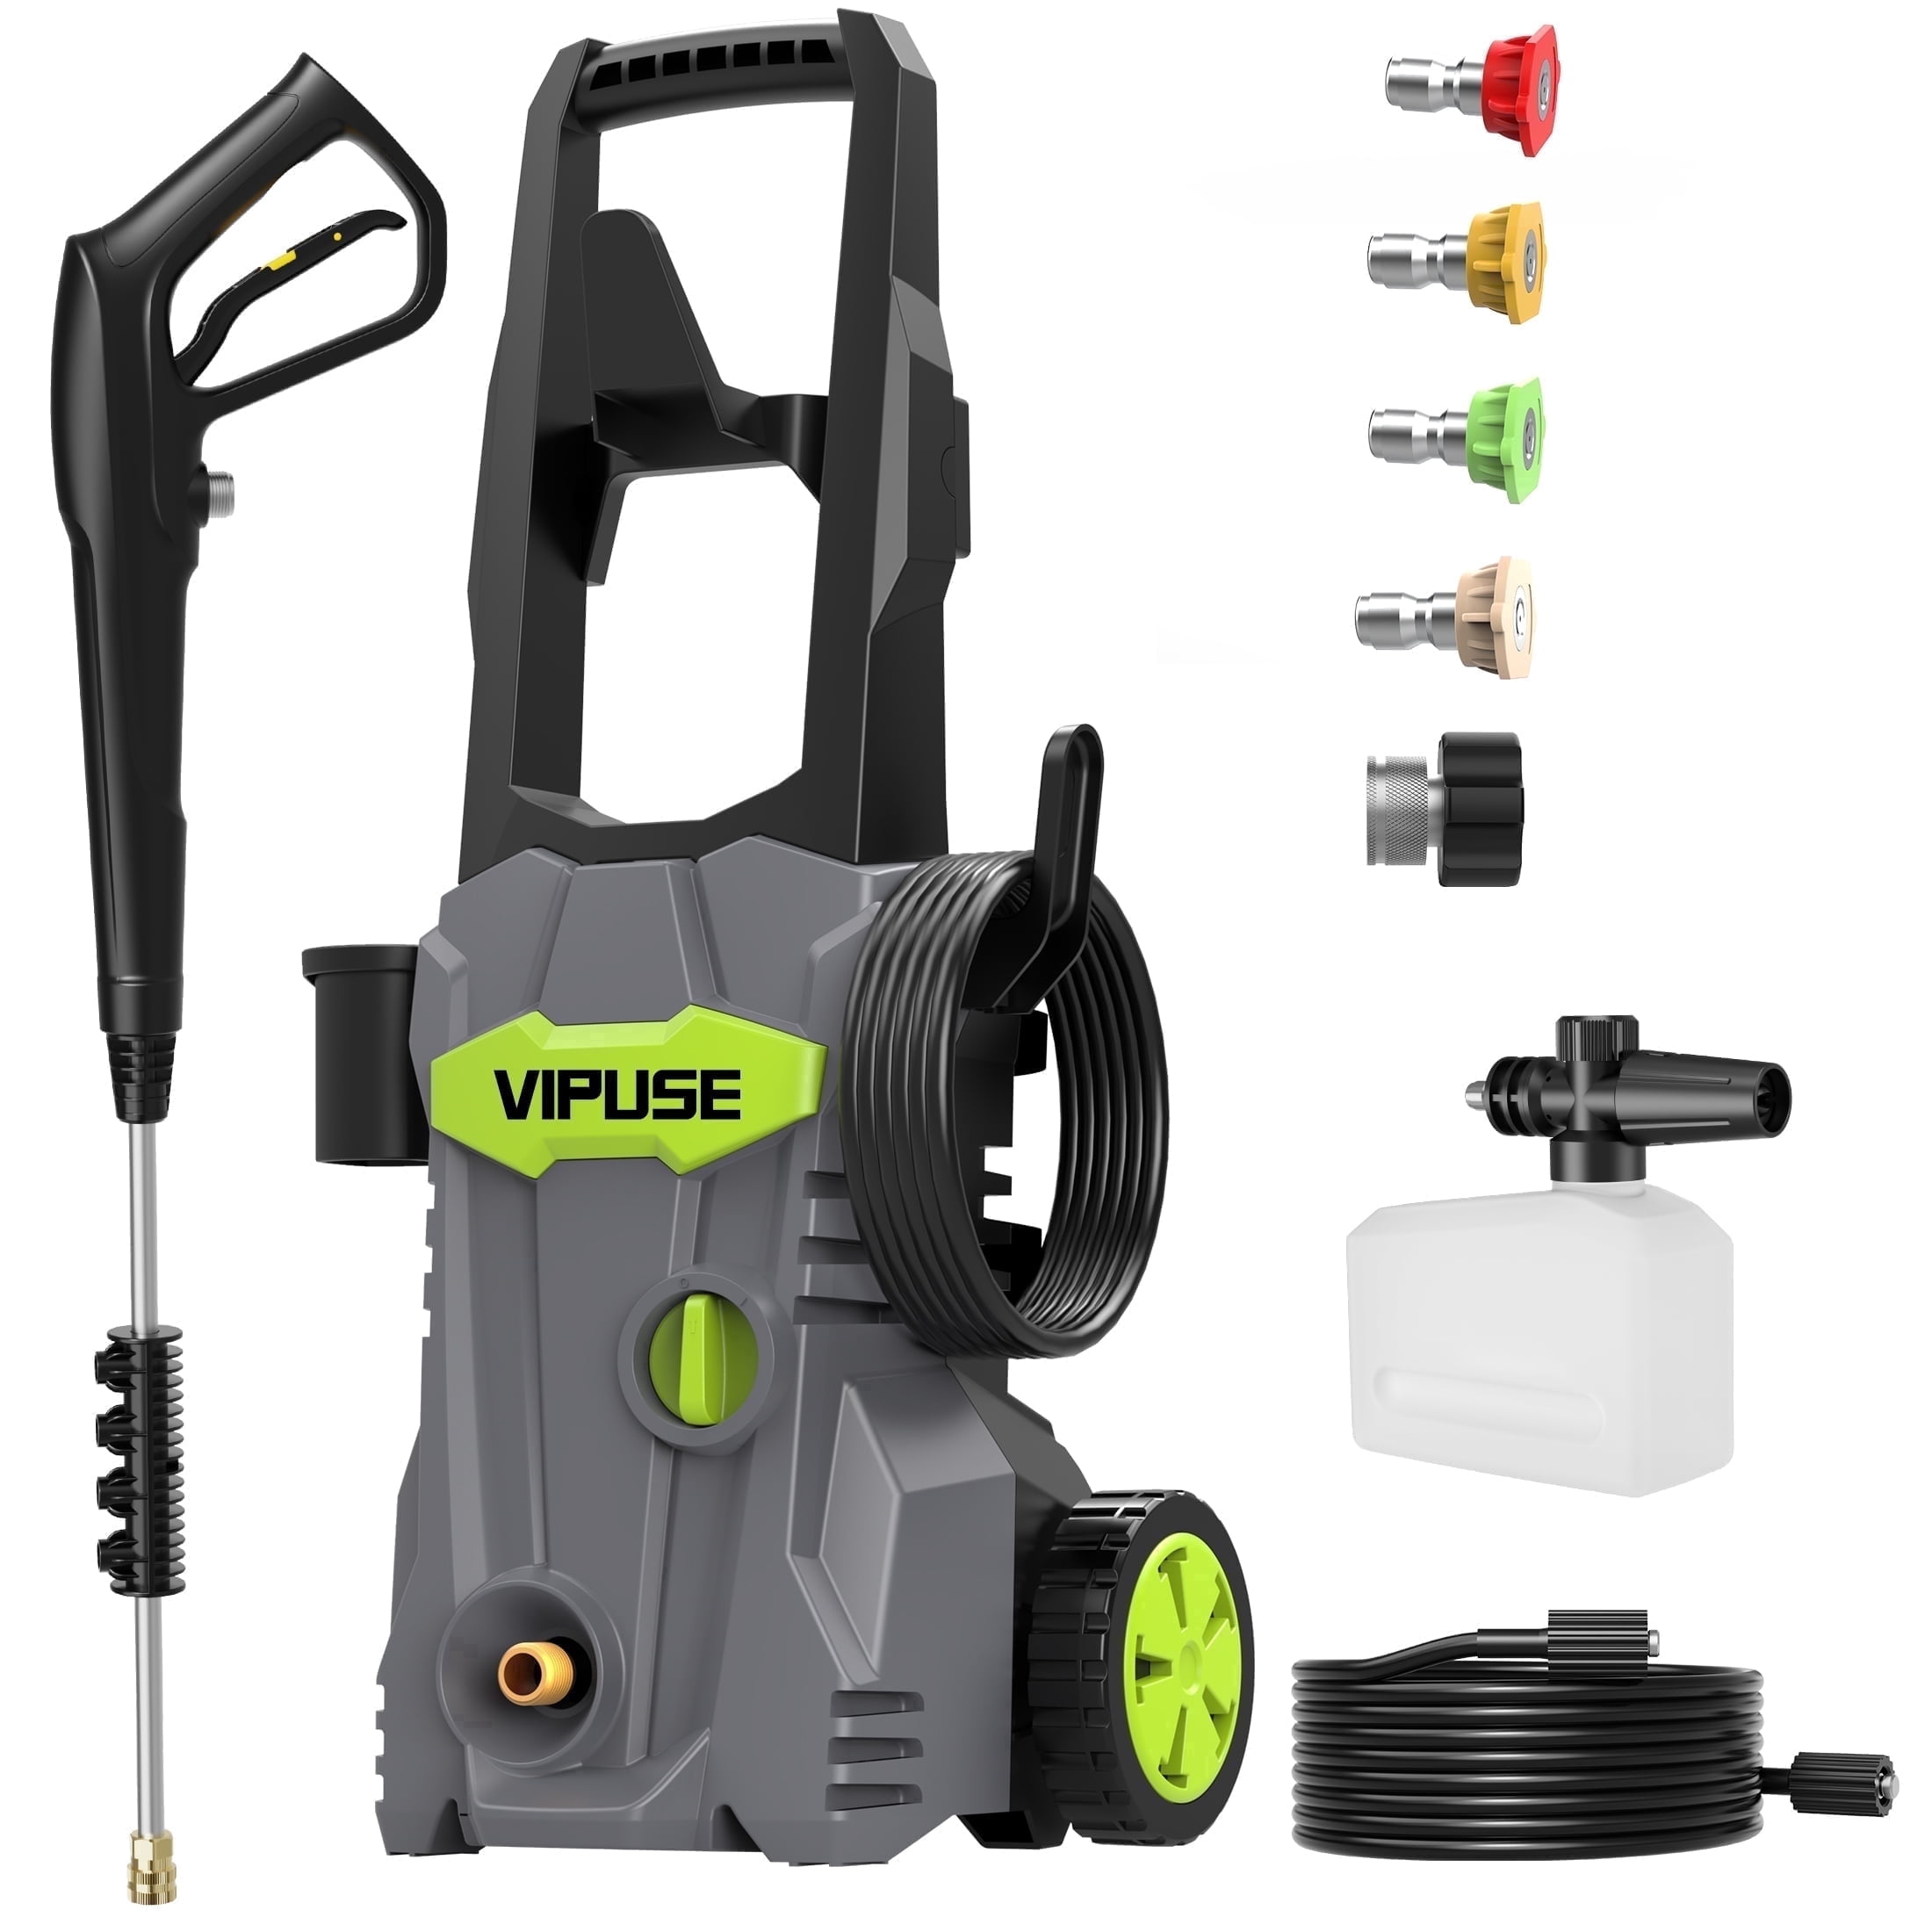
Using the wrong pressure setting is the fastest way to damage your home. Exceeding safe limits forces water past seals and into your interior walls.
Stick to 1,500–2,000 PSI for all window cleaning tasks. Even if your machine is rated higher, you must adjust your technique to stay within this safe range.
Operating Within Safe PSI Limits
Professionals often use machines rated at 3,000 PSI but operate them safely by pulling the trigger only halfway. This reduces the effective impact pressure while maintaining sufficient flow.
- Keep the wand moving quickly across surfaces.
- Maintain a safe distance of 12 to 18 inches from the glass.
- Never hold the spray in one spot for too long.
Selecting Proper Nozzles and Spray Patterns
Your nozzle choice dictates the force concentration on the window surface. A 40-degree (white) tip is the standard for window cleaning because it spreads water gently.
Avoid red (0-degree) or green (25-degree) tips entirely. These concentrate too much force and can instantly damage seals or crack glass.
Using Deionized Water for Spot-Free Drying
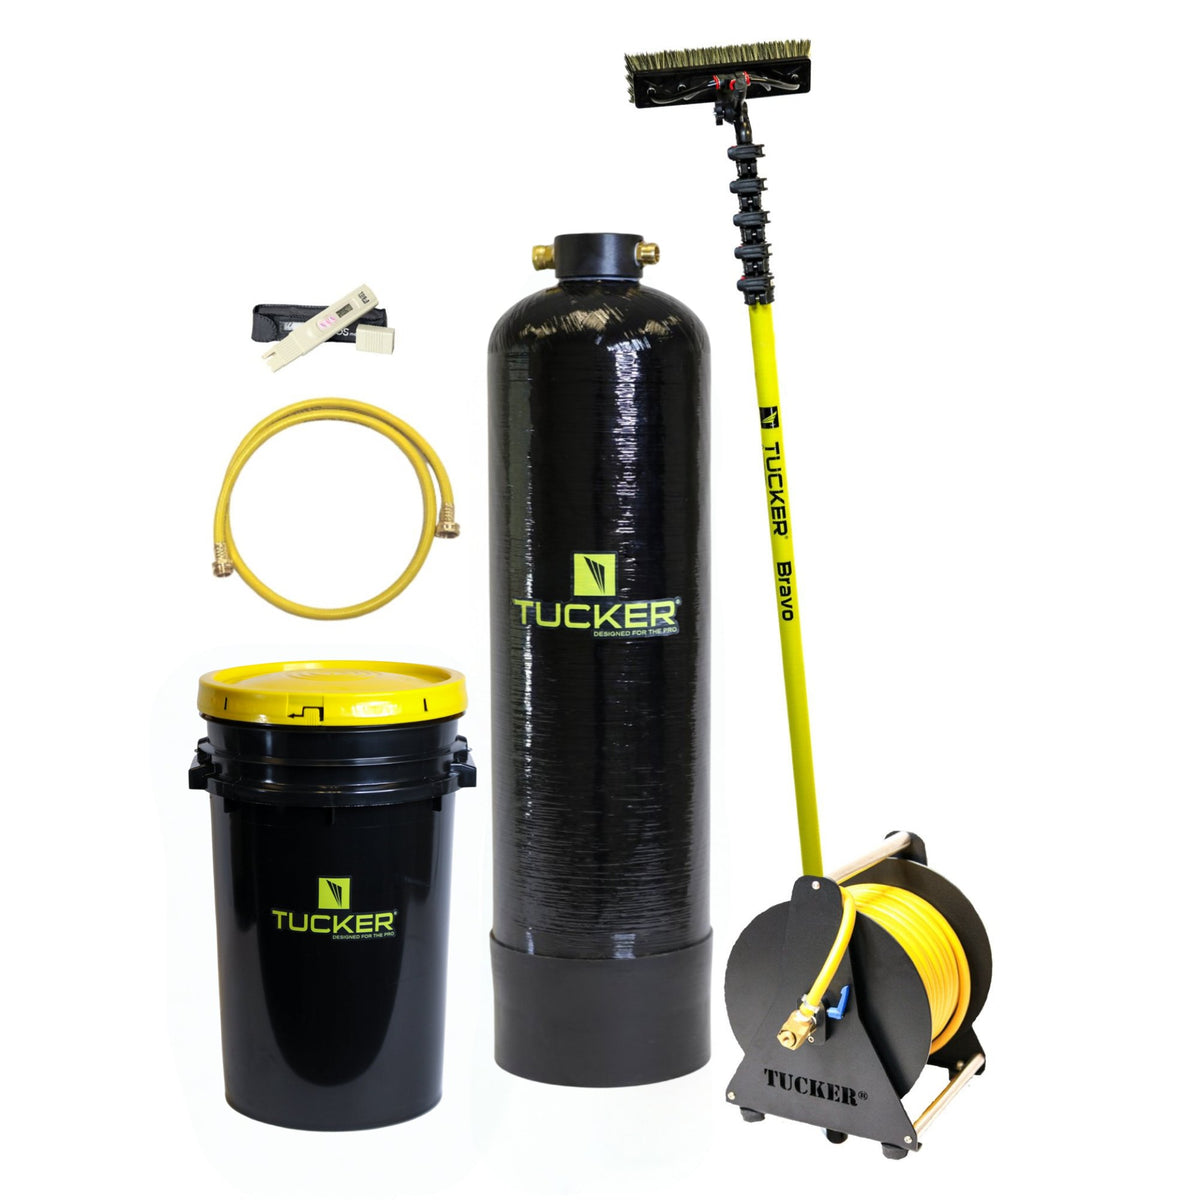
Deionized water has had all minerals removed so it leaves no residue when it dries. This is critical for high windows where you cannot reach to squeegee.
- Store water in tanks and filter it through a DI bottle just before spraying.
- Large jobs may require 3–4 tanks to ensure a continuous supply.
- If you use tap water, you must squeegee immediately or expect mineral spots.
Prepare the Cleaning Area Thoroughly
Proper preparation prevents damage to your interior and ensures a smoother workflow. Skipping this step often leads to wet furniture or re-soiled glass.
Take time to secure your workspace before turning on the pressure washer. This simple precaution saves hours of cleanup later.
Removing Window Coverings First
Take down all blinds, curtains, and shutters to access the full frame and tracks. This allows you to clean areas that are usually hidden from view.
- Label each blind with its window number for easy reinstallation.
- Close windows tightly to protect indoor surfaces from overspray.
- Move nearby furniture or cover it with plastic sheeting.
Cleaning Decks and Porches Before Windows
Always clean lower exterior surfaces before you start on the windows. Pressure washing decks creates dirty runoff that will splash back onto clean glass.
Order of operations:
1. Clean decks and walkways first.
2. Wash siding and trim next.
3. Clean windows last to prevent recontamination.
Apply Detergent Safely and Effectively
A mild cleaning solution breaks down grease and pollen without damaging your window frames. Harsh chemicals can etch glass or degrade rubber seals over time.
Mix your solution carefully and apply it evenly across all surfaces. Proper application ensures the detergent has time to work before you rinse.
Mixing a Mild Cleaning Solution
Create a gentle formula using common household items or specialized products. This prevents damage to delicate window components while lifting dirt effectively.
DIY detergent recipe:
* Mix 1 tablespoon of dish soap per gallon of water.
* Pour the mixture into your pressure washer’s detergent tank.
* Avoid harsh degreasers or acidic cleaners that harm finishes.
Spraying and Dwell Time Requirements
Apply the detergent evenly across the glass, frames, and tracks. Work from the bottom up to prevent premature runoff and ensure full coverage.
- Let the solution dwell for 30–60 seconds.
- This dwell time breaks down sticky residues and grime.
- Do not let the detergent dry on the surface as it leaves haze.
Scrub Frames and Tracks Thoroughly

Water alone cannot remove caked-on grime from window tracks. Agitation is a non-negotiable step for a truly clean window system.
Use the right tools to scrub without scratching. Your goal is to dislodge dirt from corners and drainage holes where it hides.
Using Soft-Bristle Brushes Only
Select brushes that are tough on dirt but gentle on surfaces. The wrong tool can scratch glass or strip paint from your frames.
- Use a 3-inch soft detailing brush for frames and tracks.
- Use a microfiber scrubber on an extension pole for glass.
- Never use wire brushes or stiff bristles that cause scratches.
Focusing on Hidden Areas and Drainage
Dirt accumulates in channel tracks, drainage holes, and corners. These hidden spots trap water and cause rot if left uncleaned.
Scrub these areas vigorously to clear all debris. Test the flow by pouring water into the track to ensure it drains freely.
Rinse from Top to Bottom Systematically
Rinsing order matters just as much as scrubbing. Working incorrectly can cause dirty water to run over areas you have already cleaned.
Follow a logical sequence to ensure every bit of soap and dirt washes away. This step determines the final clarity of your glass.
Using Low Pressure for Final Rinse
Switch back to low-pressure rinse mode after scrubbing. Keep the pressure between 1,500 and 2,000 PSI to avoid damage.
Rinse in this specific order:
1. Top of the frame.
2. Sides of the window.
3. Bottom track.
4. Glass surface.
Flushing Drainage Holes Completely
Direct water specifically into each drainage hole to ensure it is fully clear. Blocked holes cause water pooling that leads to frame corrosion.
If water does not flow freely, use a thin wire or pipe cleaner to unclog the hole gently. This prevents future water damage and seal failure.
Dry and Polish the Glass for Clarity
Drying techniques vary based on the water type you used. Tap water requires manual removal while pure water dries on its own.
Polishing adds that final professional touch that makes glass disappear. Follow these steps for a streak-free finish.
Squeegeeing for Streak-Free Results
If you used tap water or detergent, you must squeegee the glass. Skipping this step guarantees mineral spots and streaks.
- Start at the top corner of the window.
- Pull the squeegee down in straight, overlapping strokes.
- Wipe the blade with a microfiber cloth after every pass.
- Use a corner tool to clean edges precisely.
Final Polishing with Glass Cleaner
For crystal clarity, perform a final polish after squeegeeing. This removes any remaining haze or faint residue.
- Spray Windex or quality glass cleaner on a lint-free cloth.
- Wipe the entire surface lightly.
- Never spray cleaner directly on windows in direct sunlight.
Avoid Common Mistakes During Cleaning
Even experienced homeowners make errors that lead to damage. Knowing what not to do is just as important as knowing the right steps.
Avoid these pitfalls to protect your investment and ensure great results. Prevention is easier than repairing water damage.
Never Using High Pressure on Seals
High pressure forces water behind rubber gaskets and caulking joints. This causes interior water damage and mold growth.
- Keep the wand at an angle near seals.
- Use light pressure around frame seams.
- Inspect seals regularly for signs of wear.
Preventing Bounceback Streaks
“Bounceback” occurs when water hits siding and splashes back onto clean glass. This creates unsightly streaks just as you finish.
- Rinse trim and siding before cleaning windows.
- Clean windows last in your sequence.
- Allow time for final touch-ups on large jobs.
Never Skipping Agitation Steps
Some believe high pressure alone cleans the glass. This is false and leads to a filmy residue as the water dries.
You must scrub every pane even when using deionized water. Agitation dislodges the dirt so the rinse can wash it away.
Maintain Results Long-Term with Regular Care
Regular maintenance keeps your windows looking new for years. A consistent schedule prevents heavy buildup that is hard to remove.
Simple habits extend the life of your window seals and frames. Invest a little time now to save major repairs later.
Cleaning Every 6 to 12 Months
Schedule deep cleans twice a year in high-pollution or coastal areas. Once a year is sufficient for most other locations.
- Prevents grime buildup in tracks.
- Stops drainage holes from clogging.
- Reduces seal degradation from trapped dirt.
Extending Seal Life with Track Maintenance
Clean tracks and drainage holes every time you wash your windows. This simple step prevents water pooling and reduces stress on seals.
Proper maintenance stops corrosion in metal frames. It can extend the functional life of your windows by several years.
Troubleshoot Problem Areas Effectively
Issues like spotting or heavy debris require specific solutions. Knowing how to handle these problems ensures success.
Address these common challenges with the right techniques. You can fix most issues without starting over.
Fixing Spots After Drying
Spots indicate minerals are present in the water or residue remains. Switch to deionized water for future rinses to prevent this.
- Squeegee immediately if using tap water.
- Polish with a 1:1 vinegar-water mix to dissolve deposits.
- Ensure your DI system is functioning correctly.
Handling Heavy Debris Safely
Thick spider webs or mud require a gentle approach. Do not blast them with high pressure immediately.
- Pre-rinse with low pressure to loosen debris.
- Use a soft brush on frames only.
- Repeat detergent application for extreme buildup.
Second-Story Window Tips
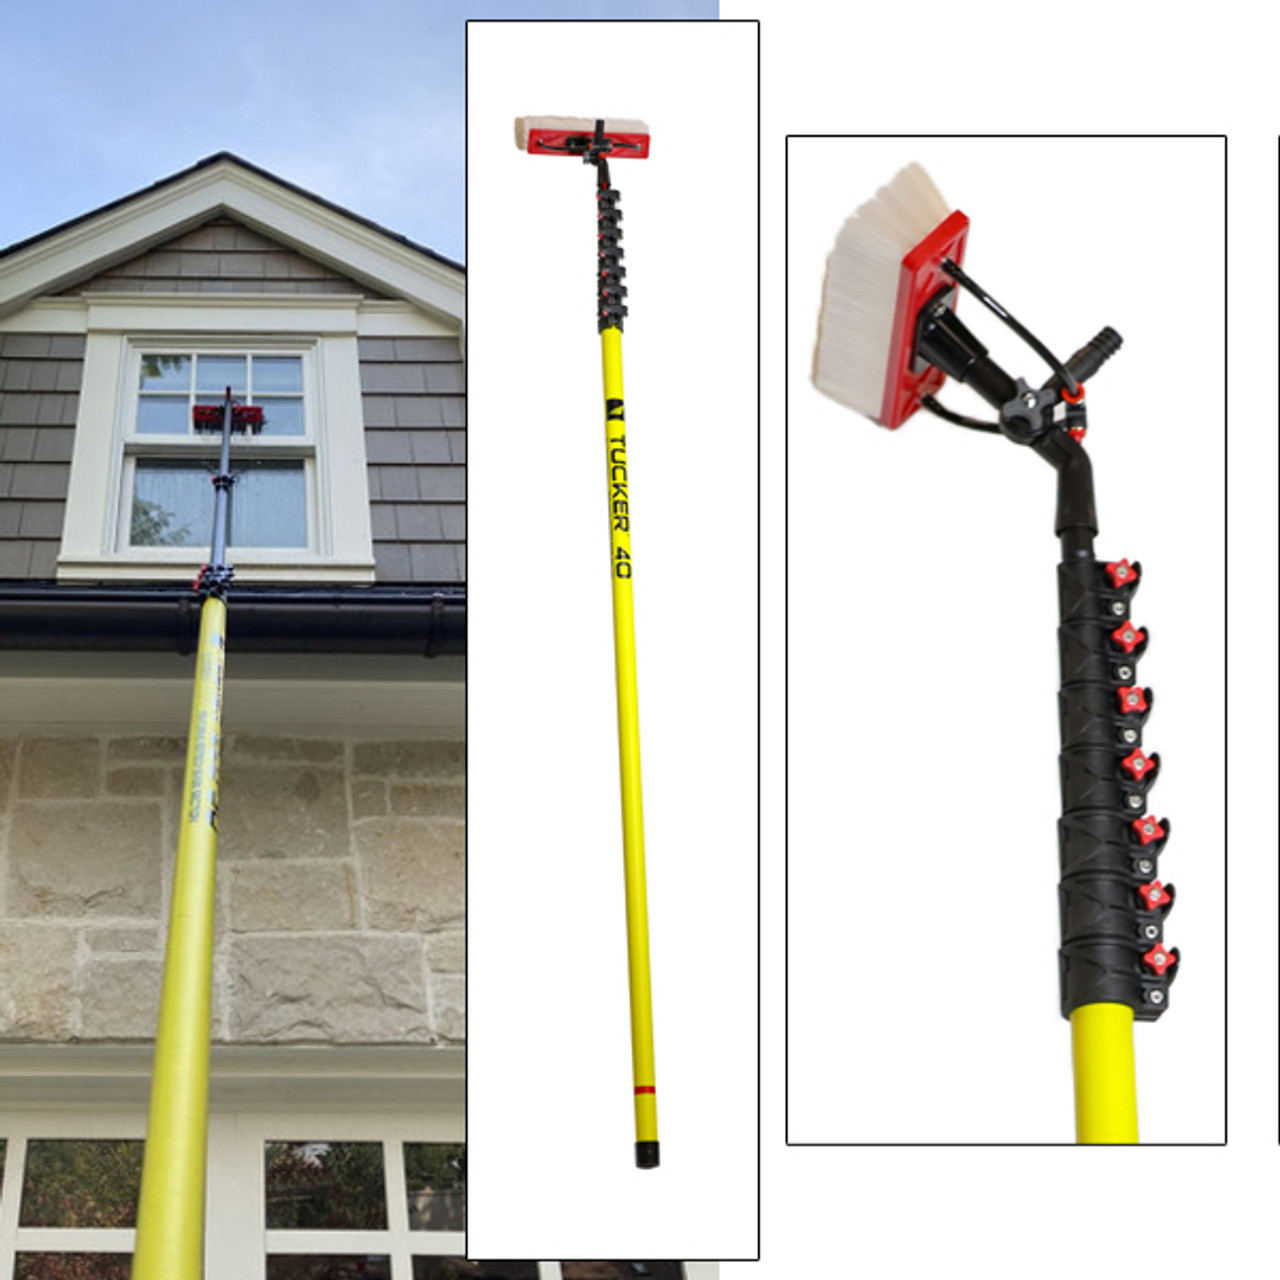
Avoid using pressure washers directly on second-floor windows unless trained. The risk of water intrusion is too high.
Better options include:
* Extension pole with microfiber scrubber.
* Water-fed pole with DI water system.
* Lift or platform for full control.
Frequently Asked Questions About Cleaning Windows with a Pressure Washer
What PSI setting is safe for cleaning windows?
You should use a pressure setting between 1,500 and 2,000 PSI. Higher pressure can force water past seals and damage your home interior. If your machine is stronger, pull the trigger only halfway to reduce impact.
Can I use regular tap water to pressure wash windows?
Yes, but you must squeegee the glass immediately after rinsing. Tap water contains minerals that leave spots when they dry. Deionized water is required if you want the windows to air-dry spot-free.
Do I need to scrub windows when using a pressure washer?
Yes, scrubbing is essential to remove embedded dirt and grime. Water pressure alone cannot dislodge stuck-on pollutants from frames and glass. Use a soft microfiber scrubber or detailing brush for best results.
How often should I deep clean my window tracks?
You should clean window tracks and drainage holes every 6 to 12 months. Regular cleaning prevents clogs that cause water pooling and seal failure. Coastal areas may require more frequent cleaning due to salt and sand.
What nozzle should I use for pressure washing windows?
Always use a 40-degree (white) nozzle for window cleaning. This wide angle spreads the water gently to avoid damage. Never use red (0-degree) or green (25-degree) tips as they concentrate too much force.
Why are there streaks on my windows after pressure washing?
Streaks usually result from dirty water bouncing back from siding or incomplete rinsing. Ensure you clean decks and siding before windows. Also, verify you are squeegeeing tap water or using pure deionized water.
Key Takeaways for Cleaning Windows with a Pressure Washer
Cleaning windows with a pressure washer delivers professional results when you follow safe practices. Always stay within the 1,500–2,000 PSI range and use soft brushes to avoid damaging seals or glass. Remember to clean lower surfaces first and scrub thoroughly before rinsing from top to bottom.
Start your next cleaning project by gathering the right tools and checking your pressure settings. Whether you choose the soap-and-squeegee method or a pure water system, proper technique ensures your windows stay clean and damage-free for years.