Washing Machine Won’t Fill: Quick Fix Guide
You press “Start,” walk away, and come back to find your washer completely dry. No water. No progress. Just silence. You’re not alone. A washing machine that won’t fill with water is one of the most common appliance failures, and in over 80% of cases, the fix is simple, fast, and costs nothing.
This guide gives you clear, step-by-step solutions based on real technician data and user experiences. You’ll learn how to diagnose the root cause in under 15 minutes, whether your washer isn’t filling at all, trickling slowly, or starting then stopping.
Check Water Supply Valves First
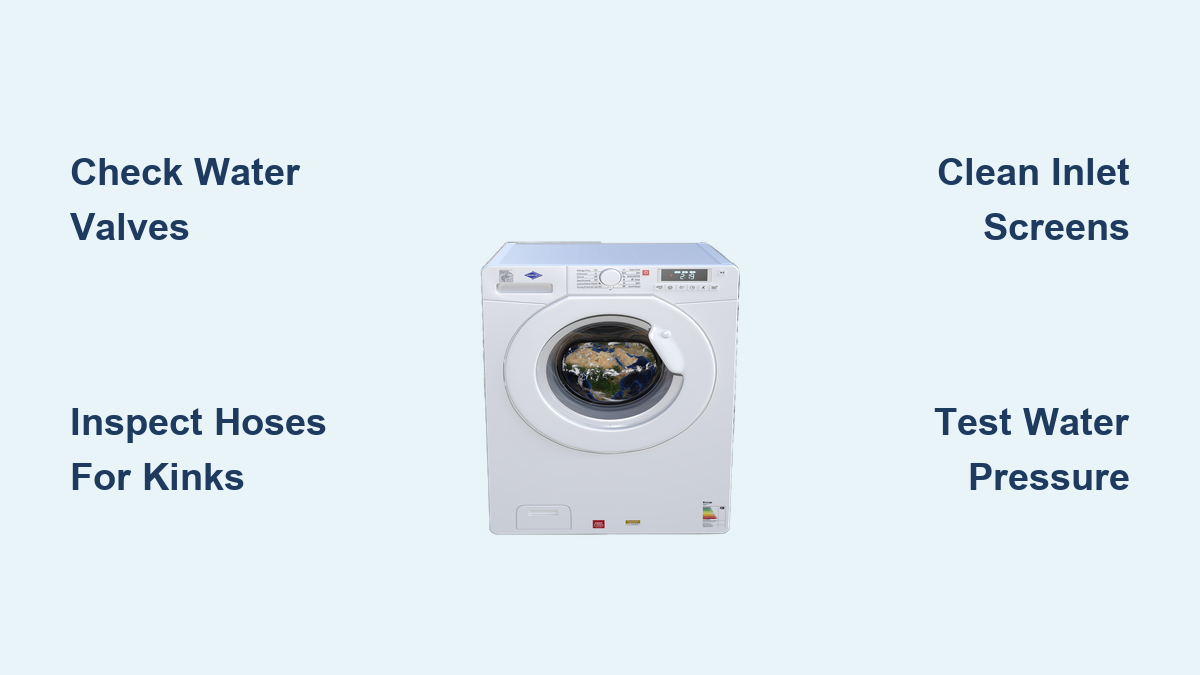
Before tearing anything apart, confirm the basics. Are your water valves fully open? Most people assume their hot and cold shutoff valves are fully open, but many aren’t. A partially closed valve restricts flow below the 20 psi minimum most washers need to start filling.
How to Open Valves Properly
Turn both hot and cold valves counterclockwise until they stop. Do not force stiff valves, as this can break the stem. Listen for water flow when starting a cycle.
Quick test: Disconnect one hose at a time into a bucket. Full flow means the valve is open. A dribble indicates a valve problem.
Pro tip: Replace old gate valves with quarter-turn ball valves. They’re easier to open fully and last longer.
Inspect Inlet Hoses for Kinks
A kinked or crushed hose blocks water, even if the valves are open. Many washers hum but fail to fill because of this common issue.
Find Hidden Kinks
Unplug the washer and pull it forward, leaving 4 to 6 inches of clearance. Trace both hoses from the wall to the machine. Look for sharp bends, flattened sections, twists, or pinches under the unit.
Critical insight: Even a slight bend can reduce flow by 90%. The inlet valve may hum but fail to open.
Fix: Re-route hoses with a high loop and secure with clips. Use braided stainless steel hoses, as they resist kinking and bursting.
Clean Clogged Inlet Valve Screens

Clogged filter screens are the number one cause of no-fill issues, especially after plumbing work or in hard water areas. These tiny mesh filters inside the inlet valve trap sand, rust, lime scale, and sediment. Even partial blockage can drop flow below 0.5 GPM, triggering a fill timeout.
How to Clean Them
Turn off water valves and unplug the washer. Place a towel under connections. Remove inlet hoses from the back of the washer. Use a flathead screwdriver to pry out the small mesh screen from each port. Soak in white vinegar for 1 hour if mineral-heavy, then scrub with a toothbrush. Clear holes with a toothpick and reinstall screens. Never run without them.
Time: 10 to 15 minutes. Cost: $0 or $5 for a 10-pack of replacements.
Success story: After city water flushing, one user fixed their MVW4505MWO model in 10 minutes just by cleaning the screens.
Test Water Pressure at Source
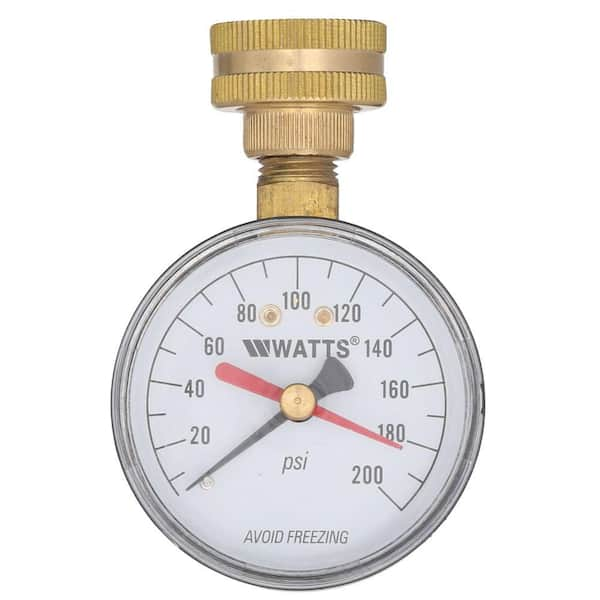
Low household pressure can prevent fill, even with clean hoses and open valves. Most brands require 20 to 30 psi. Below 20 psi, the solenoid won’t activate and cycle times out.
How to Measure Pressure
Buy a water pressure gauge for about $10 at hardware stores. Attach to a laundry faucet or hose bib and turn on fully to check the reading.
Ideal pressure: 40 to 60 psi. Too low: under 20 psi. Consider a pressure booster pump if consistently low.
Red flag: Other fixtures like showers and sinks also have weak flow? The issue is whole-house, not the washer.
Diagnose Inlet Valve Failure
If water still won’t flow, the inlet valve itself may be dead. The valve uses solenoids to open when powered, one side for hot and one for cold.
Signs of Failure
No humming or clicking during fill. Voltage present but no action. One temperature works while the other doesn’t.
Test with Multimeter
Unplug the washer and remove the rear panel. Locate the inlet valve near hose connections. Disconnect the electrical connector and set multimeter to ohms. Test between terminals. Normal reading: 500 to 1500 ohms. Failed: infinite resistance (OL).
Fix: Replace the valve for $50 to $150. Match the part number to your model.
DIY difficulty: Intermediate. Requires disassembly and electrical safety.
Check Lid Switch or Door Lock
Modern washers won’t fill unless the lid or door is locked. This is a safety feature you should never bypass.
Common Failure Signs
“Lid” or “Door” error on display. No fill despite closed lid. No click when closing. Washer powers on but does nothing.
Quick Checks
Close firmly and listen for lock engagement. Check for obstructions in the latch. Inspect strike plate alignment.
Test the switch with a multimeter for continuity. Lid closed should show continuity. Open should show no continuity.
Replacement cost: Top-load lid switch $20 to $50. Front-load door lock $40 to $80.
Test Pressure Switch for Stuck Signal

If your washer fills during wash but not during rinse, the pressure switch may be stuck. A tube from the tub sends air pressure to the switch, telling the control when the tub is full.
Failure Modes
Stuck “full” means the machine thinks the tub is full and never starts filling. Stuck “empty” causes overfills. Intermittent behavior causes erratic issues.
Bypass Test
Unplug the washer and locate the pressure switch. Remove the air hose and blow into it to clear blockage. Tap the switch lightly with a screwdriver. If still not working, disconnect wires and join with an insulated jumper. Plug in and start cycle. If it fills, the switch is bad.
Replace: $30 to $70. Ensure air tube is intact and reattached.
Rule Out Drain Siphoning
Water enters but drains out immediately. It looks like “no fill,” but it’s siphoning. The drain hose inserted too far into the standpipe creates this effect.
Fix: Install a High Loop
Raise the drain hose to 30 to 36 inches above the floor. Secure with a clip. Do not staple. Maximum height: 96 inches. Leave an air gap. Do not seal into pipe.
User fix: “Repositioned hose. Now fills perfectly.”
Verify Settings and Water-Saving Modes
New HE washers use minimal water. What looks like “not filling” may be normal behavior.
What to Check
Load size selector set to Large or Max. Eco mode disabled to test. Soil level higher settings may add more water. Many models don’t add clean water during rinse. They reuse wash water.
Consumer complaint: Multiple users report detergent residue due to lack of true rinse.
Workaround: Run a rinse-only cycle without detergent.
Avoid Overloading and Detergent Issues
Too much laundry or wrong detergent can stop fill.
Overload Effect
Drum too full means water can’t circulate. Sensors detect imbalance and delay or cancel fill. Load no more than three-quarters full. Distribute large items evenly.
Suds Lockout
Non-HE detergent causes excessive suds. Suds sensor triggers drain and skips rinse fill. Use HE detergent only. Run extra rinse if needed.
When to Call a Technician
If you’ve done the following and it still won’t fill, call a pro. Water valves fully open. Hoses not kinked. Inlet screens clean. Lid or door closes and locks. Pressure and flow seem normal.
Likely professional repairs include failed inlet valve, defective control board, internal wiring damage, faulty pressure switch or air tube, and drain system reconfiguration.
Prevent Future Fill Issues
Stay ahead with simple maintenance.
Monthly checks: Confirm valves are open. Inspect hoses for kinks. Wipe area behind washer.
Every six months: Clean inlet screens. Check door lock and lid switch function. Test water pressure.
Long-term protection: Install braided stainless steel hoses. Use water softener in hard water areas. Label hot and cold valves. Leave 4 or more inches behind washer.
Key Takeaways for Fixing Your Washing Machine
Most no-fill issues stem from simple causes you can fix yourself. Start with the basics: water valves, hoses, and inlet screens. These three areas account for over 80% of fill failures and take minutes to check. Always verify water pressure meets the 20 psi minimum, and remember that modern washers use less water by design. When in doubt, run a test cycle with no clothes to confirm proper operation.
Frequently Asked Questions About Washing Machine Won’t Fill
Why does my washing machine make a humming sound but won’t fill?
The humming means the inlet valve is receiving power, but water isn’t flowing. This typically points to a closed valve, kinked hose, or clogged screen restricting water entry.
Can I use my washer if only one temperature works?
No. Most washers blend hot and cold even during cold cycles. If only hot or cold fills, the valve for that side likely has a clog or electrical failure. Clean screens first before replacing the valve.
How do I know if my washer is actually filling or just looks like it isn’t?
Modern HE washers use much less water than older models. What appears as no fill may be normal low-water operation. Run a cycle with no clothes and watch the drum to confirm water level rising.
What should I do if my washer fills but then immediately drains?
This is drain siphoning. The drain hose is inserted too far into the standpipe. Pull it out so the loop sits at least 30 to 36 inches above the floor.
Is it safe to bypass the lid switch to test my washer?
Never bypass the lid switch or door lock. This is a critical safety device that prevents injury and flooding. Always test with proper safety controls in place.
How often should I clean my inlet valve screens?
Clean inlet screens every 6 months, or immediately after any plumbing work or water main break. Regular cleaning prevents sediment buildup that causes fill failures.