How to Clean Washing Machine Agitator
A foul smell during laundry, reduced cleaning performance, or visible gunk around the center post of your washer? You are not alone. How to clean agitator in washing machine is one of the most-searched appliance maintenance topics, and for good reason. Over time, the agitator in top-loading machines collects detergent residue, fabric softener buildup, hard water minerals, and mold, turning it into a breeding ground for odor and grime. Left unchecked, this can transfer dirt and bacteria back onto your clothes. The good news: a thorough agitator cleaning is simple, affordable, and can restore your washer is freshness in under an hour. Whether you opt for a quick in-place scrub or a deep clean after removal, this guide delivers step-by-step instructions, safety tips, and long-term maintenance strategies to keep your machine running like new.
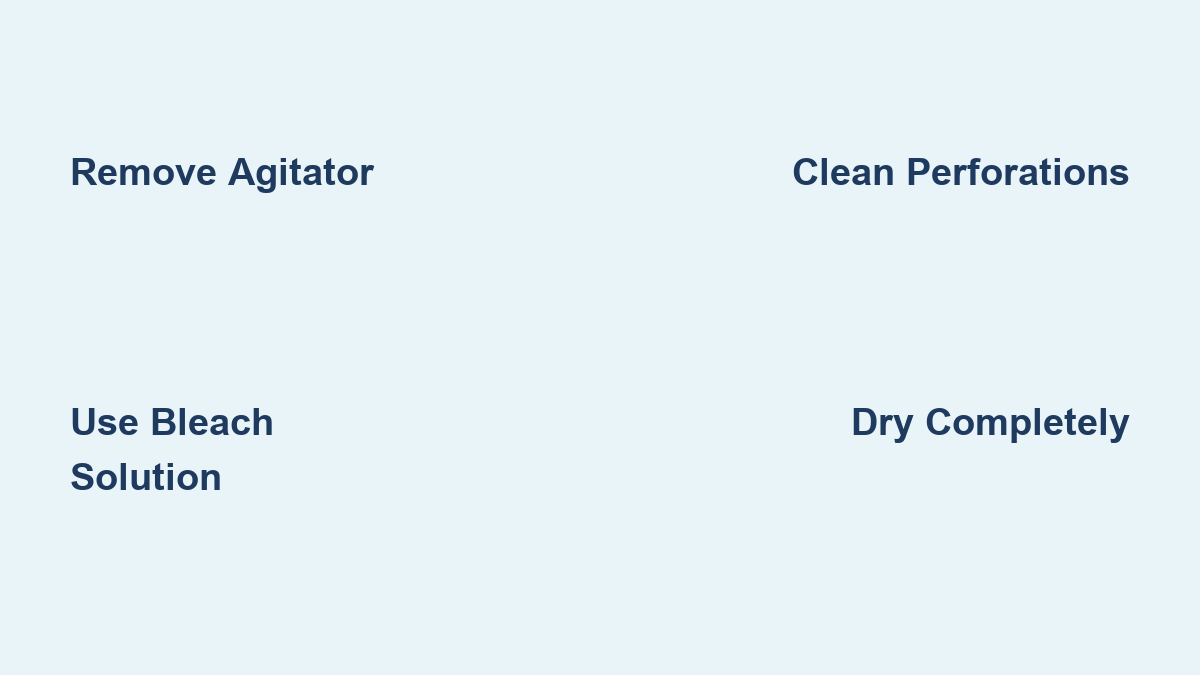
Remove Agitator Safely for Deep Cleaning
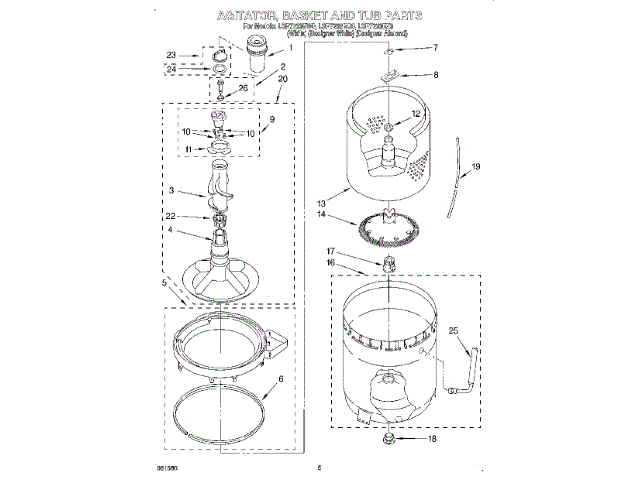
Before deep cleaning, you may need to remove the agitator, especially if buildup is severe or hidden underneath. This step is essential for accessing mold-prone areas most users never see. Skip this section if you prefer in-place cleaning for routine maintenance.
Locate and Remove Center Cap
Start by checking the top of the agitator. Most models have a removable cap, either snap-on or screw-on. Use a flathead screwdriver or your fingers to pry it off gently. If it is stuck, gently twist while pulling upward. Set the cap aside in a safe place to avoid losing it.
Unscrew Central Bolt
Once the cap is off, you will see a central bolt, typically 7/16 inch or 1/2 inch size. Use a socket wrench or ratchet to loosen and remove it. Keep the bolt in a secure spot. Some models use a plastic retaining plug instead, so check your manual if unsure.
Lift Agitator Off Drive Shaft
With the bolt removed, grip the agitator firmly and pull straight up. It should slide off the drive shaft with moderate force. If it resists, gently wiggle it side to side. Do not twist, as this can damage internal gears. Once free, place it upside down in a stable container like an old flower pot to allow drainage during cleaning.
Deep Clean Agitator with Bleach
For heavy gunk, slime, or persistent odors, a bleach treatment is the most effective method. This kills mold, dissolves organic grime, and sanitizes hard-to-reach channels. Bleach is powerful but requires proper handling and thorough rinsing.
Apply Undiluted Clorox Bleach
Pour Clorox bleach directly onto all surfaces of the removed agitator, focusing on the perforated underside, vanes, and internal compartments. Let it sit for 3 to 5 minutes. This dwell time breaks down biofilm and loosens residue. Avoid prolonged exposure over 10 minutes to prevent plastic degradation.
Scrub All Surfaces Thoroughly
Use a stiff round scrub brush to attack caked-on gunk. Pay extra attention to these areas:
• Perforated holes where water exits
• Inner walls of the fabric softener dispenser
• Base and fins where slime accumulates
For tight spaces, switch to an old toothbrush. Reapply bleach to stubborn spots, or use a spray bottle with a 1:10 bleach-to-water mix for targeted cleaning.
Rinse Until Water Runs Clear
Use a garden hose or high-pressure faucet to flush all bleach and debris. Turn the agitator as needed to reach every angle. Continue rinsing until runoff is completely clear. Any leftover bleach can damage fabrics or irritate skin. Check internal channels by holding it up to light to ensure no blockages remain.
In-Situ Cleaning for Routine Maintenance
If buildup is light or you prefer not to remove the agitator, in-place cleaning works well for monthly upkeep. This method targets the fabric softener dispenser and visible surfaces without disassembly.
Flush Softener Compartment
Pour warm water directly into the dispenser at the top of the agitator. Let it sit for 1 to 2 minutes to soften residue. Repeat 2 to 3 times to flush loose gunk into the drum.
Scrub with Vinegar Solution
Mix equal parts white vinegar and warm water. Dip a soft brush or toothbrush into the solution and scrub all accessible crevices. Vinegar dissolves mineral deposits and neutralizes odors without damaging plastic.
Treat Stains with Baking Soda
For sticky or discolored spots, dampen a microfiber cloth and sprinkle baking soda on it. Gently rub the area in circular motions. Baking soda acts as a mild abrasive without scratching, ideal for restoring shine to dull plastic.
Dry and Reinstall Properly
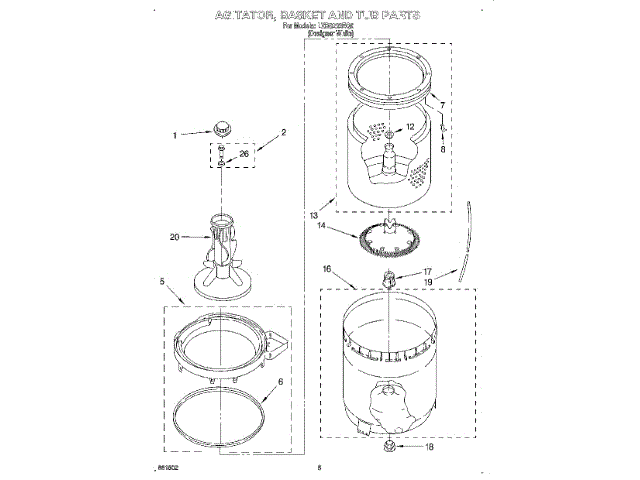
Moisture left in the agitator can lead to mold regrowth. Proper drying and reassembly ensure long-term results. Rushing this step undermines all your cleaning effort.
Air-Dry Completely
Place the agitator upside down in a well-ventilated area for at least 30 minutes. If in a hurry, wipe it down with a dry microfiber cloth, focusing on internal channels. Never reinstall a damp agitator.
Align and Reattach Securely
Slide the agitator straight back onto the drive shaft. Do not twist or force it. Reinsert the central bolt and tighten securely with a socket wrench. Snap or screw the cap back into place. Ensure it is flush and stable.
Test for Wobble
Run a brief spin cycle with no laundry. Watch for unusual vibrations or wobbling. If the agitator shakes, power off immediately and recheck alignment. A loose or misaligned agitator can damage the transmission over time.
Prevent Future Agitator Buildup
Cleaning is only half the battle. Preventing residue from returning keeps your washer fresh and reduces the need for deep cleans. Consistent maintenance takes less time than emergency cleaning.
Run Monthly Maintenance Cycles
Every 30 days, run an empty hot water cycle with either 2 cups white vinegar for descaling and deodorizing, or 1 cup bleach for disinfecting. Choose one. Never mix vinegar and bleach, as this creates toxic chlorine gas. This flushes hidden grime from hoses, drum, and agitator base.
Limit Fabric Softener Use
Liquid fabric softeners are the number one cause of sticky agitator buildup. They coat internal components and trap bacteria. Switch to dryer balls or wool pads to reduce residue.
Use HE Detergent in Compatible Machines
High-efficiency washers require low-suds detergents. Using regular detergent creates excess foam that does not rinse away, leading to gunk accumulation. Check your machine is label and use HE-certified products.
Leave Lid Open After Use
Moisture breeds mold. After each wash, prop the lid open to allow the drum and agitator to dry completely. This simple habit prevents 80 percent of odor issues.
Troubleshoot Common Cleaning Issues
Even with proper cleaning, problems can arise. Here is how to fix them fast. Addressing issues quickly prevents them from worsening.
No Odor Improvement After Cleaning
If smells persist, biofilm may remain in hidden areas. Remove the agitator and soak it in a bleach solution at a 1:5 ratio for 10 minutes. Scrub again, focusing on the base and underside. Also clean the drain pump filter, as this is often the real odor source.
Clogged Perforations Under Agitator
Holes that spray water can get blocked. Soak the agitator in vinegar for 15 minutes, then use a pin or needle to clear each hole. Rinse thoroughly afterward.
White Residue After Vinegar Clean
This is likely hard water mineral buildup. Add 1 tablespoon citric acid or a commercial descaler to your next cleaning cycle. For ongoing issues, consider a water softener.
Agitator Wobbles After Reassembly
Check if the drive shaft is fully engaged and the central bolt is tight. If wobbling continues, inspect the agitator dogs, which are internal plastic gears. Worn ones cause instability and require replacement.
Performance Benefits of Clean Agitator
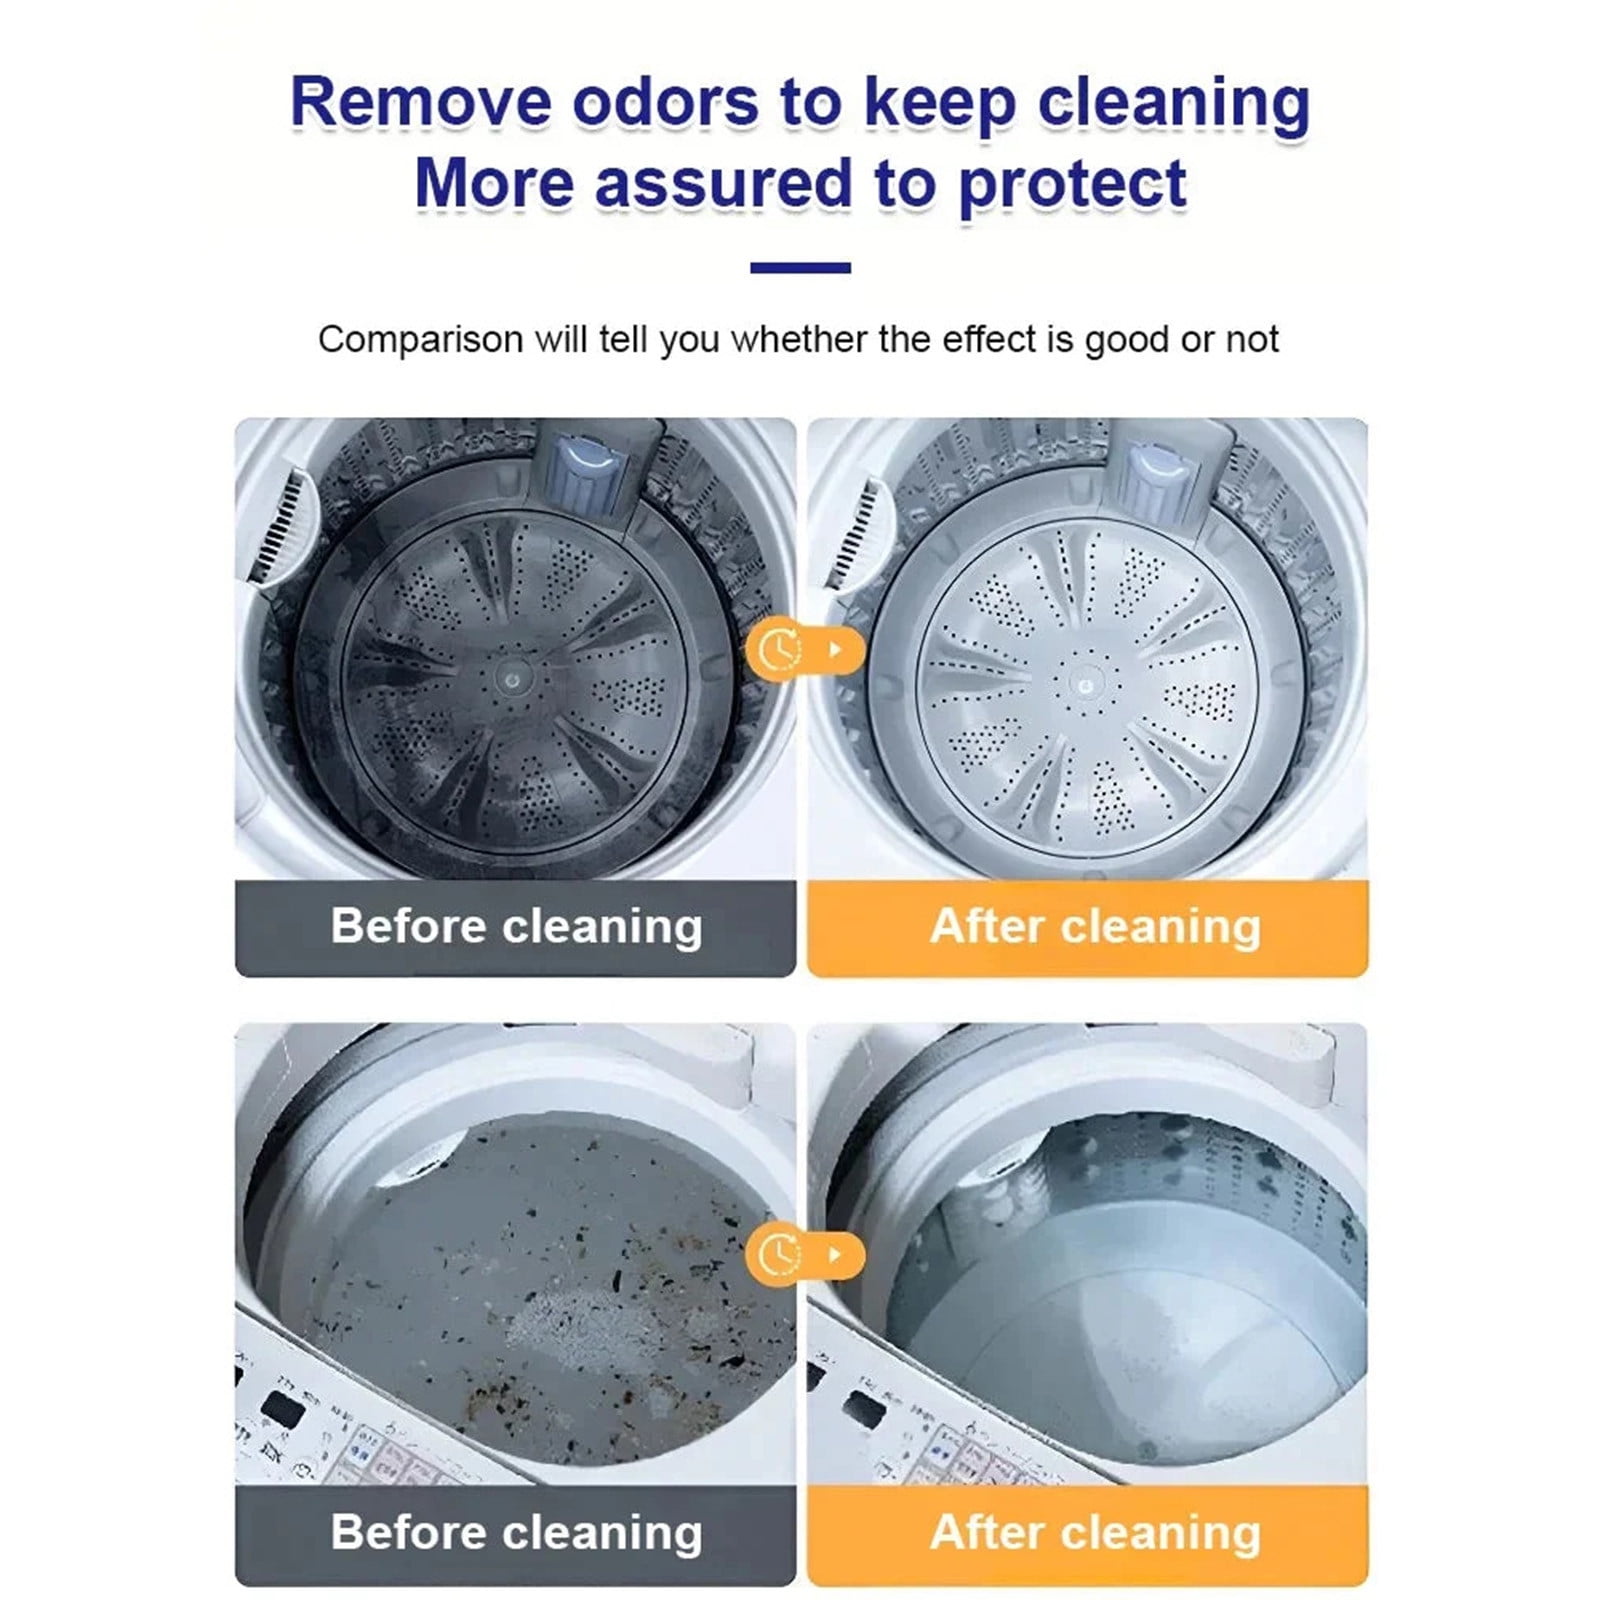
A clean agitator is not just about looks. It directly improves washing results and extends appliance life. The effort pays off in multiple ways.
Eliminate Sewer-Like Odors
Mold and bacteria trapped in the agitator release foul, sulfur-like smells during cycles. Cleaning removes the source, leaving laundry smelling fresh.
Improve Wash Efficiency
A clogged agitator restricts water flow, reducing agitation power. Cleaning restores proper movement, ensuring clothes are thoroughly cleaned.
Protect Sensitive Skin
Residue and microbes on the agitator can transfer to clothing, irritating skin or triggering allergies. Regular cleaning enhances hygiene for the whole family.
Extend Machine Lifespan
Preventing grime buildup reduces strain on motors and pumps, lowering the risk of costly repairs or early replacement. A simple cleaning task saves money long-term.
Frequently Asked Questions About Cleaning Agitator in Washing Machine
How often should I clean my washing machine agitator?
Clean the agitator at least once a month for optimal performance. If you notice odors, slow drainage, or visible buildup, clean it immediately regardless of schedule.
Can I clean the agitator without removing it?
Yes. In-place cleaning works for light maintenance. Flush the dispenser with warm water, scrub with a vinegar solution, and treat stains with baking soda. However, deep cleaning requires removal for thorough results.
Is bleach safe for all agitator types?
Most agitators are made of bleach-resistant plastic like ABS or polypropylene. However, prolonged bleach exposure over 10 minutes can cause degradation. Always rinse thoroughly and never leave bleach sitting overnight.
Why does my agitator still smell after cleaning?
Persistent odor usually means biofilm remains in hidden areas. Remove the agitator and soak in a stronger bleach solution. Also check the drain pump filter, as accumulated debris there can cause smells.
What is the best homemade cleaning solution for agitators?
A mixture of equal parts white vinegar and warm water works for routine cleaning. For heavy buildup, undiluted Clorox bleach applied for 3 to 5 minutes provides maximum disinfection. Never mix vinegar and bleach together.
Key Takeaways for Cleaning Your Washing Machine Agitator
Regular agitator cleaning is a simple, high-impact task that pays off in freshness, performance, and longevity. Whether you perform a monthly vinegar flush or an annual bleach deep clean, consistent maintenance keeps your washer working like new. Start today. Your clothes and your nose will thank you.
The most effective approach combines removing the agitator for deep cleaning with bleach treatment, followed by monthly preventive maintenance using vinegar or bleach cycles. Always rinse thoroughly, dry completely, and test for proper reassembly to avoid mechanical issues. Limiting fabric softener, using HE detergent, and leaving the lid open between uses prevents buildup from returning. Dedicate one hour to this task now and save yourself from costly repairs and foul laundry down the line.