Clean Garage Floor Without Pressure Washer: Quick Steps
A stained, dusty garage floor often feels like it needs heavy machinery to fix, but you can achieve professional results without one. Learning how to clean garage floor without pressure washer saves money while protecting your concrete from potential damage.
This guide walks you through a simple chemical-based method that lifts oil and grime in about an hour. You will discover the right tools, specific cleaning agents, and drying tricks to restore your space efficiently.
Clear All Items From the Garage Floor
You must remove every vehicle, tool, and storage bin before applying any water or cleaner. Leaving items in place creates blind spots where dirt hides and risks damaging your belongings during the wash.
Sort Belongings Into Categories
Take this opportunity to declutter your space by sorting items into four distinct groups. Keep what you need, donate unused goods, recycle old materials, and trash broken items.
* Place keepers in labeled clear bins.
* Mount tools on pegboards to keep them off the ground.
* Store chemicals and tires on elevated shelves to prevent moisture damage.
Protect Nearby Surfaces
Cover workbenches and low-hanging storage with rubber mats or plastic sheeting. This simple step shields your equipment from accidental overspray and humidity during the cleaning process.
Remove Dry Debris Before Wetting
Skipping the dry cleanup turns your cleaning solution into a muddy sludge that is difficult to remove. Loose gravel and dust mix with water to create grit that can scratch the concrete surface if not removed first.
Sweep With Stiff Bristles
Use a stiff-bristled broom to sweep the entire floor from the back toward the garage entrance. Pay close attention to corners, seams, and wall edges where debris naturally accumulates.
Vacuum Fine Particles
Follow sweeping with a shop vacuum equipped with a HEPA filter to capture fine dust. Use a crevice tool to pull sand and oil residue out of cracks that a broom cannot reach.
Select the Correct Concrete Cleaner
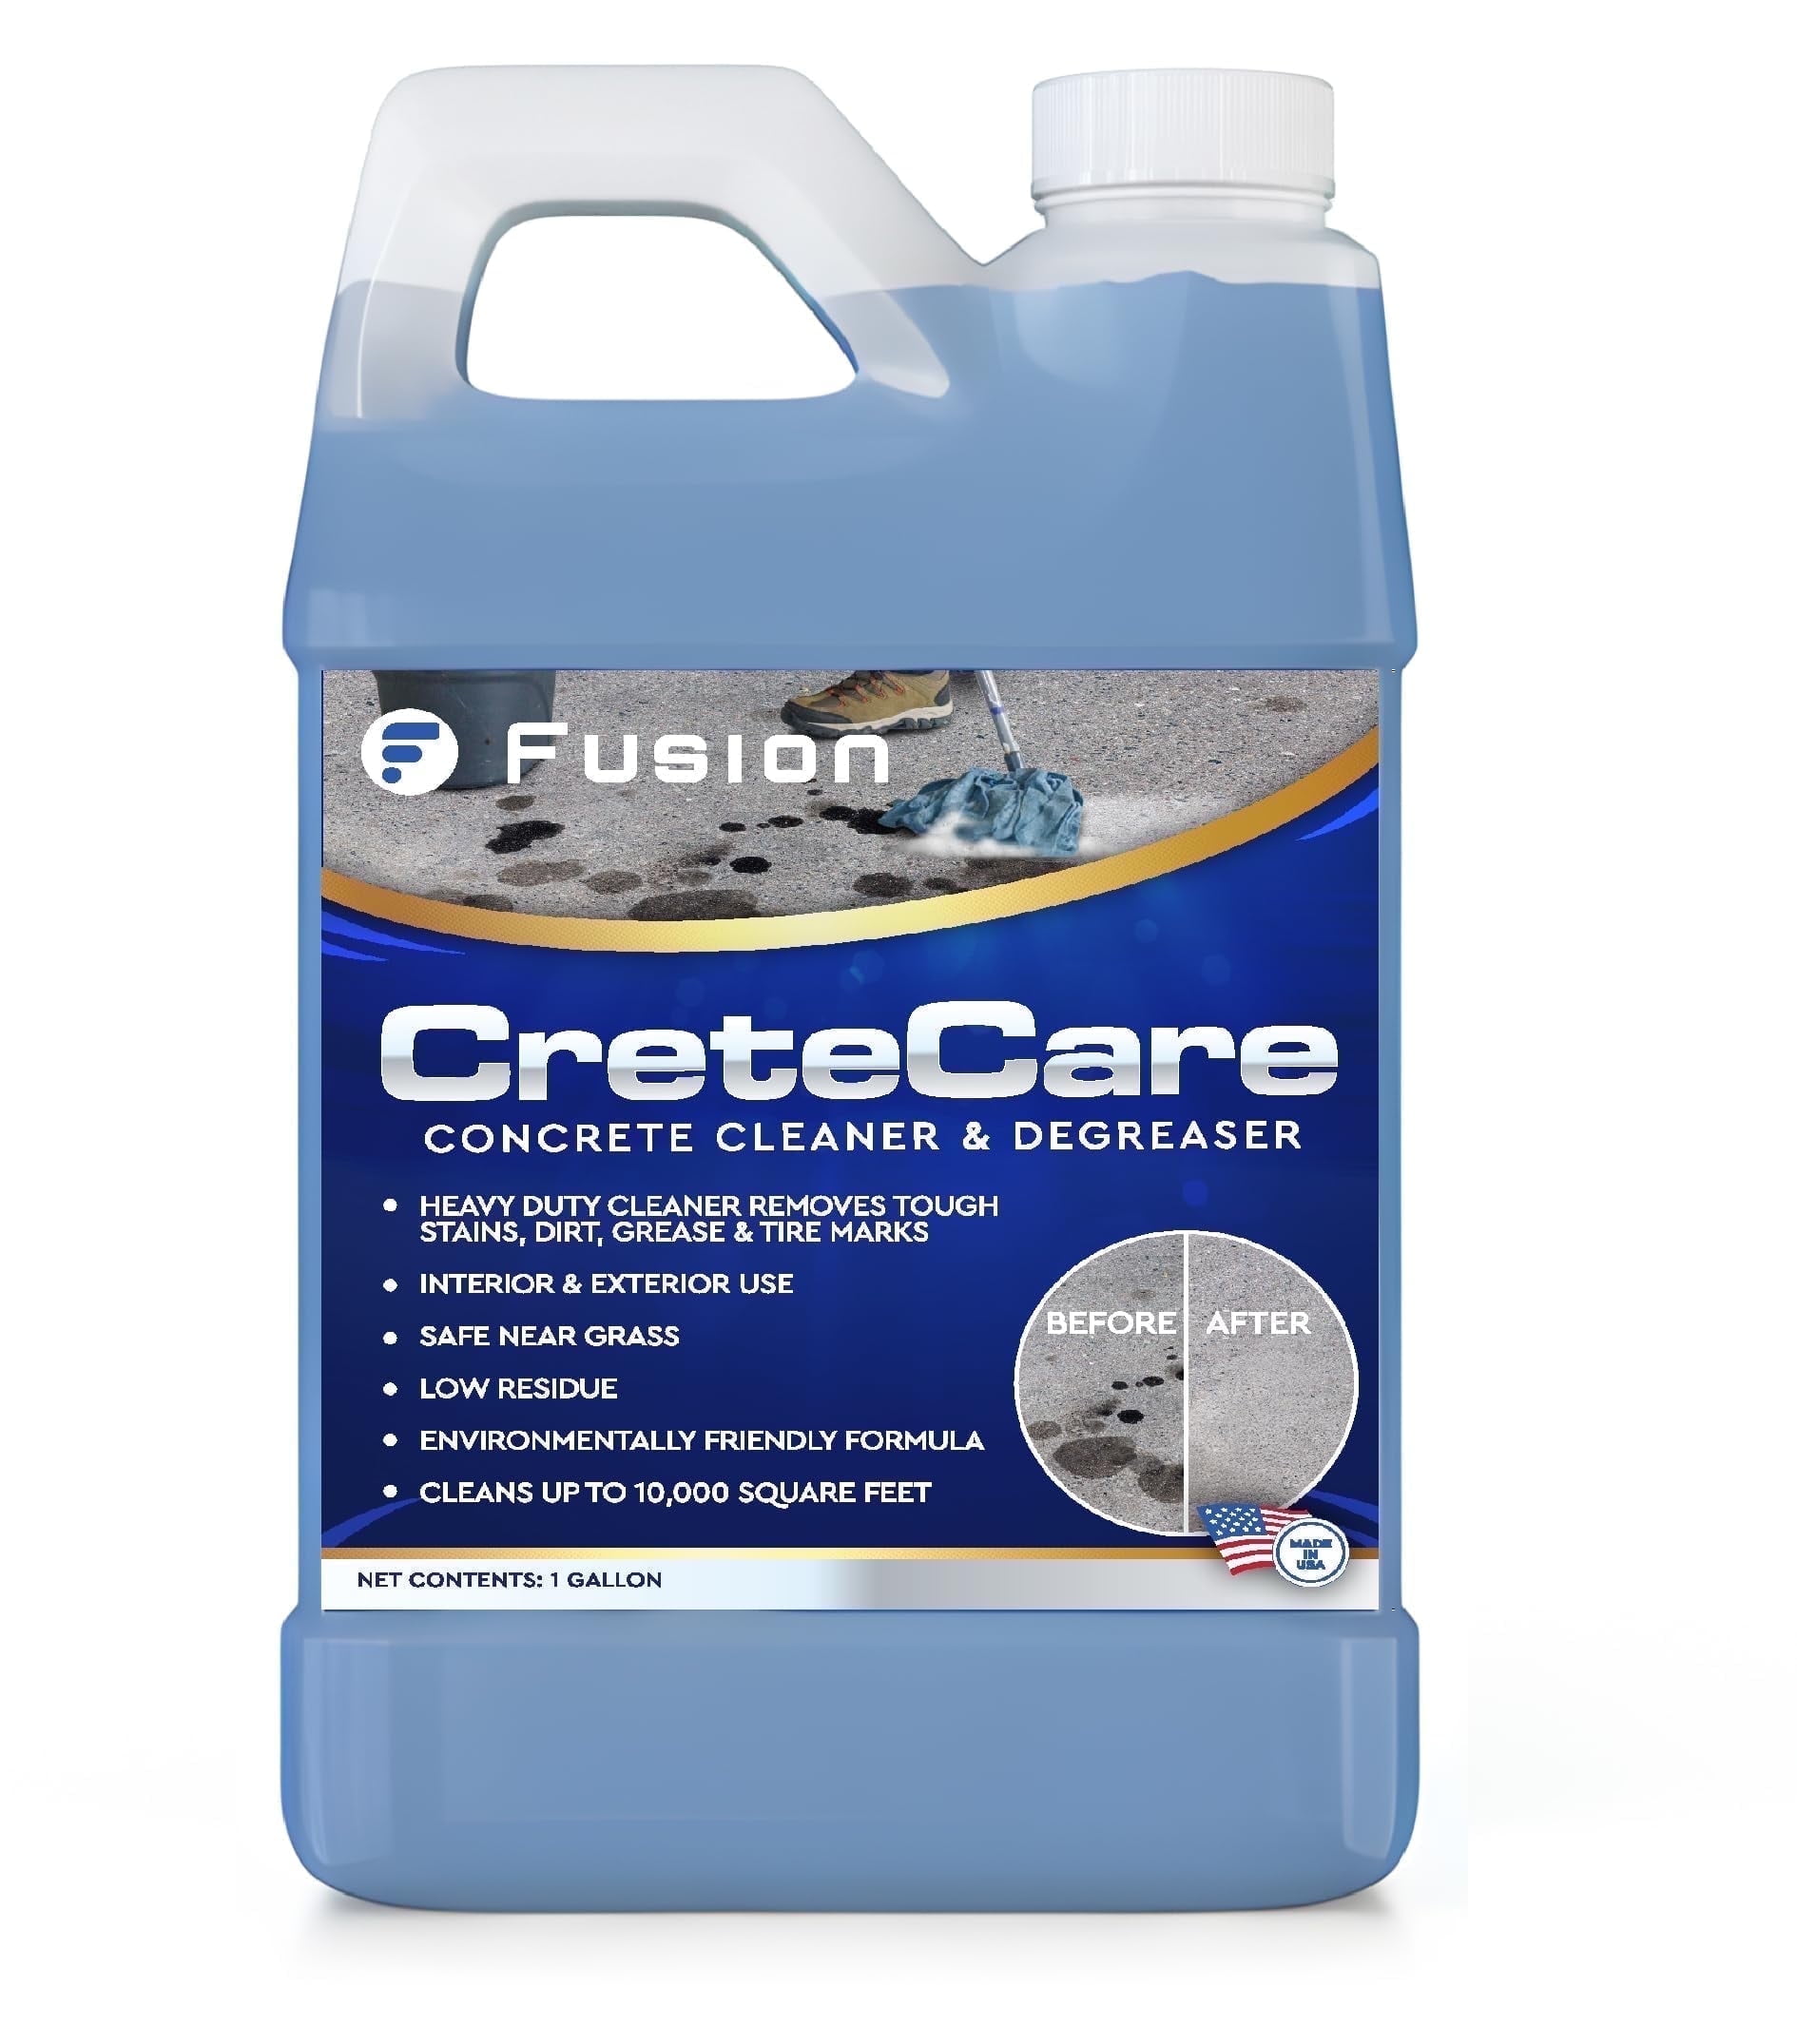
The success of this method relies on choosing a chemical agent designed for your specific type of stain. Concrete is porous, so generic household cleaners often fail to break down deep-seated grease or oil.
Match Product to Stain Type
Select a cleaner based on the primary contaminant affecting your floor. Using the wrong product wastes time and may leave residues behind.
* General Dirt: Use Rustoleum Concrete Cleaner or OxiClean Outdoor Multi-Purpose.
* Oil and Grease: Apply a heavy-duty concrete degreaser formulated for porous surfaces.
* Cold Weather: Choose non-freezing degreasers to ensure chemical activity in low temperatures.
Perform a Spot Test
Always test your chosen cleaner on a small, hidden area of the floor before full application. This ensures the solution will not discolor or etch your specific concrete finish.
Apply Cleaner With Proper Saturation

Correct application ensures the chemical penetrates the pores rather than just sitting on top. You want the surface damp enough to aid penetration but not so wet that the cleaner dilutes immediately.
Dampen the Surface Lightly
Mist the floor with a garden hose or spray bottle to create a slightly damp surface. Avoid pooling water, as this prevents the degreaser from bonding effectively with the grime.
Work in Sections
Divide your garage into halves and apply approximately half a gallon of cleaner per side for a standard two-car space. Pour degreaser directly onto heavy oil spots first to ensure maximum concentration where needed.
Agitate Lightly and Allow Dwell Time
The chemical reaction does the heavy lifting, so aggressive scrubbing is unnecessary and potentially damaging. Your goal is even distribution followed by a period of undisturbed activity.
Distribute With a Scrub Brush
Use a wide-head floor scrub brush to spread the cleaner evenly across the surface. Focus lightly on edges, cracks, and stained areas to ensure full coverage without scouring the concrete.
Wait Twenty Minutes
Let the solution sit undisturbed for at least 20 minutes to allow the chemicals to break down oil and lift dirt.
* Reapply degreaser to stubborn spots if needed.
* Extend dwell time to 30 or 40 minutes for deep-set stains.
* Cover tough spots with plastic wrap to prevent evaporation during the wait.
Rinse Using Garden Hose and Squeegee
Since you are not using high-pressure water, you must rely on flow volume and manual extraction to remove dirty residue. Proper technique prevents pushing dirty water back over clean areas.
Rinse From Back to Front
Start rinsing at the back of the garage and work your way toward the exit using a wide-spray nozzle. This directional flow ensures you never walk through or push dirty water onto cleaned sections.
Extract Standing Water
Use a large squeegee to channel water toward the garage door or floor drain immediately after rinsing. The back edge of a scrub brush works well as a makeshift squeegee for smaller areas.
Vacuum Residual Puddles
Check corners and low spots where water tends to pool and may not drain naturally. Use a wet-dry vacuum or absorbent towels to remove this remaining moisture completely.
Execute a Two-Pass Rinsing Strategy
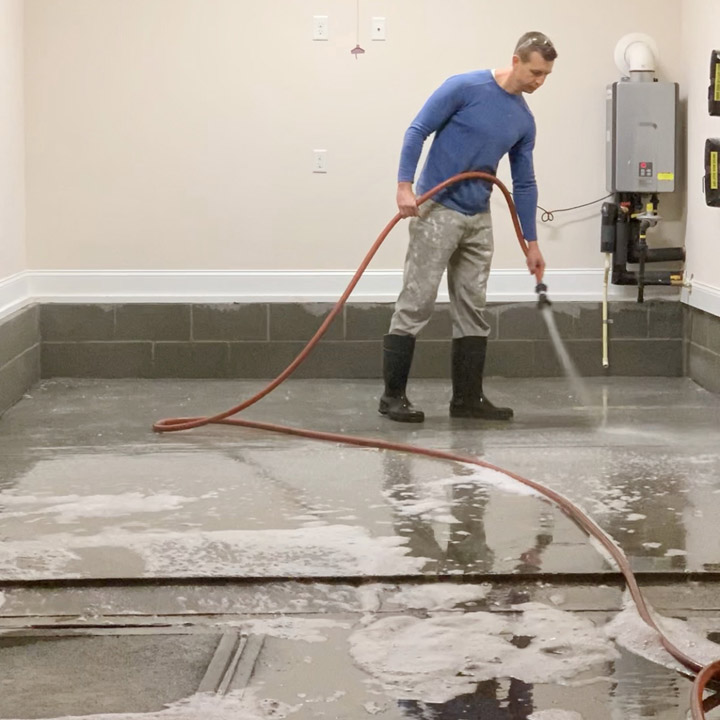
Simulating the power of a pressure washer requires a strategic approach to water flow. A single pass often leaves behind dissolved grime in seams and crevices.
First Pass Removal
Move from the front to the back of the garage to lift the bulk of the dissolved dirt and oil. This initial rinse loosens the majority of the suspended contaminants.
Second Pass Final Flush
Return from the back to the front to capture any residual dirt left in cracks. This reverse flow ensures no dirty water remains on the surface as you finish.
Dry the Concrete Completely
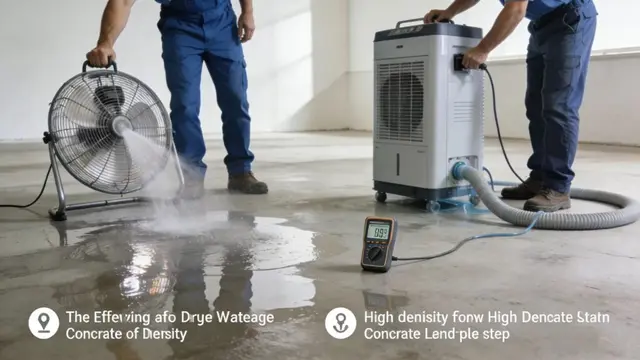
Leaving concrete wet creates a slip hazard and can lead to mold growth or moisture issues within the slab. Rapid drying is essential for safety and preparing the floor for sealing.
Increase Airflow With Fans
Place large fans across the floor to accelerate evaporation and move humid air out of the space. Aim them diagonally to cover the maximum surface area for one to two hours.
Utilize Natural Ventilation
Open the garage door and any side windows to create a cross-breeze that aids drying. This also helps dissipate any lingering chemical fumes from the cleaning agents.
Deploy Dehumidifiers if Needed
Run a dehumidifier in damp climates or during cold months to pull moisture from the air. This prevents condensation from settling back onto the fresh concrete surface.
Inspect Results and Seal Surface
Once the floor is dry, inspect it under good lighting to ensure all grime and oil films are gone. While deep structural stains may remain, the surface should feel smooth and look significantly brighter.
Understand Cleaning Limitations
Realize that concrete will not look like new tile after cleaning, especially if years of staining occurred. The goal is a hygienic, presentable surface free of sticky residue and loose dirt.
Apply Concrete Sealer
Wait 24 hours for the floor to dry completely before applying a penetrating sealer or acrylic topcoat. Sealing locks in the clean look, prevents future oil penetration, and makes maintenance much easier.
Prevent Future Buildup and Stains
Maintaining a clean garage floor requires consistent habits rather than occasional deep cleans. Simple preventive measures stop dirt and oil from bonding to the concrete again.
Establish Regular Maintenance
Sweep the floor weekly to remove grit and vacuum monthly to eliminate fine dust. Address spills immediately with kitty litter or oil absorbent pads before they soak in.
Optimize Storage Layout
Keep items off the floor using wall racks, pegboards, and overhead bins. An organized garage reduces the surface area where dirt can accumulate and makes future cleaning faster.
Adapt Cleaning for Cold Weather
Winter cleaning requires specific adjustments to prevent freezing and ensure chemical effectiveness. Cold temperatures can slow down chemical reactions and create hazardous icy patches.
Warm the Space First
Use a portable electric or propane heater to raise the garage temperature above 40°F before starting. This prevents the cleaning solution from freezing and keeps the chemical reaction active.
Time Your Cleaning Session
Clean during afternoon hours when natural sunlight helps warm the floor and speed up drying. Keep battery-powered tools warm when not in use to maintain their efficiency.
Avoid Common Cleaning Mistakes
Small errors in the process can reduce your results or even damage the concrete surface. Awareness of these pitfalls ensures a smooth and successful cleaning experience.
Never Skip Dry Cleanup
Applying water over loose debris creates mud that grinds into the concrete pores. Always sweep and vacuum thoroughly before introducing any liquid.
Do Not Let Cleaner Dry
If the degreaser dries on the surface before rinsing, it leaves a difficult-to-remove residue. Re-wet the area immediately if you notice the solution starting to dry.
Avoid Mixing Chemical Products
Never mix different cleaners unless the manufacturer explicitly states it is safe. Combining chemicals can create dangerous fumes or neutralize the cleaning power of both products.
Frequently Asked Questions About Cleaning Garage Floors
Can I clean my garage floor with just dish soap?
Yes, for general dirt, you can mix one tablespoon of dish soap per gallon of warm water. However, heavy oil and grease stains require a dedicated concrete degreaser to break down effectively.
How long should I let the cleaner sit on the floor?
Allow the cleaner to dwell for at least 20 minutes to break down grime properly. For stubborn oil spots, you may need to extend this time to 30 or 40 minutes.
Is it safe to clean a garage floor in the winter?
It is safe if you use non-freezing degreasers and warm the space above 40°F. You must ensure proper ventilation when using heaters to avoid carbon monoxide buildup.
Do I need to seal my garage floor after cleaning?
Sealing is highly recommended to protect against future stains and make maintenance easier. Wait 24 hours for the concrete to dry completely before applying a sealer.
What if I don’t have a squeegee to remove water?
You can use the back edge of a wide scrub brush as a makeshift squeegee to push water out. A wet-dry vacuum is also effective for removing standing water in corners.
Key Takeaways for Cleaning Garage Floor Without Pressure Washer

Cleaning your garage floor without a pressure washer is an efficient process that relies on chemistry rather than high-pressure water. By clearing debris, selecting the right degreaser, and allowing proper dwell time, you can remove tough stains in about an hour.
Remember to rinse strategically with a garden hose and dry the surface completely to prevent slips or mold. Start your project today by clearing your floor and gathering your supplies for a refreshed garage space.