Fix Pressure Washer Hose Coupling: Quick Steps
A burst hose end stops your cleaning job instantly, but you do not need to buy a whole new line. Installing a pressure washer hose repair coupling restores full power and stops leaks in under ten minutes.
This guide details two proven methods to fix high-pressure lines using reverse-threaded expansion or Gates-style compression fittings. You will learn the exact tools required, critical safety steps, and how to avoid mistakes that cause blowouts.
Select the Correct Pressure Washer Hose Repair Coupling

Choosing the right fitting depends on your hose construction and maximum pressure rating. Using an incompatible coupling leads to immediate failure when the pump engages.
Reverse-Threaded Expansion Fittings for Steel Wire Hoses
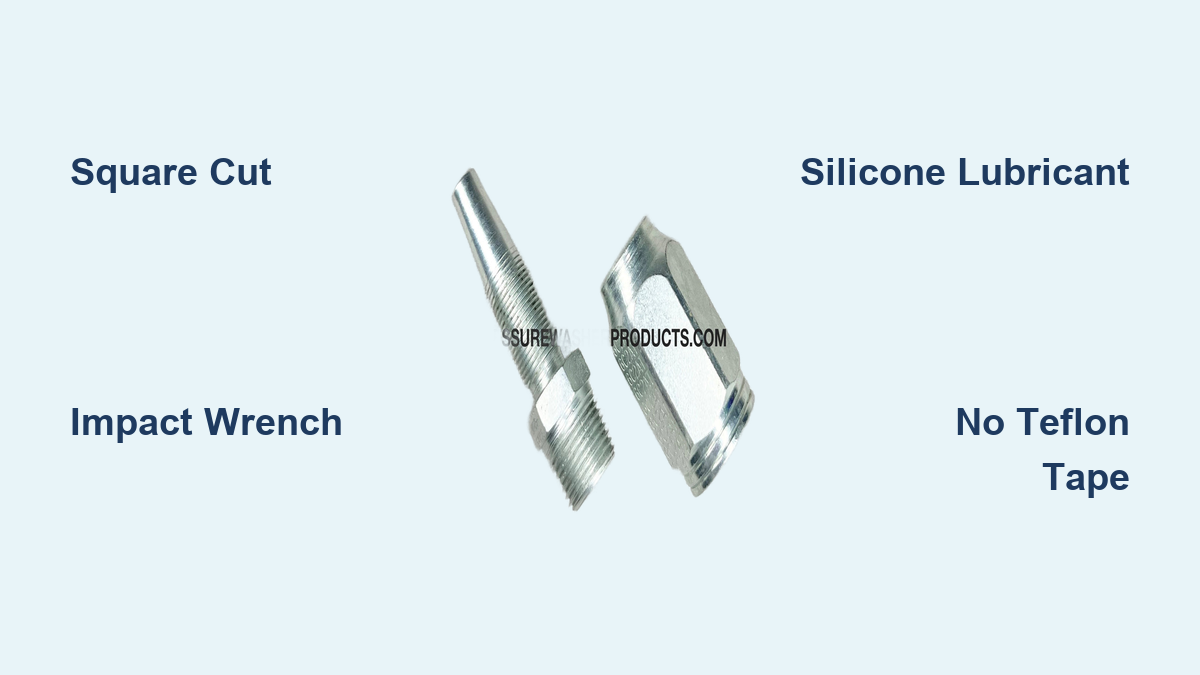
These fittings use internal expansion to lock onto steel-wire reinforced hoses. The body threads counterclockwise, pushing a tapered end into the hose to create a seal rated for over 4,000 PSI.
* Requires an impact wrench for proper installation torque.
* Demands silicone-based lubricant on all rubber components.
* Incompatible with petroleum-based lubricants which damage rubber.
Visual Cue: Look for a two-piece metal set where one end is smooth and tapered while the body has reverse threads that tighten when turned left.
Gates Compression Fittings for Standard Hoses
Widely compatible with gas and electric models, these fittings use an outer sleeve to clamp an inner insert against the hose wall. They work best on standard ½ inch outer diameter and ¼ inch inner diameter hoses.
* Installs in about six minutes using basic hand tools.
* Features a reverse-threaded outer sleeve for secure locking.
* Never requires Teflon tape on the actual compression joint interface.
Pro Tip: Always slide the outer sleeve onto the hose before inserting the inner piece or you must cut the hose again to start over.
Graco Agricultural Repair Ends for Heavy Duty Use
The Graco Hi Pressure Hose Repair End serves heavy-duty 1-wire braid hoses common in farming and industrial settings. This rugged solution minimizes downtime for poultry, swine, and dairy operations.
* Designed specifically for 3/8 inch diameter 1-wire braid hoses.
* Engineered to withstand high vibration and heat environments.
* Provides long-term durability superior to standard consumer fittings.
Prepare the Hose End for a Perfect Seal
A clean, square cut is the absolute foundation of a successful repair. Jagged edges or angled cuts prevent the coupling from sealing properly and cause immediate leaks.
Match Cutting Tools to Hose Construction
You must use the correct blade for your specific hose type to ensure a clean edge.
* Steel-wire reinforced hoses: Use an angle grinder with a thin cutting wheel.
* Standard rubber hoses: Use a sharp utility knife or dedicated hose cutter.
Secure reinforced hoses in a vise and apply steady, slow pressure with the grinder to cut straight across. Rotate a utility knife around standard hoses while applying even pressure to avoid crushing the inner tube.
Warning: Never use scissors or dull blades because a misshapen end will not seal even with the best coupling available.
Install Reverse-Threaded Expansion Fittings Correctly
This method provides maximum durability for high-pressure applications but requires specific power tools for success.
Cut and Deburr the Damaged Section
Inspect the interior after cutting to remove any rubber burrs or wire strands. A smooth inner wall ensures the tapered end seats fully without obstruction.
Thread the Body Counterclockwise onto the Hose
Take the reverse-threaded body and screw it onto the hose end by turning left to tighten. Push it fully onto the hose until it seats firmly against the cut edge. You should feel resistance as the rubber sleeve compresses slightly during this step.
Expand the Hose Interior with an Impact Wrench
Insert the tapered end into the hose and thread it into the body. Resistance will increase sharply as the hose begins to expand internally and friction generates noticeable heat.
1. Use a 19 mm box wrench to hold the body steady.
2. Apply an impact wrench to the tapered end for final tightening.
3. Stop when the fitting feels hot and extremely tight.
Critical Step: Hand tools cannot generate enough torque. Without full expansion from an impact wrench, the coupling will blow out under full pressure.
Lubricate and Test the Repair
Apply silicone-based lubricant to the O-ring and rubber sleeve before reconnecting the hose. Run the unit at low pressure first to check for leaks.
* Look for zero dripping at the coupling site.
* Ensure no bulging or movement occurs under pressure.
* Verify the fitting stays cool after extended use.
Use Compression Fittings for Quick Repairs
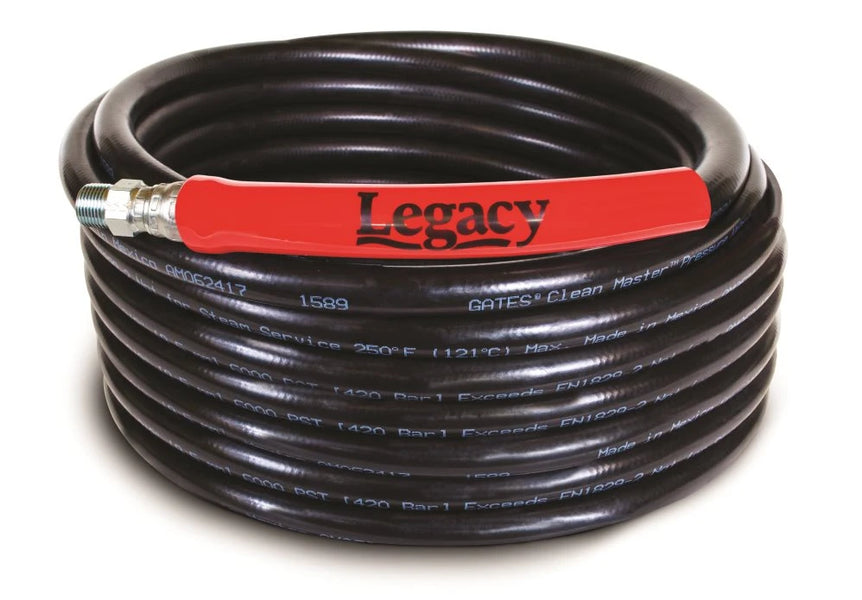
Faster and requiring fewer tools, this method works on most consumer-grade pressure washers and delivers reliable results.
Make a Perfectly Square Cut
Use a sharp utility knife or hose cutter to make a clean cut. Place a square block of wood behind the hose as a guide to ensure you do not bevel the edge. A crooked cut prevents even compression and guarantees a leak.
Slide On the Outer Sleeve First
Before doing anything else, slide the reverse-threaded outer sleeve onto the hose. Ensure the threads face outward so they are ready to accept the inner insert later. Forgetting this step requires complete disassembly.
Tighten Then Back Off the Sleeve
Use an adjustable wrench to tighten the sleeve fully until it bottoms out against the hose. Then back it off exactly one quarter turn. This specific spacing creates room for the inner insert to compress the hose evenly without over-tightening.
Insert and Secure the Inner Piece
Grease the tip of the inner insert with motor oil for smooth threading. Push it into the hose as far as possible, then hold the hose steady while using two wrenches to tighten both pieces together until snug.
* Do not use Teflon tape on this joint.
* Sealing relies entirely on metal-to-metal compression.
Add M22 Adapter and Quick Connect
Most gas-powered washers use M22 threads for connection. Wrap three to five layers of Teflon tape on the adapter male threads and connect it to the female end of a quick-connect fitting. Install the coupling directly on the pressure washer outlet to let the hose slide away from hot exhaust.
Avoid These Four Costly Installation Mistakes
Even experienced users fail repairs by overlooking simple but critical details during installation.
Using Hand Tools on Expansion Fittings
An impact wrench is mandatory for reverse-threaded expansion fittings. Hand-tightening will not expand the hose enough, causing the coupling to hold at idle but blow out at full operating pressure.
Applying Teflon Tape to Compression Joints
Tape prevents the necessary metal-to-metal contact required for sealing. Only use tape on M22 and quick-connect threads, never on the actual compression interface between the sleeve and insert.
Using Wrong Lubricant on O-Rings
Petroleum-based lubricants destroy rubber components over time. Always use silicone-based lubricant to prevent dry rot, cracking, and premature failure of the seal.
Mismatching Hose and Fitting Sizes
Measure both outer diameter and inner diameter before buying. Standard gas washers use ½ inch OD and ¼ inch ID hoses, while agricultural hoses often use 3/8 inch ID. Using the wrong size guarantees catastrophic failure.
Troubleshoot Leaks Immediately After Testing
Test every repair before full use and diagnose leaks by their specific location to find the root cause quickly.
Leak at the Compression Joint
This usually means the sleeve was not backed off the correct quarter turn or the cut was not square. Disassemble the unit, re-cut the hose if needed, and reinstall with correct spacing.
Leak at the Threaded Connection
Missing or insufficient Teflon tape often causes this issue. Cross-threading or loose connections also lead to leaks here. Reapply three to five wraps of tape and retighten with two wrenches.
Leak at the O-Ring
Dripping from the coupling body or visible cracks in the rubber indicate O-ring failure. Replace the O-ring and apply fresh silicone lubricant before reassembly to ensure a tight seal.
Extend the Lifespan of Your Repair
A well-done coupling can last for years with proper care and regular maintenance checks.
Inspect O-Rings Regularly
Check the O-rings every few uses for cracks, hardening, or swelling. Replace them immediately if any signs of wear appear and always lubricate with silicone before reassembly.
Protect the Repair from Heat
If the repair sits near the engine, install the coupling on the machine end rather than mid-hose. Let the hose slide away from the exhaust when not in use or use a heat-resistant sleeve if necessary.
Store Fittings Properly
Keep spare couplings in a dry bag to prevent dirt and moisture accumulation. Corrosion and debris on stored fittings cause poor seals and premature leaks during installation.
Compare Cost and Time Savings
Repairing your hose saves significant money and time compared to buying a replacement line.
| Option | Cost | Time | Downtime |
|---|---|---|---|
| New Hose | $50–$150 | 15–30 min | High |
| Repair Coupling | $10–$25 | 6–10 min | Minimal |
A twenty dollar fitting saves over one hundred dollars and gets you back to work in minutes. Contractors and farmers benefit most since they do not need to carry multiple spare hoses on every job.
Frequently Asked Questions About Pressure Washer Hose Repair Coupling
Can I repair a steel-wire reinforced hose with a standard compression fitting?
No, steel-wire reinforced hoses require reverse-threaded expansion fittings. Standard compression fittings cannot grip the wire reinforcement securely enough to handle high pressure safely.
How much pressure can a repaired hose handle after installation?
Properly installed expansion and compression fittings are rated for over 4,000 PSI. This matches or exceeds the output of most residential and commercial pressure washers when installed correctly.
Do I need Teflon tape for the compression joint itself?
No, never use Teflon tape on the compression joint interface. The seal relies on metal-to-metal contact. Only use tape on the threaded M22 adapter or quick-connect threads.
What happens if I use petroleum-based lubricant on the O-ring?
Petroleum-based lubricants cause rubber O-rings to degrade, crack, and dry rot quickly. This leads to premature failure and leaks. Always use silicone-based lubricant for rubber components.
How do I know if my cut is square enough for a repair?
A square cut looks uniform all the way around with no angles or jagged edges. Use a square block of wood as a guide when cutting to ensure the blade stays perpendicular to the hose length.
Key Takeaways for Your Pressure Washer Hose Repair Coupling Project
Fixing a damaged hose with a pressure washer hose repair coupling is a fast and cost-effective solution that restores full function in minutes. Success depends on making a perfectly square cut, choosing the right fitting type for your hose construction, and following torque specifications precisely.
Avoid common pitfalls like using hand tools on expansion fittings or applying the wrong lubricant to ensure your repair handles 4,000+ PSI reliably. Grab your tools and fix that leak today to get back to cleaning without the cost of a new hose.