How to Clean a Driveway With a Pressure Washer
A grimy driveway covered in oil spots and mildew ruins your home’s curb appeal instantly. Learning how to clean driveway with pressure washer properly transforms the surface in under two hours without causing damage.
This guide details every step from edging and debris removal to using a surface cleaner for streak-free results. You will discover the exact PSI settings, chemical mixtures, and techniques professionals use to restore concrete safely.
Prepare Your Driveway by Removing Debris and Edging
Skipping preparation traps dirt under your water stream and forces you to re-clean sections later. Proper setup ensures water flows away from your foundation and prevents equipment clogging.
Cut a Sharp Edge Along the Lawn
Use a flat shovel or lawn edger to create a distinct boundary between the grass and concrete. This exposes the full concrete edge and prevents vegetation from trapping grime near the borders. A clean edge allows water to drain freely rather than pooling against the lawn.
Clear All Loose Material First
Sweep or blow away leaves, sticks, mulch, and loose dirt before turning on the machine. Cleaning over debris simply pushes mud around and can clog your pressure washer nozzle quickly. A bare surface ensures the water stream targets embedded contaminants instead of loose trash.
Prime Your Pressure Washer to Prevent Pump Damage
Running a pressure washer without priming the system causes cavitation that destroys internal seals. Proper setup guarantees smooth operation and extends the life of your equipment significantly.
Flush Air from the System
Connect your garden hose to the inlet and turn on the water supply before starting the engine. Let water run through the gun for 30 seconds to purge all air from the pump and lines. Once a steady stream exits the nozzle, you are ready to start the engine safely.
Manage Hose Placement Carefully
Keep the high-pressure hose behind you and off the freshly cleaned concrete at all times. Dragging the hose over wet areas redeposits dirt and creates ugly streaks in your work. Always move forward while pulling the hose to avoid tracking grime back onto clean sections.
Plan Water Disposal to Protect Landscaping
Wash water carries dirt, chemicals, and debris that can harm your lawn or flood your foundation if mismanaged. Directing flow correctly prevents environmental contamination and property damage.
Redirect Flow Away from Foundation
Block gutter openings with a sandbag or water dam if washing near downspouts. Use a sump pump to move runoff away from the house and into a safe drainage area immediately. Never allow dirty water to pool near basement walls or structural foundations.
Avoid Contaminating Plants and Grass
Prevent runoff from entering flower beds or grassy areas when using bleach or degreasers. Apply chemicals only to the concrete surface and rinse thoroughly to dilute any residue. Using biodegradable solutions like Simple Green helps protect surrounding vegetation from harm.
Choose the Right Pressure Washer for Concrete
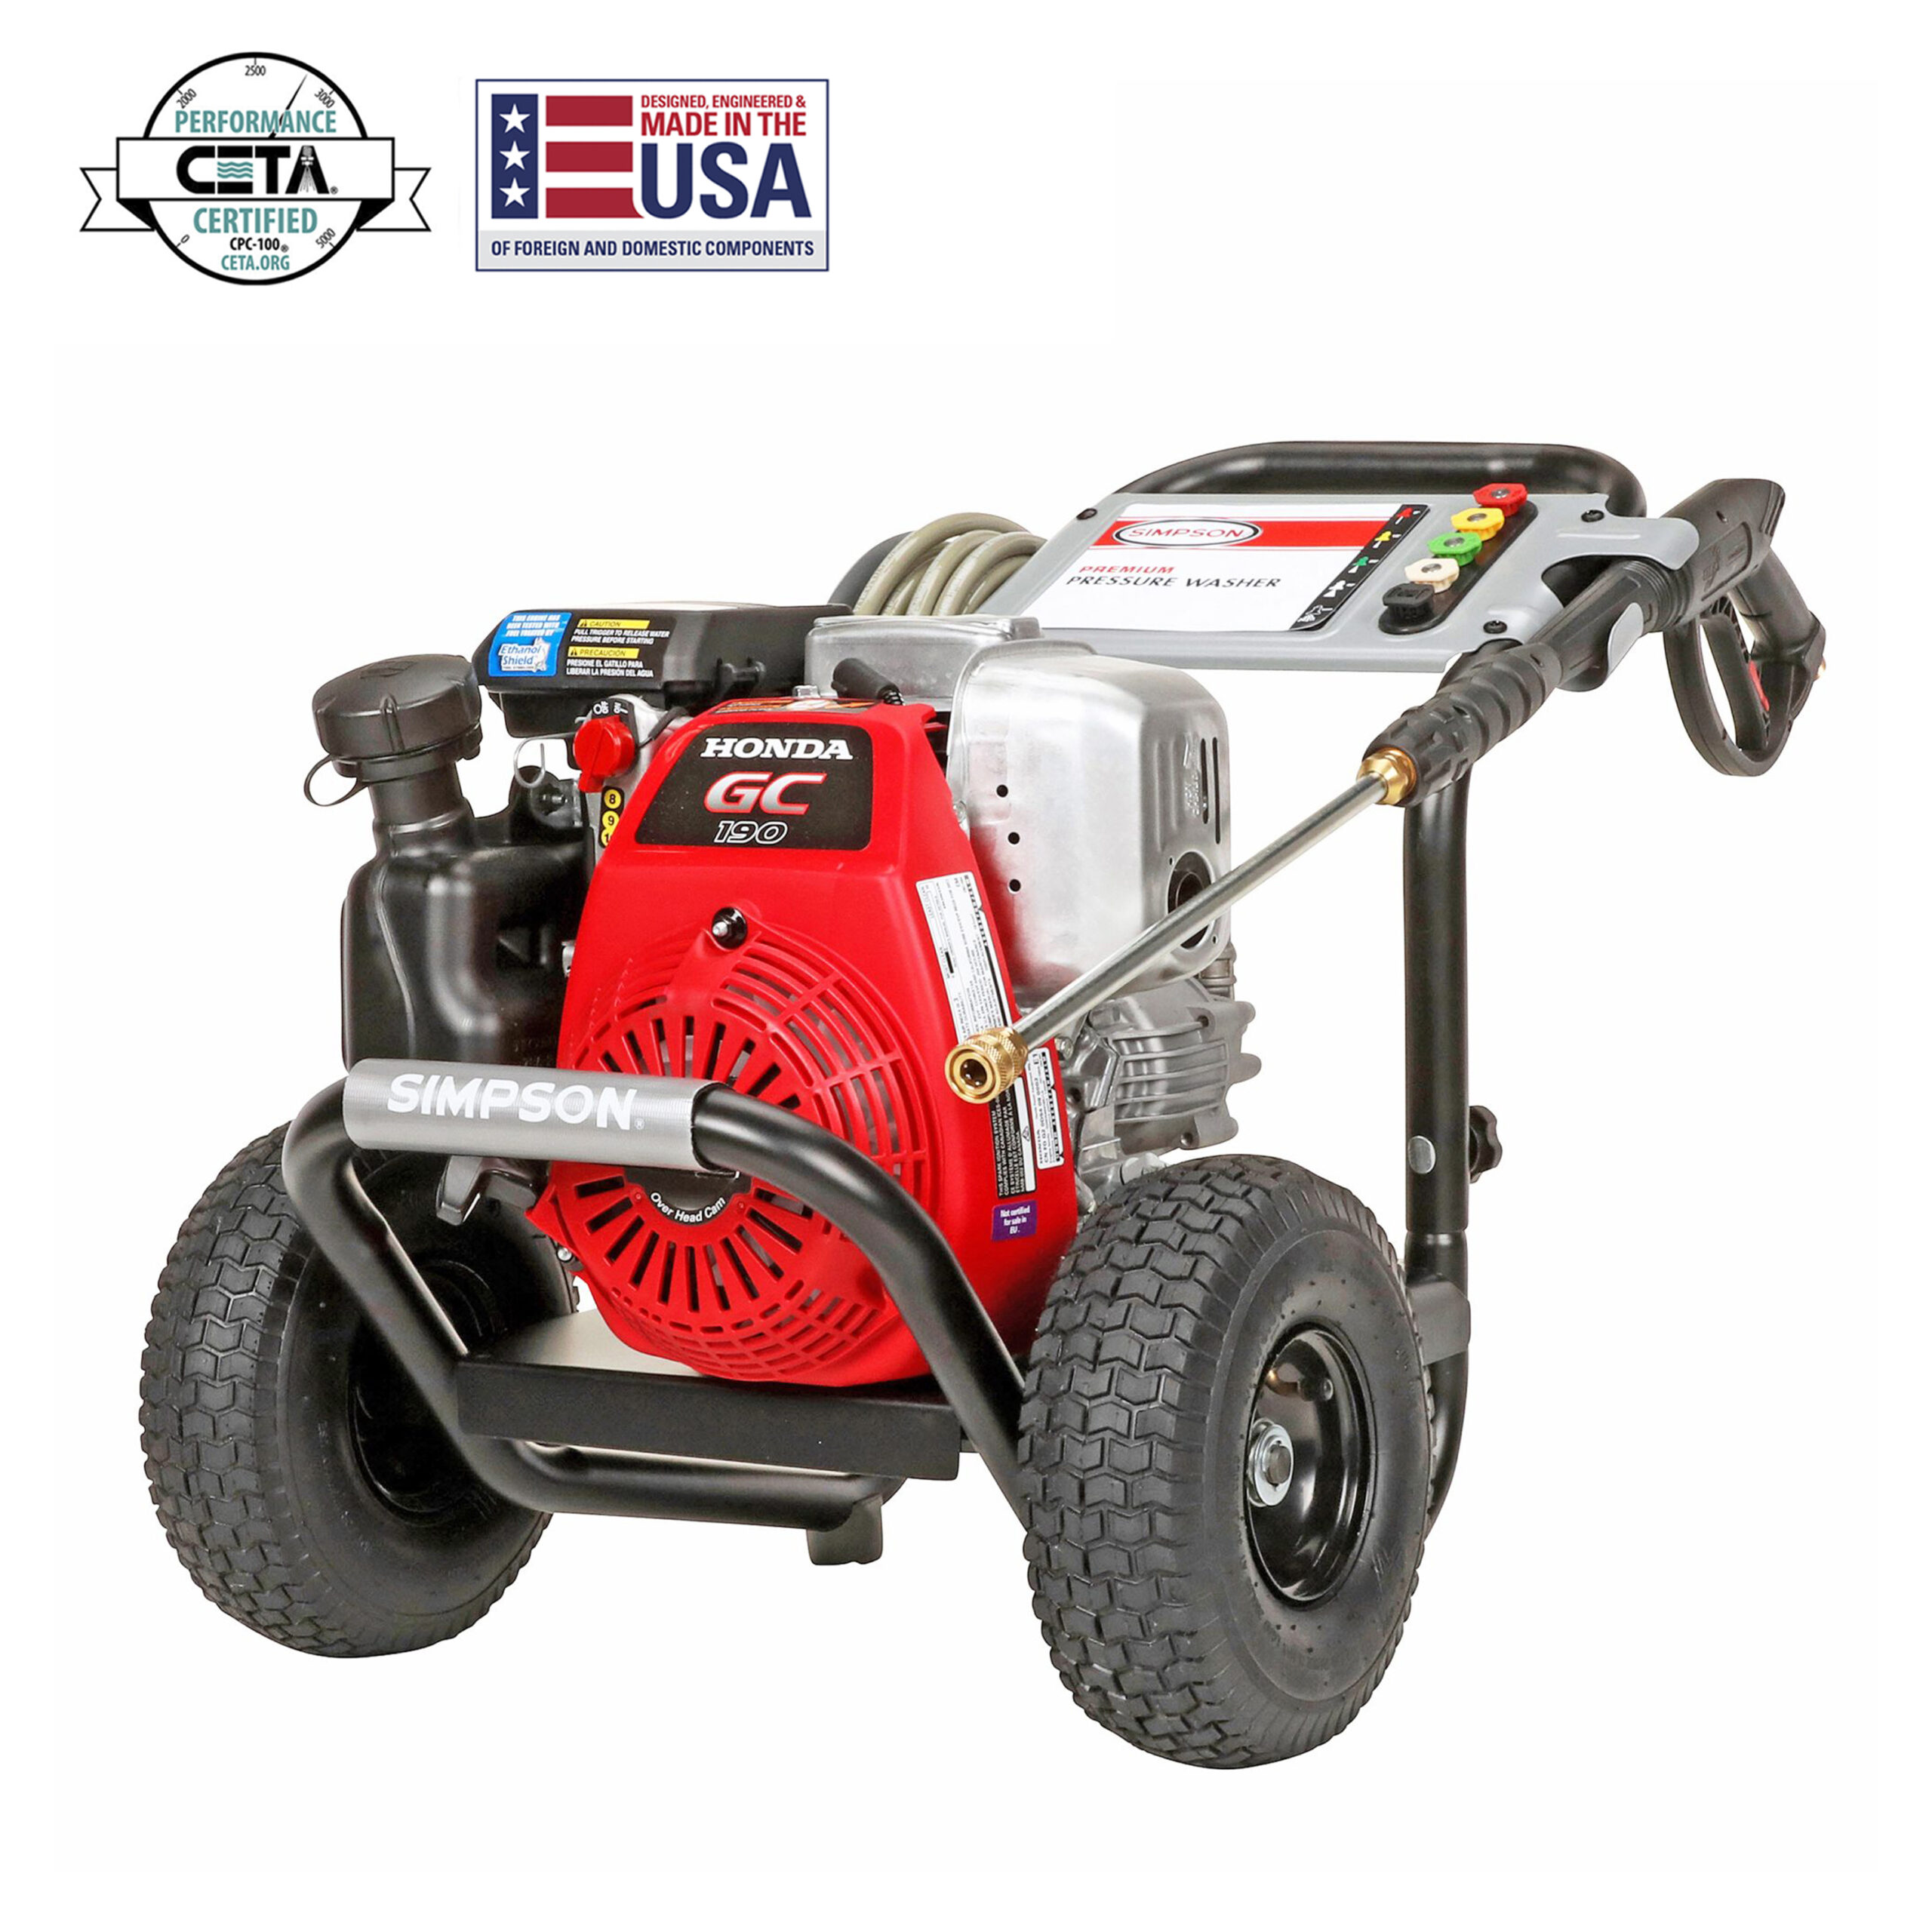
Not all machines deliver the power needed for effective concrete cleaning. Selecting the correct specifications ensures you remove grime efficiently without damaging the surface.
Gas vs Electric Model Comparison
Use a gas-powered washer with 2,500–3,500 PSI and 2.3–2.5+ GPM for best results. Electric models typically max out at 2,000 PSI and lack the volume for fast, deep cleaning of driveways. A gas unit like the Simpson 3100 PSI model completes the job in half the time with fewer passes.
Understand Flow Rate Importance
PSI breaks up grime, but GPM rinses it away effectively. Higher flow rates of 2.5+ GPM mean faster cleaning and less need for rework on stubborn areas. While industrial units offer 8 GPM, a consumer-grade machine with 2.3+ GPM is sufficient for most residential driveways.
Use a Surface Cleaner for Streak-Free Results
A surface cleaner attachment is the secret to fast, professional-looking results without “tiger stripes.” Skipping this tool doubles your work time and often leads to inconsistent coverage.
How the Rotating Nozzle Works
A 15-inch surface cleaner houses rotating nozzles under a protective dome for even pressure distribution. As it spins, it eliminates streaks caused by uneven wand movement and allows you to stand upright. This design reduces back strain while delivering a uniform clean across the entire surface.
Calculate Time and Effort Savings
With a surface cleaner, you can clean 1,800 square feet in under two hours easily. Without this attachment, the same job takes over four hours using just a standard wand. Overlap your passes by 1–2 inches to ensure full coverage and prevent missed lines.
Evaluate Cost Versus Rental Value
A quality surface cleaner costs around $100 new or $40–$50 used at local shops. Renting a full setup runs $130–$150 per day, making purchase a smart investment for annual cleaning. If you clean multiple properties or do this yearly, buying pays for itself in one or two uses.
Apply Cleaning Solutions for Stubborn Stains
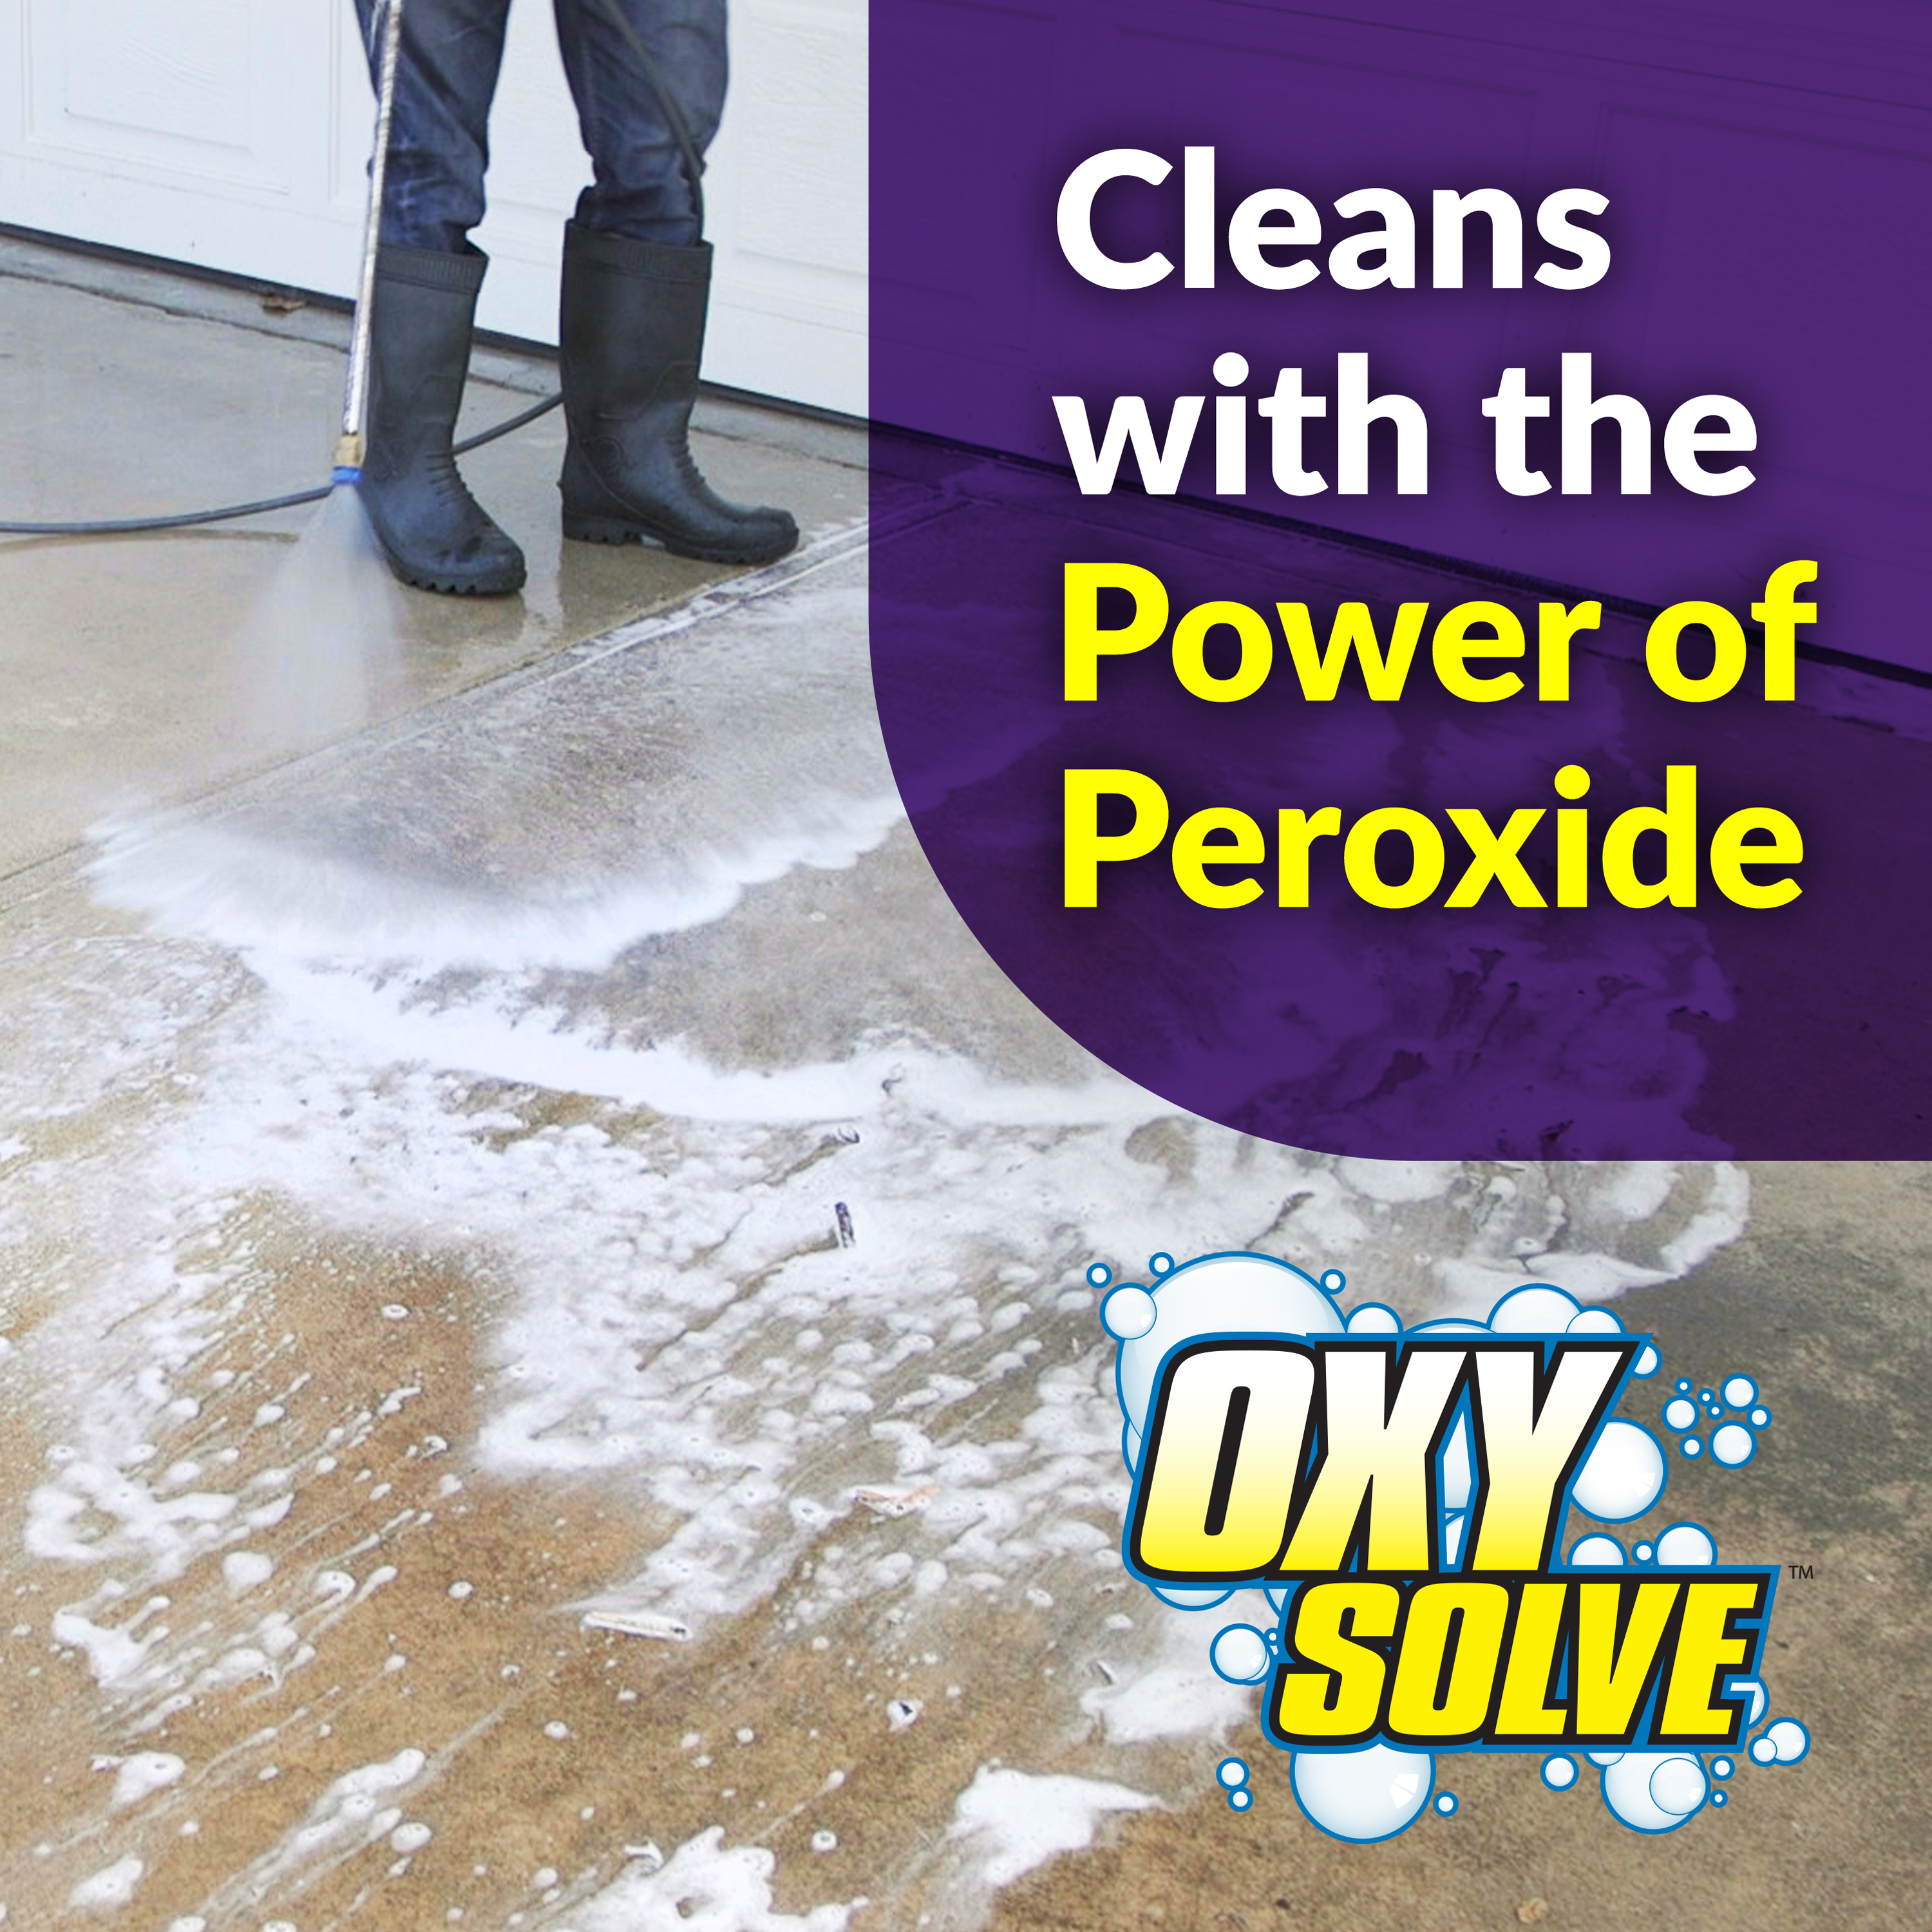
Water alone works for light dirt, but chemicals are essential for mildew, algae, or deep oil stains. Treating these issues before washing ensures a brighter, longer-lasting clean.
Treat Mildew with Bleach Solution
Mix 50% bleach and 50% water in a pump sprayer for organic growth removal. Soak nearby plants with plain water first, apply the solution to concrete, and let it dwell for 2–5 minutes without drying. Pressure wash immediately after dwelling to lift the mildew safely.
Remove Oil Stains with Degreaser
Pre-treat oil spots with a biodegradable degreaser like Simple Green for best results. Let the product sit for 5–10 minutes, then scrub gently with a brush before washing. This method lifts grease from pores without using harsh chemicals that harm the environment.
Clean the Perimeter Before the Main Surface

Edges near walls, curbs, and landscaping require a different approach than the open driveway. Clearing these areas first prevents the surface cleaner from hitting obstacles.
Use a Wide-Angle Nozzle for Edges
Attach a 25° (green) or 40° (white) tip to your wand for perimeter work. Clean a 2–3 inch strip around the entire driveway before deploying the surface cleaner attachment. This prevents the cleaner’s housing from hitting walls and clears the path for smooth passes.
Clean the Final Edge Strip Safely
The surface cleaner cannot reach the very edge next to the grass without modification. Instead of switching to a wand which sprays mud into the lawn, tilt the surface cleaner on its side. Push it along the border so the angled nozzles catch residue without kicking up debris.
Wash from Top to Bottom for Best Results

Always start at the highest point of the driveway, usually near the garage, and work downhill. This technique uses gravity to your advantage and prevents re-contamination.
Let Gravity Assist Your Work
Cleaning uphill pushes dirty water over clean sections, causing immediate re-contamination of your hard work. By starting high and moving down, gravity carries grime away from freshly cleaned concrete effectively. This reduces rinsing time and keeps your progress visible throughout the job.
Maintain a Steady Cleaning Pace
Move slowly and evenly across the surface to ensure thorough dirt removal. Rushing causes missed spots and leaves behind visible streaks on the concrete. Use smooth, overlapping strokes of 1–2 inches between passes for complete coverage.
Rinse and Inspect the Entire Surface
After the main cleaning phase, rinsing flushes away loosened debris and reveals any missed areas. A thorough inspection ensures a professional finish.
Push Dirt Off the Driveway
Switch to a 40° nozzle and rinse from the top down to clear remaining residue. Aim to push dirt past the next cleaning zone or completely off the driveway surface. Avoid letting residue settle back onto clean areas by directing flow toward the street.
Check for Missed Spots Carefully
Inspect the surface under natural light once rinsed to identify streaks or lingering stains. Look for areas with visible buildup that may need a second pass. Return with the surface cleaner or a spot-cleaning nozzle to touch up problem areas immediately.
Spot-Treat Stubborn Stains Effectively
Some issues like deep oil or rust require focused attention beyond the general wash. Targeted treatment removes these blemishes without damaging surrounding concrete.
Handle Oil and Rust Stains
Use a 15° (yellow) nozzle for targeted cleaning of tough spots. Hold it 6–8 inches from the stain and keep it moving to avoid etching the concrete surface. For rust, consider a specialized remover after pressure washing, but never use a 0° (red) tip on large areas.
Reapply Degreasers if Needed
If oil stains persist after the first wash, reapply degreaser and let it dwell again. Use the yellow tip to focus pressure on the specific spot for deeper penetration. Multiple treatments may be necessary for deep-set grease to fully lift from the pores.
Store Equipment Properly After Use
Protect your investment with proper post-use care to ensure longevity. Neglecting storage steps can lead to pump failure or clogged nozzles.
Use a Pump Saver for Protection
After washing, attach a pump saver to the hose inlet to protect internal components. Run the machine until anti-freeze fluid exits the nozzle to prevent corrosion. This step is crucial for preventing freeze damage during storage, especially in colder climates.
Flush the Surface Cleaner Attachment
Rinse the attachment with clean water to remove debris from the nozzles thoroughly. Leftover grit can clog the rotating head and reduce performance on your next use. A quick flush ensures the tool remains ready for future cleaning tasks.
Prevent Rebuild-Up with Regular Maintenance
A clean driveway requires ongoing care to maintain its appearance. Regular maintenance prevents heavy buildup and makes future cleaning easier.
Seal Cracks After Cleaning
Washing often reveals hidden cracks that were previously covered by dirt. Once the surface is dry, seal them with a concrete crack filler to prevent water intrusion. This simple step extends the life of your driveway significantly.
Clean Annually for Best Results
For most homes, once-a-year cleaning is enough to maintain a pristine look. Driveways under trees or in shady, damp areas may need two cleanings per year. Regular cleaning prevents algae and mildew buildup before it becomes difficult to remove.
Avoid Common Mistakes When Cleaning
Even experienced users make errors that compromise results or damage property. Knowing what to avoid saves time and protects your concrete.
Prevent Tiger Stripes on Concrete
These streaks happen when passes don’t overlap or the cleaner moves too fast. Overlap by 1–2 inches and maintain a slow, steady pace to ensure uniform cleaning. A surface cleaner reduces this risk significantly compared to using a wand alone.
Stop Re-Contamination of Clean Areas
Never clean uphill as it pushes dirty water back over your work. Always start at the top and rinse debris off the driveway immediately. Letting dirty water flow back over clean sections defeats the purpose of your efforts.
Protect Concrete and Plants from Damage
Avoid using a 0° tip on concrete as it can etch the surface permanently. Keep wide-angle nozzles (25°–40°) for general cleaning tasks. Wet plants before applying bleach, and avoid spraying chemicals directly on landscaping to prevent burn.
Don’t Skip Priming the Pump
Running the pump dry, even for 10 seconds, can cause cavitation and permanent damage. Always prime for 30 seconds before starting the engine to ensure water fills the system. This simple step protects your investment and ensures consistent pressure.
Frequently Asked Questions About Cleaning Driveways
What PSI is best for cleaning a concrete driveway?
You need a pressure washer with 2,500–3,500 PSI for effective concrete cleaning. Lower PSI units struggle to remove deep-seated grime and mildew efficiently. Gas models in this range provide the necessary force and volume for professional results.
Can I clean my driveway with just water?
Water alone works for light dirt and annual maintenance cleaning. However, you need chemicals like bleach or degreaser for mildew, algae, or oil stains. These solutions break down biological growth and grease that water cannot remove.
How do I avoid streaks when pressure washing?
Use a surface cleaner attachment and overlap each pass by 1–2 inches. Moving too fast or skipping overlaps causes “tiger stripes” or visible lines. Maintaining a slow, steady pace ensures uniform coverage across the entire surface.
Is it safe to use bleach on my driveway?
Yes, a 50% bleach and 50% water mixture is safe for concrete if used correctly. Always wet surrounding plants first to protect them from chemical burn. Do not let the solution dry on the surface before rinsing.
How often should I pressure wash my driveway?
Most driveways need cleaning once a year to maintain appearance and prevent buildup. Areas under trees or in damp shade may require cleaning twice a year. Regular maintenance prevents heavy staining and makes the job easier.
What happens if I use a 0-degree nozzle on concrete?
Using a 0-degree (red) tip can etch and damage the concrete surface permanently. Reserve this tip only for tiny, stubborn spots and keep it moving constantly. Wide-angle tips (25°–40°) are safer for general driveway cleaning.
Key Takeaways for How to Clean Driveway with Pressure Washer
Mastering how to clean driveway with pressure washer requires proper prep, the right tools, and a systematic approach. Start by edging and removing debris, then use a gas-powered unit with a surface cleaner for streak-free results. Always work downhill, overlap your passes, and treat stubborn stains with appropriate chemicals.
Regular annual cleaning and proper equipment storage extend the life of both your driveway and your machine. By following these steps, you can achieve professional-looking results that boost your home’s curb appeal. Grab your gear and start transforming your driveway today.