How to Clean Washing Machine Water Inlet Valve
Is your washing machine filling slowly or not filling at all? A clogged water inlet valve is one of the most common culprits, specifically the tiny filter screens inside it. These mesh screens trap sediment, rust, and limescale from your water supply, but over time they become blocked, restricting flow and triggering error codes like “IE” or “NF.” The good news? Cleaning them is a simple fix that takes under 30 minutes and can restore your washer’s performance instantly.
In this guide, you’ll learn how to safely access, clean, and reinstall the inlet screens. We’ll cover the exact tools you need, step-by-step instructions, troubleshooting tips, and when to know if the valve itself needs replacement. No advanced tools or experience required.
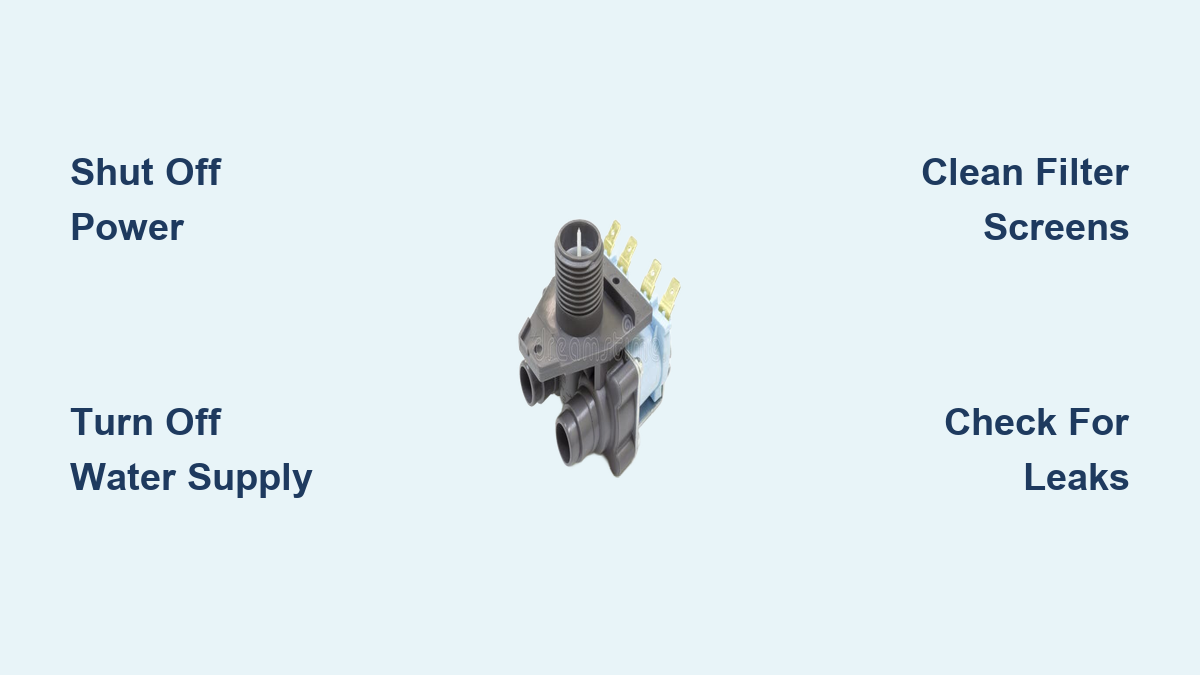
Shut Off Power and Water Supply
Before touching any part of your washing machine, safety must come first. Working with electricity and pressurized water lines poses real risks, so always begin by disconnecting both.
Unplug the Machine
Pull the washer away from the wall just enough to reach the power cord, then unplug it from the outlet. This eliminates the risk of electric shock, especially if water spills during hose disconnection.
Turn Off Hot and Cold Valves
Locate the hot and cold water shut-off valves behind the machine. These are usually two small handles on the wall or floor. Turn both clockwise until tight. If you don’t have individual valves, shut off the main water supply to the house.
Relieve Residual Pressure
Even after turning off the valves, water remains under pressure in the hoses. To release it, gently loosen one hose connection with a wrench. A small amount of water will spray out. Tighten it back quickly and place a towel or bucket underneath for the full disconnection step.
Pro Tip: Label the hoses with tape if they are not color-coded. This prevents confusion during reassembly.
Disconnect Water Hoses Safely

With power and water off, you can now access the inlet valve. Most top-loaders and front-loaders allow direct hose access from the back, but some models require panel removal.
Remove Hoses with Proper Tools
Use an adjustable wrench or slip-joint pliers to loosen the nuts connecting the hot and cold hoses to the inlet valve. Start with the cold water hose first, as it typically collects more sediment due to higher usage and lack of heat-assisted mineral dissolution.
Hold the valve stem steady with one hand while turning the nut with the other to prevent damage. Once loose, unscrew by hand and let any remaining water drain into a bucket.
Note: On compact front-load models like Whirlpool Duet or LG, space is tight. If you cannot reach the connections, consult your manual. Some require removing the top or rear panel.
Inspect Hoses for Damage
While disconnected, check each hose for cracks, bulges, or corrosion on metal fittings. Also inspect the rubber washers inside the hose ends for wear. Replace hoses every 2 to 5 years, or upgrade to braided stainless steel versions for better durability and leak resistance.
Locate and Remove Inlet Filter Screens
Now that the hoses are off, you can see the inlet ports on the back of the washer. This is where the filter screens hide, built into each valve opening.
Identify Screen Location and Type
Look inside each port. You will see a round screen, often half an inch in diameter. These screens are usually plastic with a metal mesh center and may be color-coded, with blue for cold water and red or orange for hot water. They often have ribs or notches for easier removal.
Extract Screens Carefully
Use needle-nose pliers to grip the edge or center rib and pull straight out. Do not twist or yank, as this can damage the valve seat. If the screen is stuck due to limescale, soak the area with white vinegar for 5 to 10 minutes before trying again.
Warning: Never operate the washer without screens installed. Doing so risks debris entering and damaging the pump or valve.
Clean Screens Based on Buildup Type
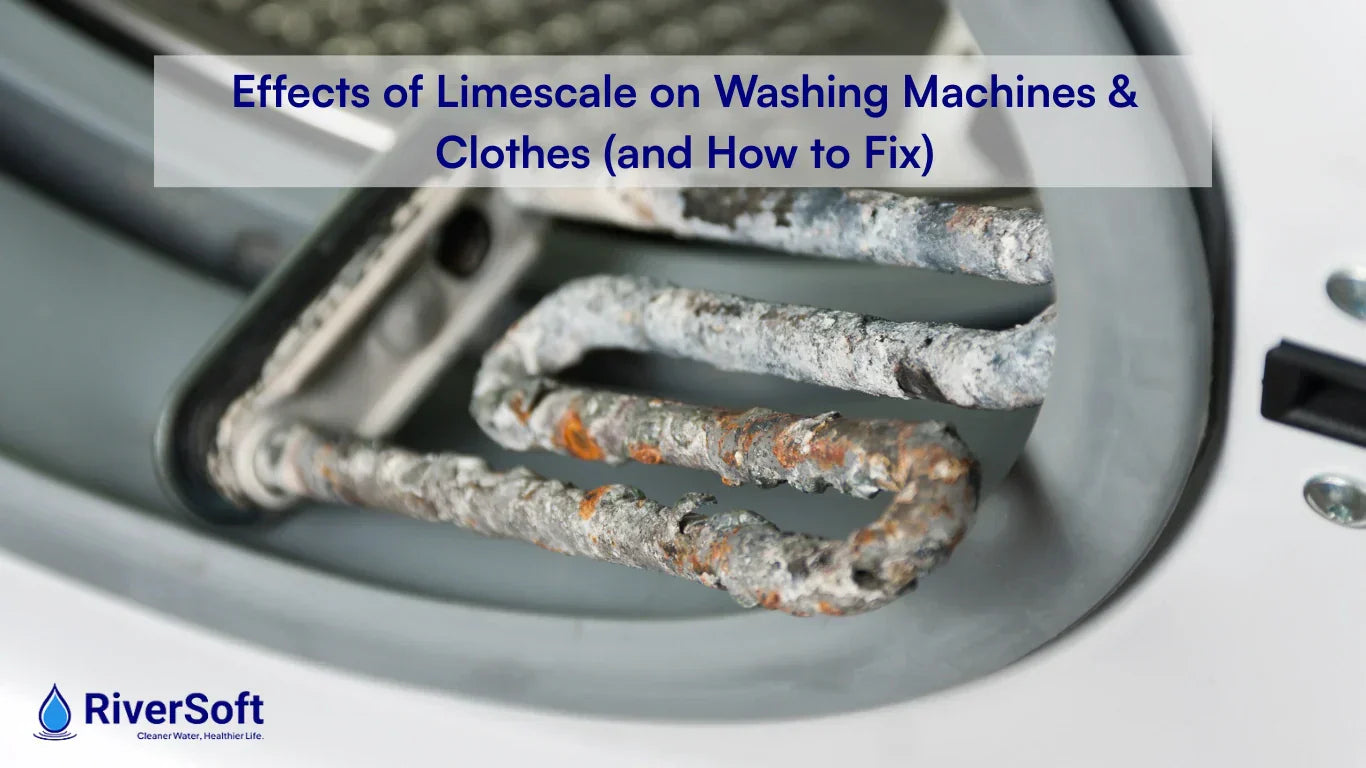
Once removed, inspect each screen under bright light. Common contaminants include sand, rust, and white chalky limescale from hard water. The cleaning method depends on what is clogging it.
Light Debris: Rinse and Scrub
For dust, lint, or organic matter, rinse under running tap water and use a soft-bristled brush or old toothbrush to scrub both sides. Ensure water flows freely through the mesh when finished.
Limescale: Soak in Vinegar
Mineral deposits are the most common issue in hard water areas. Submerge the screen in white vinegar for 5 to 60 minutes, scrub with a toothbrush, then rinse thoroughly. Vinegar dissolves calcium and magnesium naturally.
Heavy Scaling: Use Citric Acid
For thick, stubborn buildup, mix 1 to 2 tablespoons of citric acid per cup of warm water. Soak for 30 to 60 minutes, then rinse completely. No residue should remain.
Rust or Iron: Gentle Acid Treatment
Rust from old pipes or well water responds well to a vinegar soak combined with soft brushing. Avoid steel wool or abrasive pads, as these damage the mesh.
Dry and Reinstall Screens Properly
After cleaning, proper reinstallation ensures a secure seal and prevents leaks.
Air-Dry Before Reinsertion
Let screens dry completely on a clean towel. Moisture can trap particles or promote corrosion if left inside the valve.
Align and Seat Correctly
Hold the screen so ribs or notches face outward for future removal. Push it straight into the port by hand until flush with the valve surface. Do not use pliers or tools. Hand pressure is enough.
Check: The screen should not wobble or protrude. If it will not seat fully, recheck for debris in the port.
Reconnect Hoses and Test for Leaks
Now that the screens are back, it is time to reassemble and restore service.
Reattach Hoses with Care
Reconnect hot and cold hoses to their correct ports. Hand-tighten first, then use pliers for medium torque. Do not overtighten, as this can crack plastic fittings or strip threads.
Restore Water and Check Connections
Slowly open both shut-off valves. Watch the hose connections for drips or leaks over the next 1 to 2 minutes. If leaking, tighten slightly, but stop if resistance increases.
Fix Tip: Replace worn rubber washers inside hose ends if leaks persist.
Run a Test Cycle to Confirm Success
The final step proves whether the cleaning worked.
Power On and Select Short Cycle
Plug the machine back in and choose a rinse, quick wash, or empty load cycle. Set to normal temperature using both hot and cold water.
Monitor Key Performance Signs
Watch for filling speed, which should take 3 to 10 minutes depending on model. Also check for even flow from both lines, no error codes, and no leaks. If the washer fills quickly and completes the cycle, you have successfully restored full function.
Still having issues? See the troubleshooting section below.
Troubleshoot Common Post-Cleaning Issues
Even after cleaning, problems may persist. Use this quick guide to diagnose remaining issues.
Washer Fills Slowly
Possible causes include screen not fully cleaned, improperly reinstalled screens, or low home water pressure. Re-remove and inspect both screens. Test household faucet pressure. If that is low, the issue may be plumbing-wide.
Leaks at Hose Connections
This is usually caused by overtightened nuts or damaged washers. Loosen slightly and retighten gently. Replace rubber washers if cracked or flattened.
Error Code Persists
If codes like IE or NF remain after cleaning, possible causes include severe blockage elsewhere, failed inlet valve solenoid, or low water pressure. Re-clean screens. If the problem continues, test the valve with a multimeter or consider replacement.
Only One Temperature Works
This likely indicates a clogged screen on the non-working side or a failed solenoid. Clean both screens again. If only one fills, the valve’s internal coil may be faulty, requiring replacement of the entire unit.
Note: Overflowing or continuous filling is not related to inlet screens. It points to a faulty pressure switch or control board. Call a technician.
Prevent Future Clogs with Routine Maintenance
Avoid repeat issues with simple preventive steps.
Clean Screens Regularly
Clean inlet screens every 3 to 6 months in hard water, well water, or older plumbing situations. For standard municipal water, an annual check is usually sufficient. Set a calendar reminder, as this task takes less time than unloading the dryer.
Upgrade Hoses and Add Filters
Replace rubber hoses every 2 to 5 years with braided stainless steel versions. Choose hoses with built-in filter screens for double protection. Install a whole-house sediment filter if you have well water. Use a water softener in hard water areas to reduce limescale.
Maintain Your Plumbing System
Flush your hot water heater annually to remove sediment. Avoid using degraded or old hoses during repairs. Use HE detergent to minimize suds and residue.
Benefit: These steps prevent up to 80% of slow-fill issues and reduce flood risk from burst hoses.
When to Replace the Inlet Valve
:max_bytes(150000):strip_icc()/repair-washing-machine-water-inlet-valve-1824606-hero-2493b12f2d0f46e98823bad7e5b0cd1d.jpg)
Cleaning the screens fixes most water intake problems. But sometimes the entire inlet valve assembly fails and needs replacement.
Replace If You Notice
Replace the valve if the washer still will not fill after cleaning, if only cold or hot works and screens are clean, if there are cracks or warping or leaks from the valve body, if you hear a buzzing sound with no water flow, or if a multimeter shows an open circuit in solenoid coils.
Replacement Overview
Replacing the valve requires cabinet panel removal, disconnecting electrical connectors and water lines, and matching a model-specific part number. This is manageable for intermediate DIYers. Always unplug and shut off water first.
Tip: Search by model and serial number to find the correct replacement valve online.
Know When to Call a Professional
Some situations require expert help.
Seek Technician Assistance If
Call a professional if you cannot locate or remove the screens, if internal panels must be removed and you are unsure, if electrical testing is needed, if error codes persist after thorough cleaning, or if multiple components show damage or leakage.
Bottom Line: If you are uncomfortable at any point, stop and call a certified appliance repair technician. It is better than risking water damage or injury.
Frequently Asked Questions About Cleaning Water Inlet Valves
How often should I clean the water inlet valve screens?
Clean inlet screens every 3 to 6 months in homes with hard water, well water, or older plumbing. For standard municipal water supplies, annual cleaning is typically sufficient.
Can I use bleach to clean the inlet screens?
No. Never use bleach or mix toilet bowl cleaner with other chemicals, as toxic fumes can result. Use white vinegar, citric acid, or baking soda for safe descaling.
What error codes indicate a clogged water inlet valve?
Common error codes include “IE” on LG models and “F1,” “E01,” or “NF” on other brands. These typically indicate inlet error or no fill problems caused by restricted water flow.
Do all washing machines have inlet filter screens?
Most modern washing machines have inlet filter screens at the hose connection points. Some commercial units may have additional filtration stages. Check your model’s specifications if unsure.
What happens if I run the washer without the inlet screens installed?
Running the washer without screens allows debris to enter the valve and pump, potentially causing permanent damage. Always reinstall screens after cleaning.
How do I know if the inlet valve itself needs replacement rather than just cleaning?
Replace the valve if cleaning does not restore water flow, if only one temperature works after cleaning both screens, if there is visible damage to the valve body, or if electrical testing shows failed solenoids.
Key Takeaways for Cleaning Your Washing Machine Water Inlet Valve
Cleaning the water inlet valve screens is one of the most impactful yet overlooked maintenance tasks for washing machines. It solves slow fills, prevents error codes, and protects internal components, all for just a few minutes of effort. The process involves shutting off power and water, disconnecting hoses, removing and cleaning the screens with vinegar or citric acid, and reinstalling everything securely.
By performing this maintenance every 3 to 6 months in hard water areas or annually otherwise, you will keep your washer running efficiently, extend its lifespan, and avoid costly repairs. With the right tools and this guide, you have everything you need to keep water flowing freely into your washing machine.