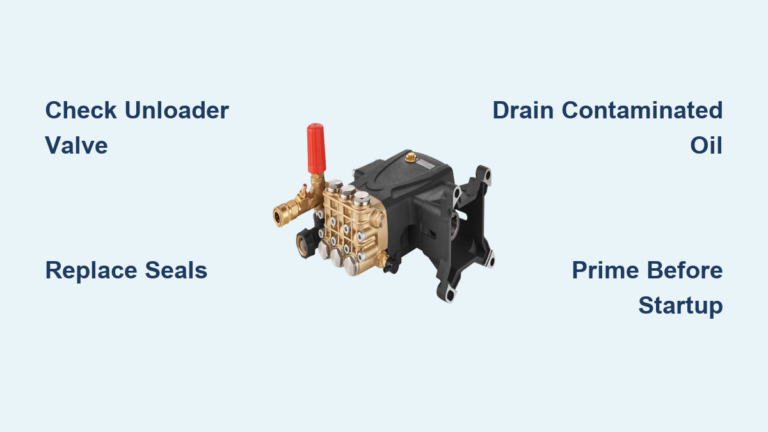
How to Install a Pressure Washer Pump
When your pressure washer loses power or leaks oil, learning how to install a pressure washer pump can save you hundreds compared to buying a new machine. Cracked housings from freezing or worn seals often cause these failures, but a DIY replacement restores full performance quickly.
This guide details every step to diagnose failure, verify fit, remove the old unit, and mount a new pump safely. You will learn to align shafts, secure bolts correctly, and winterize your system to prevent future damage.
Diagnose Pressure Washer Pump Failure
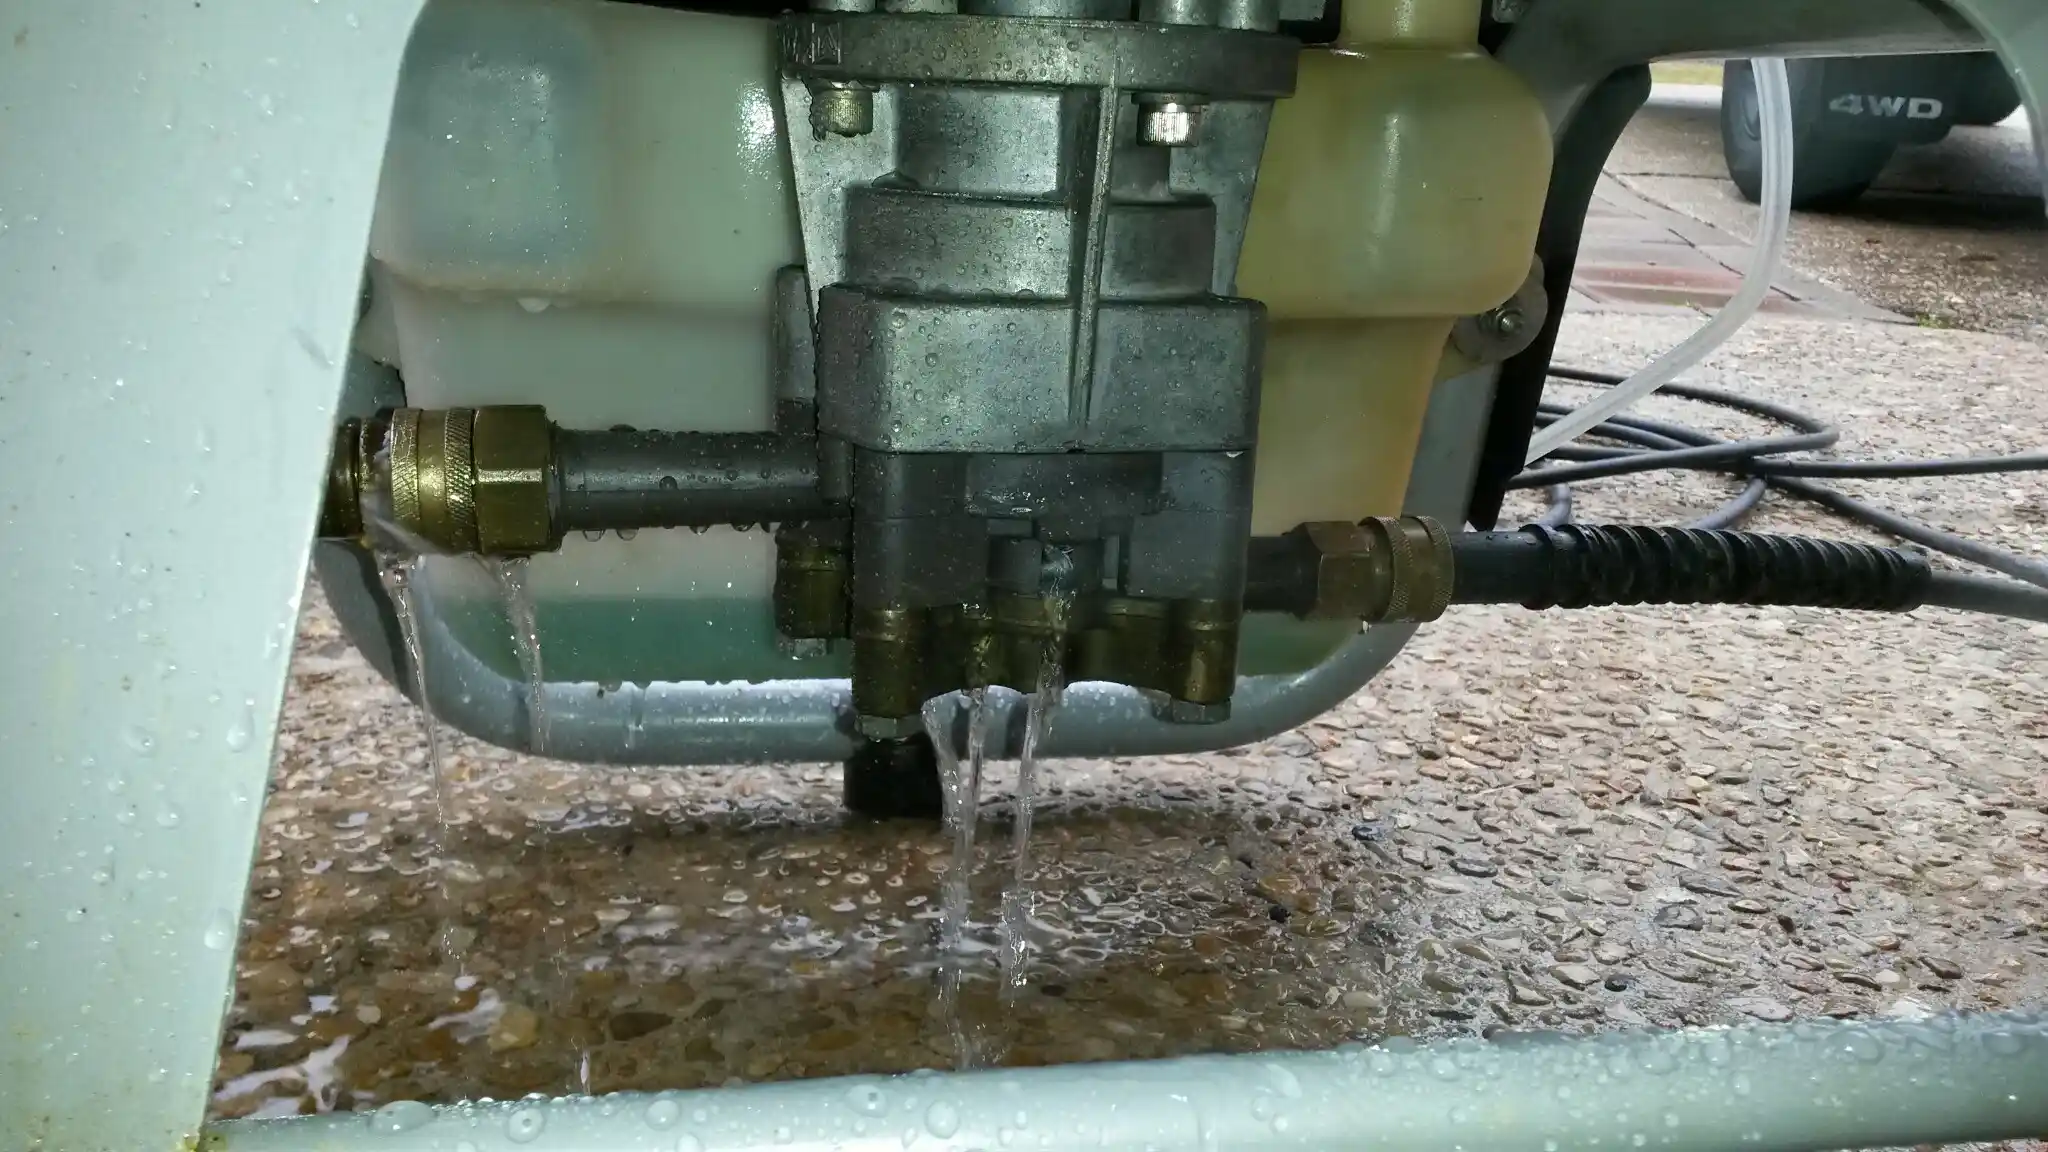
Confirm the pump is the actual culprit before buying parts or tools. Misdiagnosing the issue leads to wasted money and unnecessary labor on a functional component.
Identify Critical Failure Signs
Look for these four specific indicators that signal immediate replacement is needed:
* Cracks in the housing: Visible fractures often appear near ports or mounting flanges.
* Loss of pressure: Weak spray persists even after cleaning nozzles and filters.
* Unusual noises: Grinding, knocking, or screeching sounds occur during operation.
* Fluid leaks: Oil pools under the unit or water drips from the pump body.
If you observe multiple signs, especially structural cracks, the pump cannot be repaired and must be replaced.
Determine the Root Cause
Understanding why the failure happened prevents the same issue from recurring with your new unit.
Freezing damage remains the leading cause of catastrophic failure. Water left inside expands when frozen, cracking the cast aluminum housing beyond repair.
Heat and UV exposure degrade rubber seals over time. Sun-damaged seals lose elasticity, causing oil leaks and internal contamination.
Corrosion on the drive shaft binds the pump to the engine. Rust forms when moisture enters the input shaft area, making removal difficult and risky.
Verify Pump Compatibility Before Purchase
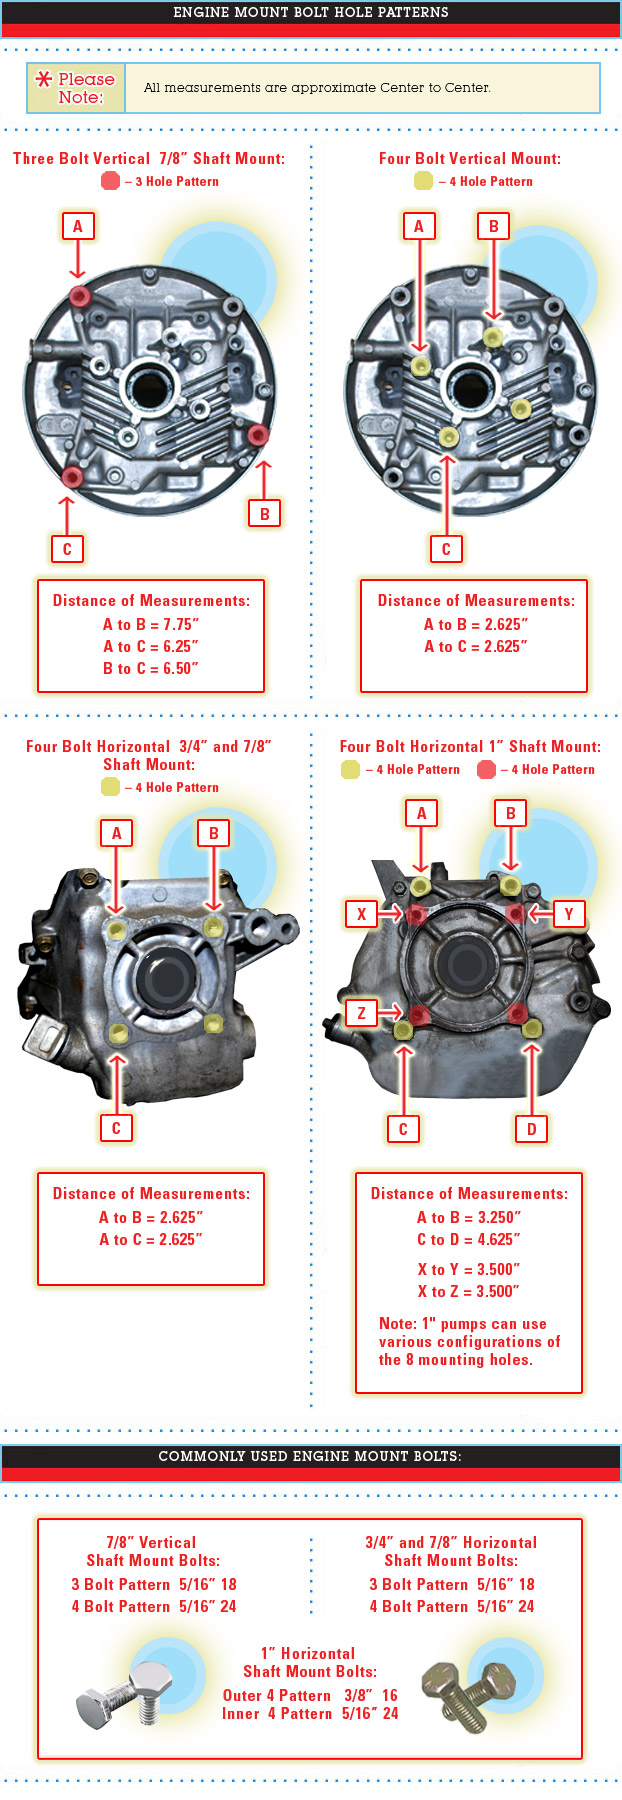
Installing an incompatible pump causes misalignment, vibration, and premature failure. You must verify fitment specifications before ordering a replacement.
Measure Bolt Hole Patterns
Use a ruler to measure diagonal and adjacent distances between mounting holes on your old pump. The replacement unit must match these dimensions exactly.
For accurate measurements:
* Remove the old pump first to access all holes.
* Record measurements in inches, such as 3.5 inches diagonal.
* Compare your numbers with manufacturer specifications.
Universal pumps often list compatible models, but physical verification ensures a perfect fit.
Confirm Drive Shaft Specifications
Most pressure washer pumps connect via a keyed drive shaft that must match precisely.
Check these three critical specs:
* Shaft type: Determine if it is solid or hollow, though solid is most common.
* Keyway shape: Identify square or rectangular shapes, typically 1/4 inch.
* Set screw presence: Some models use a side-mounted Allen set screw to lock the pump.
Mismatched shafts fail to transmit power efficiently and can shear keys or damage the engine crankshaft.
Gather Required Tools and Parts
Being unprepared mid-job leads to frustration and potential safety hazards. Collect all necessary components before starting the installation.
Essential Components List
Ensure you have these items ready:
* Replacement pump: Must match original PSI and GPM ratings.
* Mounting hardware: Four bolts and washers, usually included with new units.
* Shaft key: Reuse the original unless it is bent or worn.
* Anti-seize lubricant: Copper or silicone-based compound prevents rust.
* Penetrating oil: Products like PB Blaster help free rusted shafts.
* Pump saver: Antifreeze solution for testing and winterization.
Necessary Tools for Installation
You will need specific tools to complete the job safely:
* Socket wrench set with 9/16 inch and 1/2 inch sockets.
* Allen keys in 8mm size, including both long and short shanks.
* Fine-grit sandpaper ranging from 220 to 400 grit.
* Clean rags and degreaser for shaft preparation.
* Torque wrench for precise bolt tightening.
Quality replacement pumps typically cost between $120 and $200, making this a cost-effective repair.
Remove the Old Pump Safely
Start with safety protocols to avoid injury or accidental engine damage during disassembly.
Depressurize the System Completely
Follow these steps to ensure zero pressure remains in the system:
1. Turn off the engine and disconnect the spark plug wire.
2. Disconnect the garden hose from the inlet port.
3. Pull the trigger on the spray gun to release trapped pressure.
4. Drain remaining water from hoses and the pump body.
This process prevents accidental sprays and water spillage during disassembly.
Loosen Mounting Bolts
Locate the four mounting bolts securing the pump to the engine frame. Some vertical models share bolts with the engine, so support the engine block before loosening.
Use a 9/16 inch wrench to loosen each bolt slightly without removing them. Break the seal gradually to prevent sudden movement, then fully remove bolts one by one.
Remove Set Screw If Present
Certain models like the General Easy 40 use a set screw to lock the pump to the shaft.
To find it:
* Rotate the engine slowly using the recoil starter.
* Inspect the shaft hole with a flashlight.
* Remove any visible screw with an 8mm Allen key.
Not all pumps have this feature, so do not force tools if no screw is visible.
Extract the Pump from Shaft
Slide the pump straight off the drive shaft carefully.
If the pump is stuck:
* Spray penetrating oil around the shaft collar.
* Wait 10 to 15 minutes for penetration.
* Gently twist and pull the pump back and forth.
* Never use a hammer or pry bar to avoid cracking the housing.
Catch the shaft key and set screw as they come off to prevent loss.
Prepare the Drive Shaft Properly

A clean and lubricated shaft ensures smooth installation and extends the life of your new pump.
Clean Shaft Thoroughly
Remove old gasket material, rust, and debris from the drive shaft.
Take out the shaft key and use fine-grit sandpaper to polish the surface. Focus on removing corrosion from the keyway groove, then wipe clean with a degreaser-soaked rag. Dry completely before applying lubrication.
Apply Anti-Seize Lubricant
Coat the entire shaft and keyway with anti-seize compound to prevent future binding.
Cover about 75% of the shaft circumference without over-applying. Reinsert the key into the groove, leaving it slightly proud to guide the new pump. This step prevents rust binding and makes future removal easier.
Install the New Pump Correctly
Precision alignment ensures longevity and vibration-free operation for your pressure washer.
Align Key and Shaft Position
Rotate the engine crankshaft so the keyway faces upward or toward you depending on orientation.
For rear-facing pumps, align the keyway to face the installer. For vertical pumps, position the key so it fits between inlet and outlet tubes. Leave the key slightly protruding to guide the new pump into place.
Slide Pump Onto Shaft
Hold the new pump and align its internal slot with the key carefully.
Use these alignment tricks:
* Visual method: Look straight down to match key and slot.
* Rotation method: Gently turn the engine to help the key enter the slot.
* Stabilization: Rest the pump on your thighs to steady it during insertion.
If resistance occurs, stop and recheck alignment immediately. Forcing it can shear the key or crack the housing.
Seat Pump Fully Against Engine
Once started, slide the pump straight on until it seats flush against the engine block. Rotate it slightly back and forth to ease it onto the shaft. Verify the key has not risen into the oil seal zone and sits low in the groove.
Secure Mounting Bolts Properly
Even tightening prevents warping and reduces vibration during operation.
Follow Correct Torque Sequence
Insert bolts with washers and follow this sequence:
1. Hand-tighten all four to ensure even contact.
2. Snug each with a 9/16 inch or 1/2 inch wrench.
3. Finish with a quarter to half turn on each bolt.
Avoid over-tightening as this can crack aluminum mounting legs.
Use Right Tools for Tight Spaces
Use the long end of an Allen key for bottom bolts to gain better leverage. Use the short end for top bolts where space is tight. Ensure your ratchet clears surrounding components if using a socket set.
Test the Installation Thoroughly
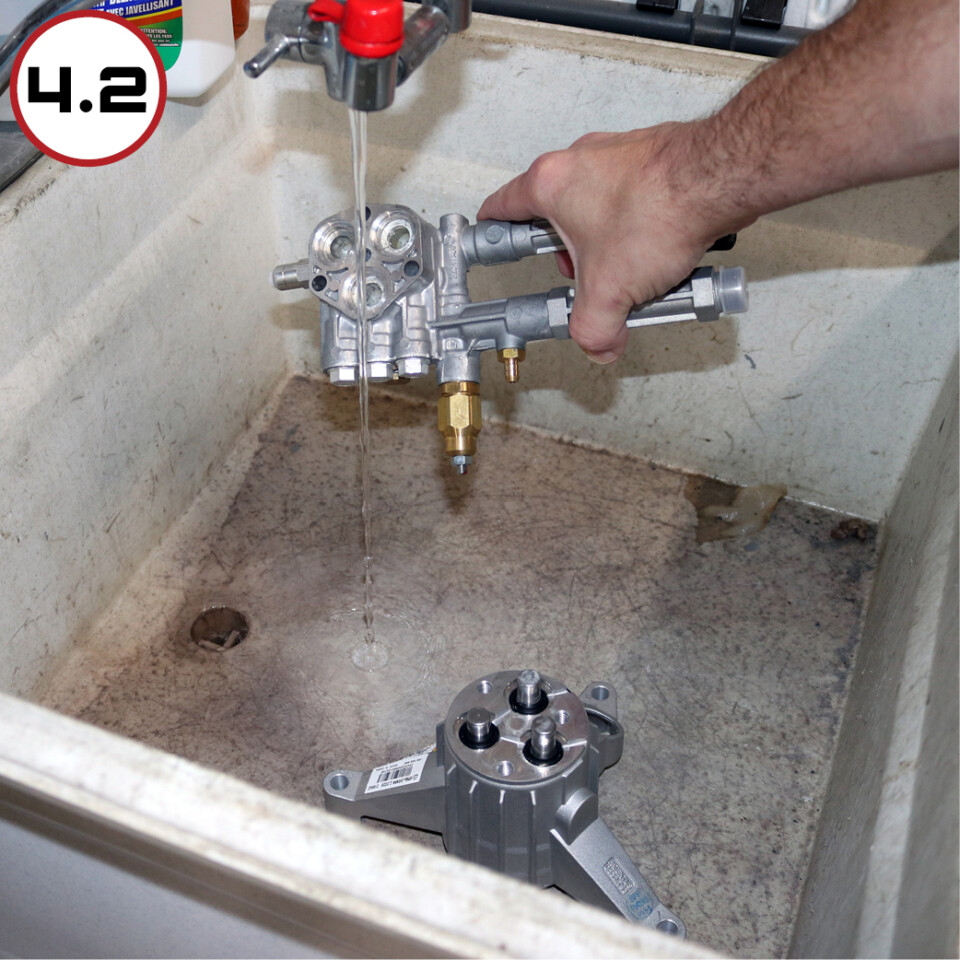
Never assume the installation works without verifying performance and safety first.
Perform Visual Check
Before starting the engine, confirm the pump is fully seated. Check that the shaft key has not shifted and ensure all hoses and connections are secure. Reconnect the spark plug and any safety switches.
Reconnect Hoses and Lines
Attach the garden hose to the inlet and reconnect the high-pressure discharge hose. Reattach the detergent line if your model has one. Double-check for kinks or loose fittings before proceeding.
Run Operational Test
Start the engine and run for 3 to 5 minutes while monitoring performance.
Check for leaks at the shaft seal and housing joints. Test pressure by pulling the trigger to ensure strong and steady flow. Listen for grinding or knocking noises and feel for excessive vibration. Shut down immediately if any issues arise.
Prevent Future Pump Failures
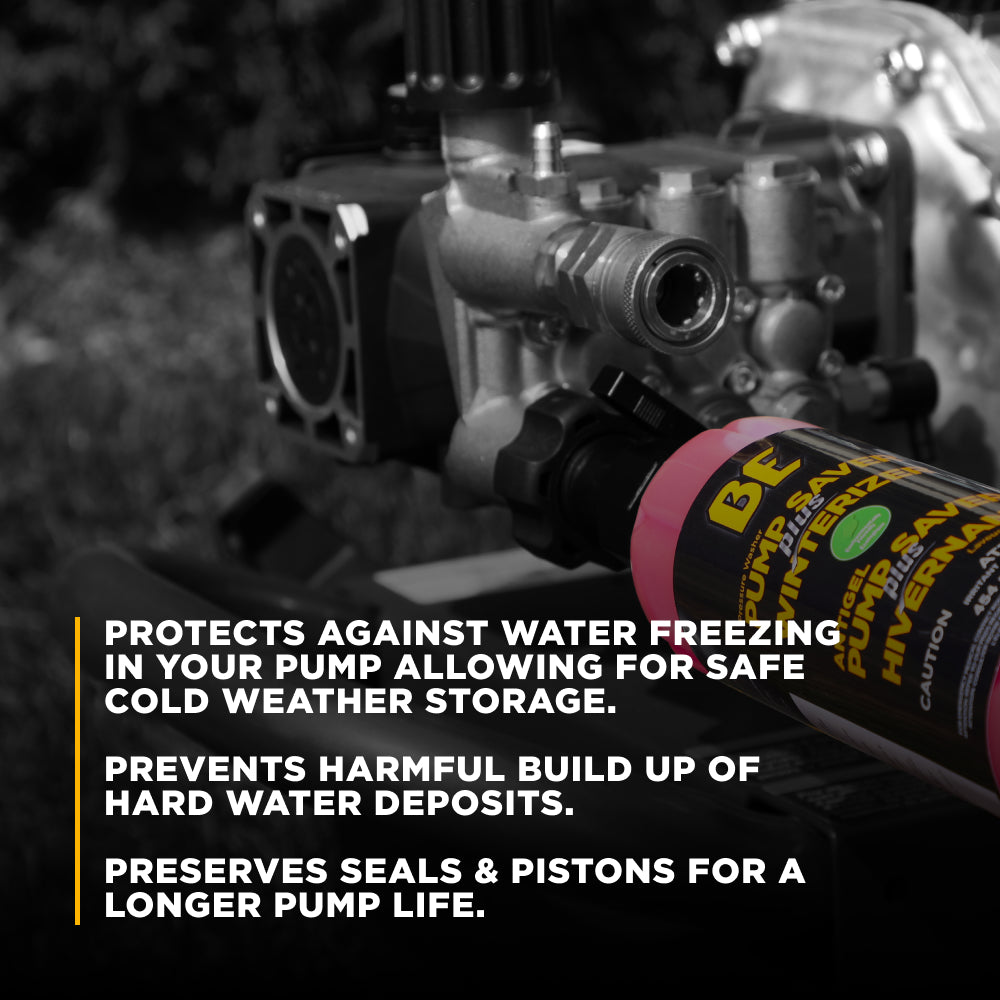
A new pump will not last without proper care and maintenance routines.
Winterize to Prevent Freezing
Water left in the pump expands when frozen, cracking the housing permanently.
To winterize effectively:
1. Disconnect the garden hose.
2. Screw a bottle of pump saver into the inlet.
3. Start the engine and pull the trigger until antifreeze flows from the nozzle.
4. Turn off and store in a dry, temperature-controlled space.
Perform this task at the end of every season to protect your investment.
Follow Maintenance Best Practices
Avoid direct sunlight to protect rubber seals from degradation. Check oil regularly since milky oil indicates water intrusion. Reapply anti-seize during annual maintenance and operate within temperature specs. Routine care extends pump life by years.
Frequently Asked Questions About Pressure Washer Pump Installation
How do I know if my pressure washer pump needs replacement?
Look for cracks in the housing, loss of pressure, unusual grinding noises, or fluid leaks. If you see multiple signs, especially structural cracks from freezing, replacement is necessary.
Can I install a universal pump on my pressure washer?
Yes, provided you verify bolt hole patterns and shaft specifications match your engine. Measure diagonal and adjacent hole distances and check keyway size before purchasing.
What tools do I need to install a pressure washer pump?
You need a socket wrench set, 8mm Allen keys, fine-grit sandpaper, penetrating oil, and anti-seize lubricant. A torque wrench is recommended for proper bolt tightening.
How do I prevent my new pump from freezing in winter?
Disconnect the garden hose and run pump saver antifreeze through the system until it exits the nozzle. Store the unit in a dry, temperature-controlled environment.
Why is my new pump vibrating after installation?
Vibration usually indicates misalignment or uneven bolt tightening. Check that the shaft key is seated properly and tighten all four mounting bolts evenly.
Key Takeaways for Installing Your Pressure Washer Pump
Learning how to install a pressure washer pump saves money and extends your machine’s life significantly. Proper diagnosis, shaft preparation, and alignment are critical steps that ensure a successful repair.
Always winterize your system and apply anti-seize lubricant to prevent future failures. Follow this guide to restore full power to your pressure washer today.