How to Use Pressure Washer Pump Protector
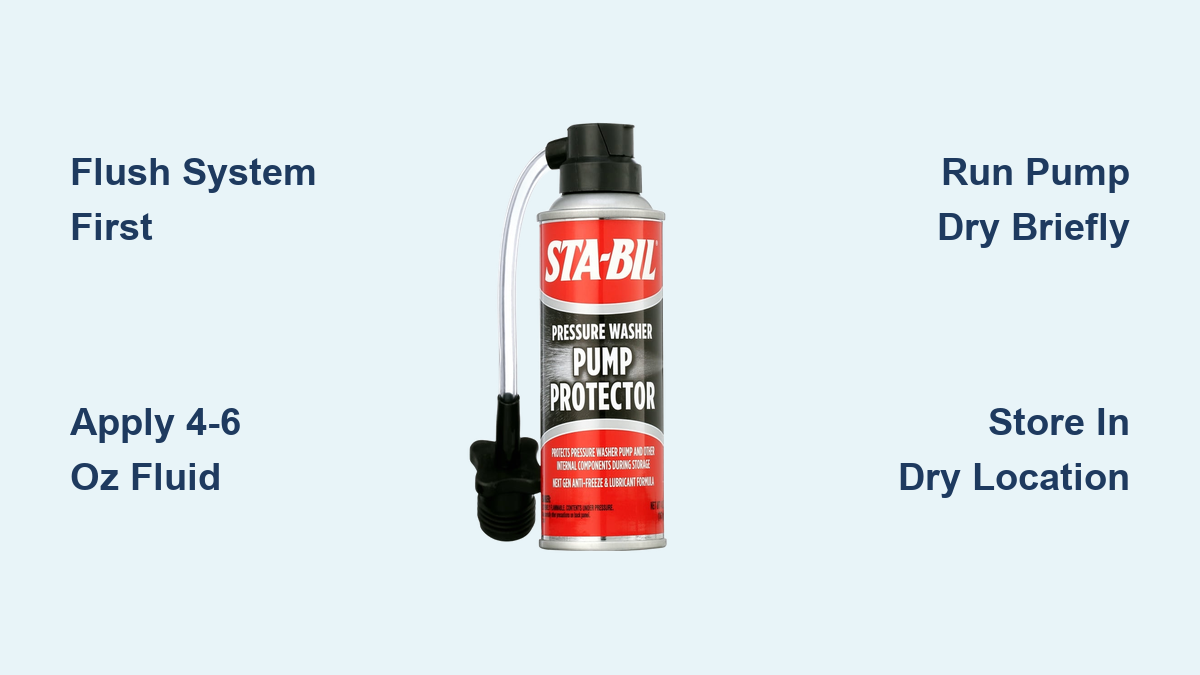
A sudden loss of pressure or a seized pump often signals that your machine suffered from mineral buildup or dry seals. Using a pressure washer pump protector like the RYOBI RY31PP01 prevents these costly failures by lubricating internal parts and stopping hard water deposits.
This guide explains exactly how to use pressure washer pump protector to safeguard your equipment during storage or regular maintenance. You will learn the correct timing, the precise amount of fluid needed, and the critical steps to ensure full internal coverage without damaging your unit.
When to Apply Pump Protector for Best Results
Timing determines whether the fluid protects your machine or goes to waste. You should apply the product after every cleaning session if you live in a hard water area or before any period of inactivity.
Storage and Seasonal Preparation
The most critical time to apply this fluid is before winter storage or long breaks between uses. Tap water left inside the pump evaporates over time, leaving behind calcium and magnesium that clog valves.
* Apply before storing the unit for more than a few days.
* Use it as a mandatory step in your winterization routine.
* Reapply after flushing the system with clean water.
Temperature and Machine State
Always ensure the pressure washer is completely cool before starting. Applying chemicals to a hot pump can cause rapid evaporation or seal damage.
* Wait until the motor and pump housing feel cool to the touch.
* Ensure the machine is turned off and unplugged.
* Verify that all pressure has been released from the spray gun.
Tools and Supplies Needed for Application
You do not need complex equipment to protect your pump, but having the right items ready ensures a clean and safe process. The primary requirement is the RYOBI Pressure Washer Pump Protector (Model RY31PP01).
Essential Items List
- RYOBI RY31PP01 Pump Protector bottle
- Small funnel to prevent spills
- Garden hose for initial flushing
- Safety glasses and gloves
- Bucket to catch residual water
Check that your pressure washer is disconnected from power before gathering these supplies. This preparation prevents accidental startup during the maintenance window.
Step-by-Step Guide: How to Use Pressure Washer Pump Protector

Follow this sequential process to ensure the protector reaches every internal surface of your pump. Skipping steps can leave vulnerable areas exposed to corrosion.
1. Flush the System with Clean Water
Start by connecting your garden hose to the water inlet. Turn on the water supply and let it run through the pump for about 30 seconds. This step clears out loose debris and old water that might dilute the protector.
2. Disconnect the Water Supply
Shut off the water faucet and disconnect the garden hose from the machine. This isolation is crucial because the pump needs to draw the protector fluid directly without mixing it with fresh water.
3. Pour the Protector into the Inlet
Locate the water inlet where you just removed the hose. Remove any inline filters or detergent tubes attached to this port.
* Insert a small funnel into the inlet opening.
* Slowly pour approximately 4 to 6 ounces of the pump protector fluid.
* Avoid overfilling, as excess fluid can cause foaming issues later.
4. Run the Pump Briefly Without Water
Reattach the high-pressure hose and spray gun to the machine. Do not reconnect the garden hose. Pull the trigger on the gun to open the valve, then turn on the pressure washer.
* Let the unit run for 10 to 15 seconds only.
* Listen for the sound to change from sputtering to a smooth hum.
* This action pulls the fluid through the valves, seals, and pistons.
Warning: Never run the pump dry for more than 20 seconds. Extended dry running generates heat that can warp ceramic plungers and ruin seals permanently.
5. Shut Down and Release Pressure
Turn off the machine immediately after the short run. Squeeze the trigger gun again to release any remaining pressure inside the hose. Your pump is now coated and ready for storage.
How Often Should You Use Pump Protector?
Frequency depends on how often you use your machine and the hardness of your local water. Regular application ensures consistent protection against wear.
Usage Frequency Guidelines
| Usage Pattern | Recommended Frequency |
|---|---|
| Weekly Use | Every 1 to 2 months |
| Occasional Use | After every single use |
| Seasonal Storage | Always before long-term storage |
Even if you use distilled water, the lubrication benefit remains essential for keeping seals supple. Ignoring this schedule can lead to premature pump failure.
Common Mistakes to Avoid When Applying Fluid
Users often make simple errors that reduce the effectiveness of the pressure washer pump protector. Avoiding these pitfalls ensures your maintenance effort pays off.
Mixing with Running Water
Adding the protector while the garden hose is still connected dilutes the formula. The fluid must displace the water to coat the metal surfaces effectively. Always disconnect the water source first.
Skipping the Initial Flush
Failing to flush old water leaves minerals inside that can react with the new fluid. This sludge can clog small passages in the pump head. Always run clean water through first.
Exceeding the Dry Run Time
Running the pump too long without water cooling it causes overheating. The fluid provides some cooling, but it is not a substitute for water flow during extended operation. Stick to the 15-second limit.
Can You Use Non-RYOBI Pump Protectors?
Yes, you can use other brands as long as they are designed for axial cam pumps. Many universal formulas work well with Ryobi electric models.
Compatibility Factors
- Look for products labeled safe for rubber seals and O-rings.
- Ensure the formula is non-corrosive and ethanol-free.
- Verify it offers both lubrication and anti-freeze properties if storing in cold climates.
While generic options exist, the RYOBI RY31PP01 is specifically tested for Ryobi electric power washers. Using the manufacturer-recommended product eliminates guesswork regarding compatibility.
Why Pump Protection Prevents Costly Repairs
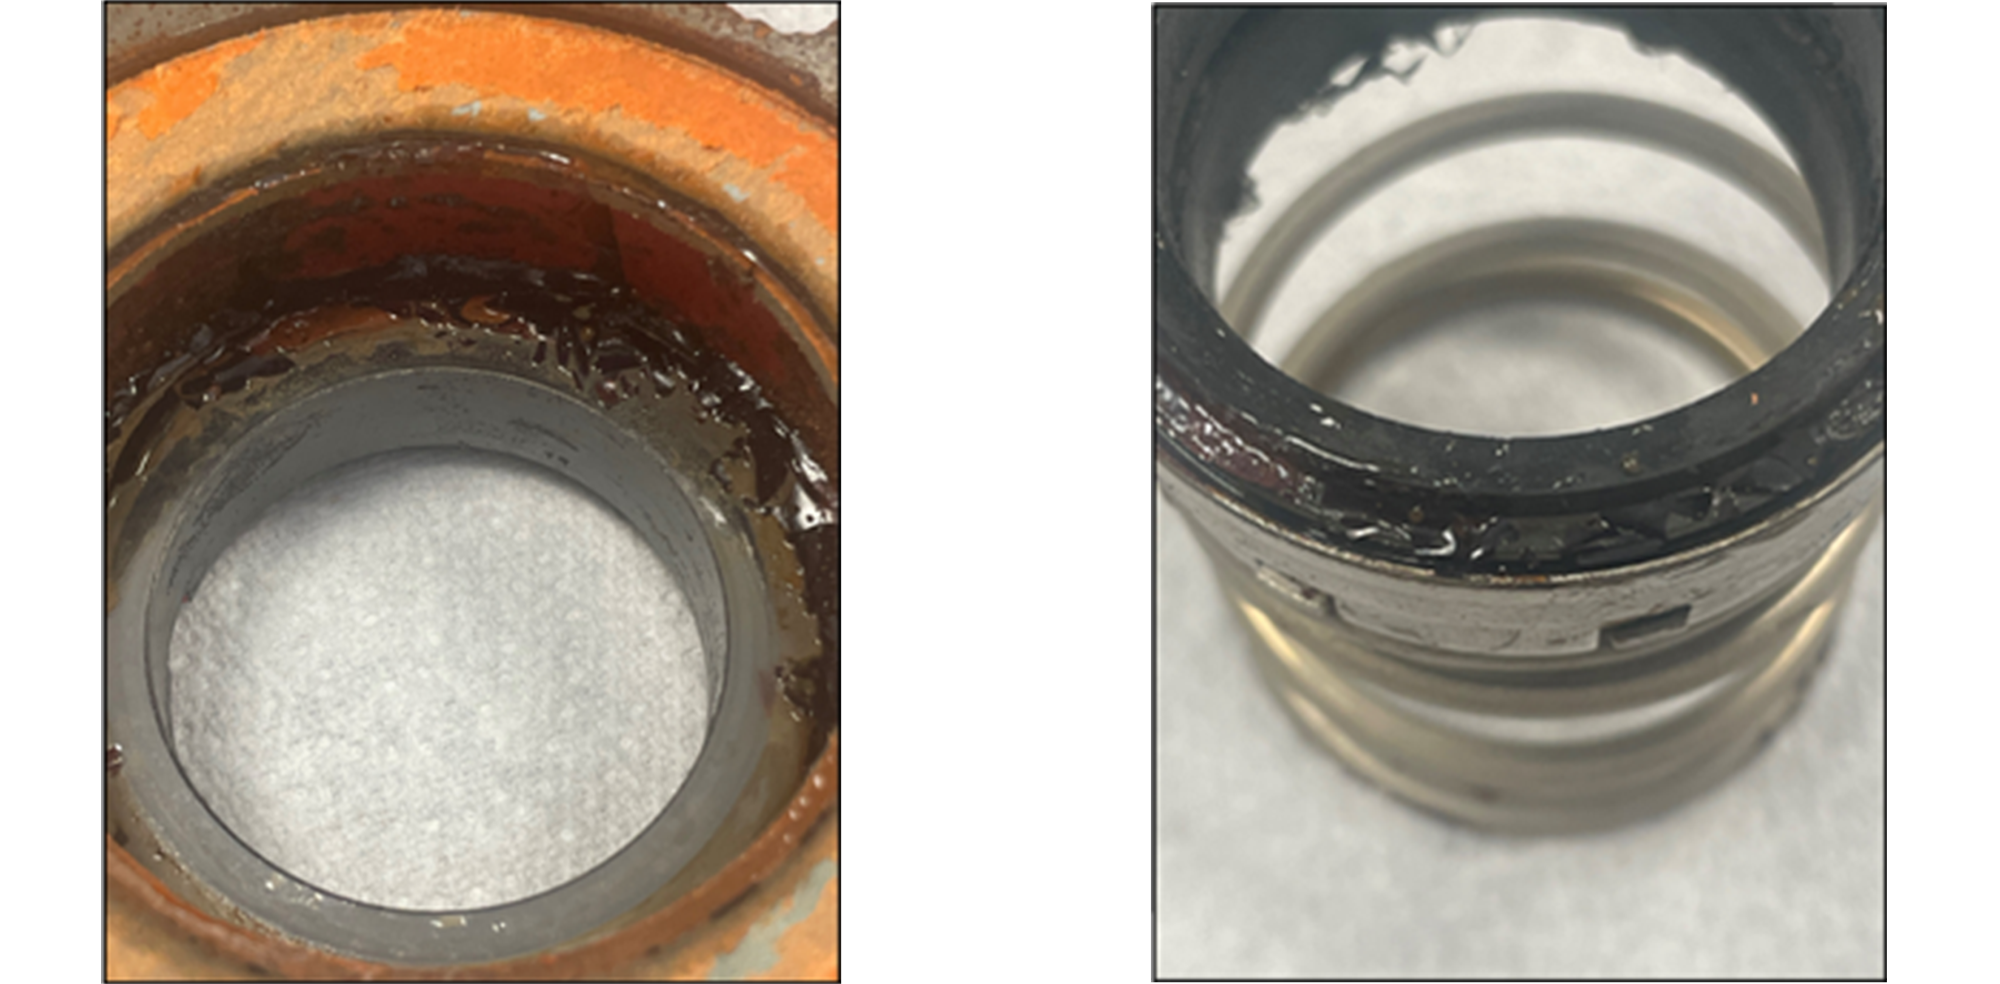
The pump is the most expensive component of your pressure washer, often costing more to replace than the entire unit. Protecting it saves significant money over time.
Damage Prevention Mechanisms
- Mineral Blockage: Prevents calcium crystals from clogging check valves.
- Seal Drying: Keeps rubber components soft to prevent cracking leaks.
- Corrosion Control: Forms a barrier against rust on metal pistons.
Without this protection, hard water scales build up quickly. This buildup forces the motor to work harder, leading to burnout or catastrophic pump failure.
Winterizing Your Pressure Washer with Pump Protector

Cold weather poses a unique threat because trapped water expands when it freezes. This expansion cracks pump housings and destroys internal components.
Cold Weather Checklist
- Drain all visible water from hoses and the unit.
- Apply the pump protector using the standard method.
- Run the unit briefly to circulate the antifreeze properties.
- Store the machine in a dry, frost-free location.
Using a protector with antifreeze capabilities adds an extra layer of security during freezing temperatures. This step is vital for anyone storing equipment in unheated garages or sheds.
Signs Your Pump Needs Immediate Protection
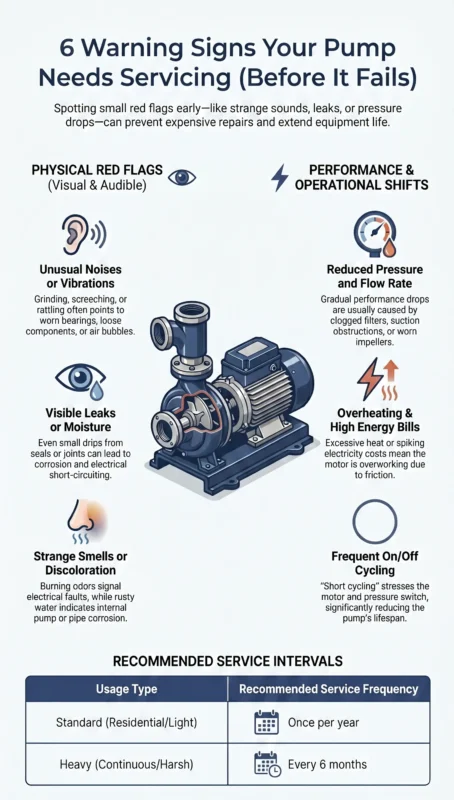
Watch for early warning signs that your pump is suffering from neglect. Addressing these quickly can restore performance before permanent damage occurs.
Warning Indicators
- Fluctuating pressure during operation
- Unusual knocking or grinding noises
- Visible white scale around hose connections
- Difficulty starting after short storage periods
If you notice these issues, flush the system and apply pressure washer pump protector immediately. While it cannot fix broken parts, it stops further degradation.
Frequently Asked Questions About Pump Protector Use
Can I use RV antifreeze instead of pump protector?
RV antifreeze prevents freezing but lacks the specific lubricants needed for pump seals. Dedicated pump protector offers dual-action protection against both cold and dry-out, making it the superior choice for maintenance.
How much pump protector fluid do I need per application?
You typically need only 4 to 6 ounces to coat the internal components of a standard residential pressure washer. Using more than this amount provides no additional benefit and may cause excessive foaming.
Does pump protector work on gas-powered pressure washers?
Yes, most pump protectors work on both electric and gas-powered units with axial cam pumps. Always check your owner’s manual to confirm compatibility with your specific pump type.
What happens if I skip using pump protector before storage?
Water left inside will evaporate, leaving mineral deposits that clog valves. Seals may also dry out and crack, leading to leaks and loss of pressure when you try to use the machine again.
Is the RYOBI pump protector safe for all seal materials?
Yes, the RY31PP01 formula is designed to be safe for standard rubber seals and O-rings found in most pressure washers. It will not degrade common pump materials when used as directed.
Key Takeaways for Using Pressure Washer Pump Protector
Protecting your investment requires just a few minutes of effort with the right product. By flushing the system, applying 4 to 6 ounces of fluid, and running the pump briefly, you prevent mineral buildup and seal failure. Make this a regular habit to ensure your pressure washer delivers strong performance for years.
Start your next maintenance session by grabbing a bottle of pressure washer pump protector today. Following these simple steps guarantees your machine stays ready for action whenever you need it.