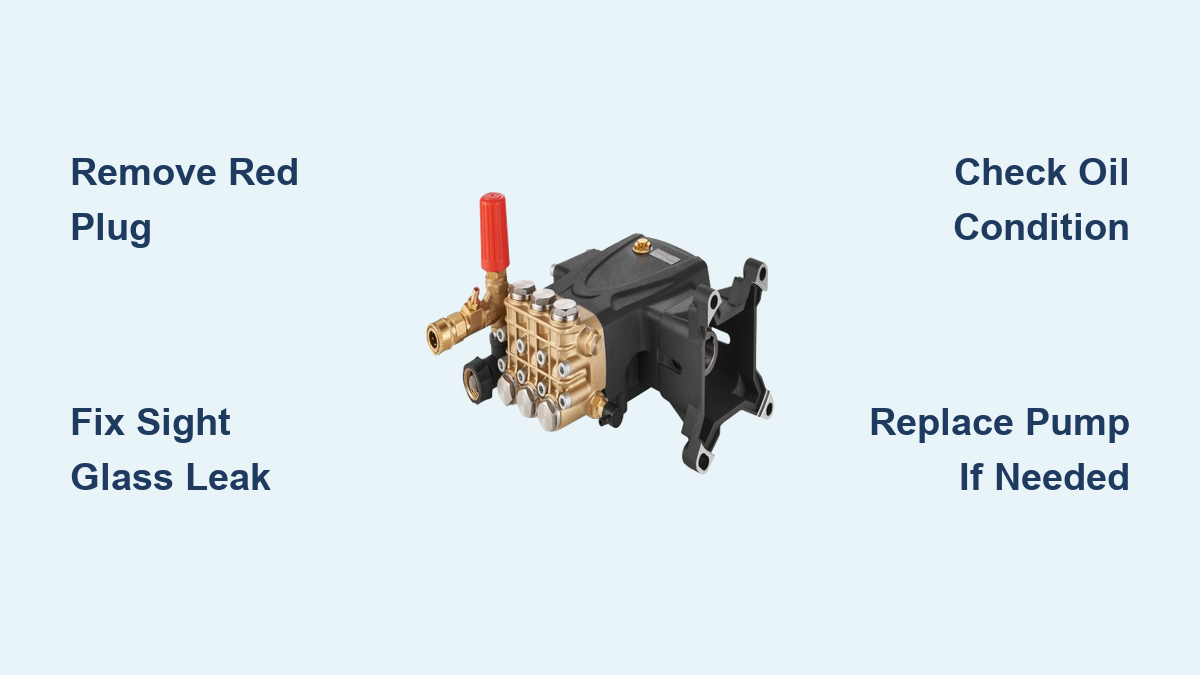
Fix Pressure Washer Pump Leaking Oil: Quick Steps
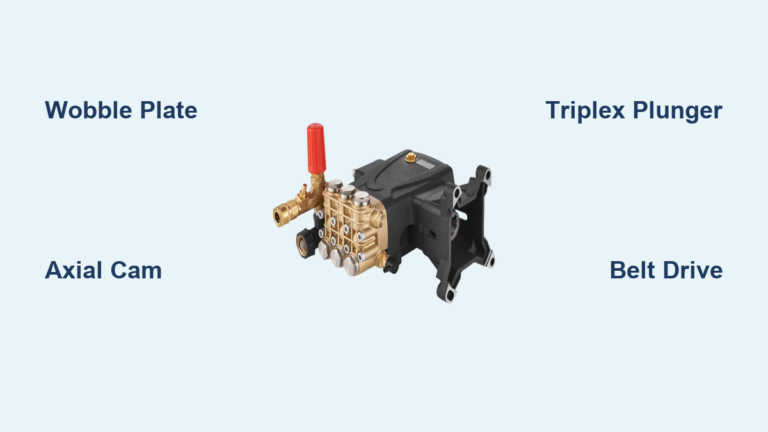
You start your pressure washer only to see a dark puddle forming beneath the pump. A pressure washer pump leaking oil signals immediate danger to the internal components. Without proper lubrication, the unit will overheat and seize within minutes.
This guide explains exactly why these leaks happen and how to stop them before permanent damage occurs. You will learn to identify the red vent plug mistake, repair front sight glass leaks, and decide between rebuilding or replacing your pump.
Blocked Crankcase Vent Causes Rapid Oil Expulsion

The most frequent cause of oil leakage in new pumps is a blocked crankcase vent. This issue stems entirely from failing to remove the red vent plug on the oil fill cap before the first use.
Why the Red Vent Plug Must Be Removed
The crankcase houses moving parts that generate heat and displace air during operation. As pistons cycle, the air inside expands and needs an escape route. The red plug seals the system tightly, turning the crankcase into a pressurized chamber. This forces oil to foam and surge past internal seals, specifically the rear oil seal. Manufacturers place red labels warning users to remove the plug, yet many ignore this critical step.
Signs Your Vent Is Blocked
Symptoms of a blocked vent appear quickly after startup. You will notice foamy or milky oil caused by air mixing with the lubricant under high pressure. Oil often blows out from the rear seal in a steady stream or fine spray. If water begins dripping from the pump after use, high-pressure water has invaded the oil side through the breached seal. You may also see low oil levels without any visible external puddles because the oil was forced out internally.
Can You Save the Pump Early?
If you catch this issue immediately, you might save the unit. Remove the red vent plug right away and drain any foamy or contaminated oil. Refill the crankcase with fresh 15W-40 oil to the halfway mark on the sight glass. Run the unit briefly to inspect for further issues. However, if water entered the crankcase or oil sprayed out heavily, the rear seal is likely destroyed and the pump needs replacement.
Front Sight Glass Oil Leaks on DeWalt and Simpson Models

Oil dripping from the front of the pump is common on DeWalt and Simpson models equipped with AAA pumps. This leak usually indicates a failed O-ring or a botched previous repair attempt rather than total pump failure.
Why Sight Glass Seals Fail
The sight glass allows you to monitor oil levels and is sealed with an O-ring held by three Allen bolts. Over time, this O-ring degrades and loses its sealing ability. A major cause of failure is the use of epoxy gasket maker during prior repairs. This material cannot withstand oil or heat, causing it to crack, shrink, and fail rapidly. Even if the glass looks tight, oil will seep past the degraded sealant.
How to Identify a Sight Glass Leak
Inspect the front of the pump housing for oil streaks running downward. Look for residue of black or hardened epoxy around the glass perimeter. You may notice the oil level dropping despite no other visible leaks. Check for visible misalignment of the spacer ring or a missing O-ring entirely. If oil originates from the front rather than the rear, the sight glass is your culprit.
Fix the Leak With a Universal Kit
You do not need a new pump for this issue. A universal sight glass and O-ring kit costs about $30 and solves most front leaks effectively.
Tools Needed
- 4mm Allen key
- Small screwdriver
- Torque wrench (recommended)
- Clean rags
- 15W-40 oil
Step-by-Step Repair Procedure
- Prepare the Unit: Place the pressure washer on a level surface and slide a drip tray under the pump. Remove the protective cover to access the pump.
- Remove Old Glass: Use the 4mm Allen key to loosen the three bolts. Carefully pry out the old glass with a screwdriver, avoiding damage to the housing.
- Clean Thoroughly: Scrape off all old gasket material, epoxy, or sealant. Any debris prevents a proper seal, so wipe the area clean with a dry rag.
- Install New Glass: Apply a light coat of fresh oil to the new O-ring. Slide the O-ring onto the glass and insert the spacer ring. Press the glass firmly into the housing until it seats fully.
- Reassemble and Torque: Reattach the cover and bolts. Tighten to 3 ft-lbs minimum. Do not over-tighten as this can crush the O-ring or crack the glass.
- Refill and Test: Add 15W-40 oil to the “Full” mark on the sight glass. Let it settle for 5 minutes. Run the unit for 1–2 minutes and check for leaks.
Diagnose Leak Source Fast With These Steps
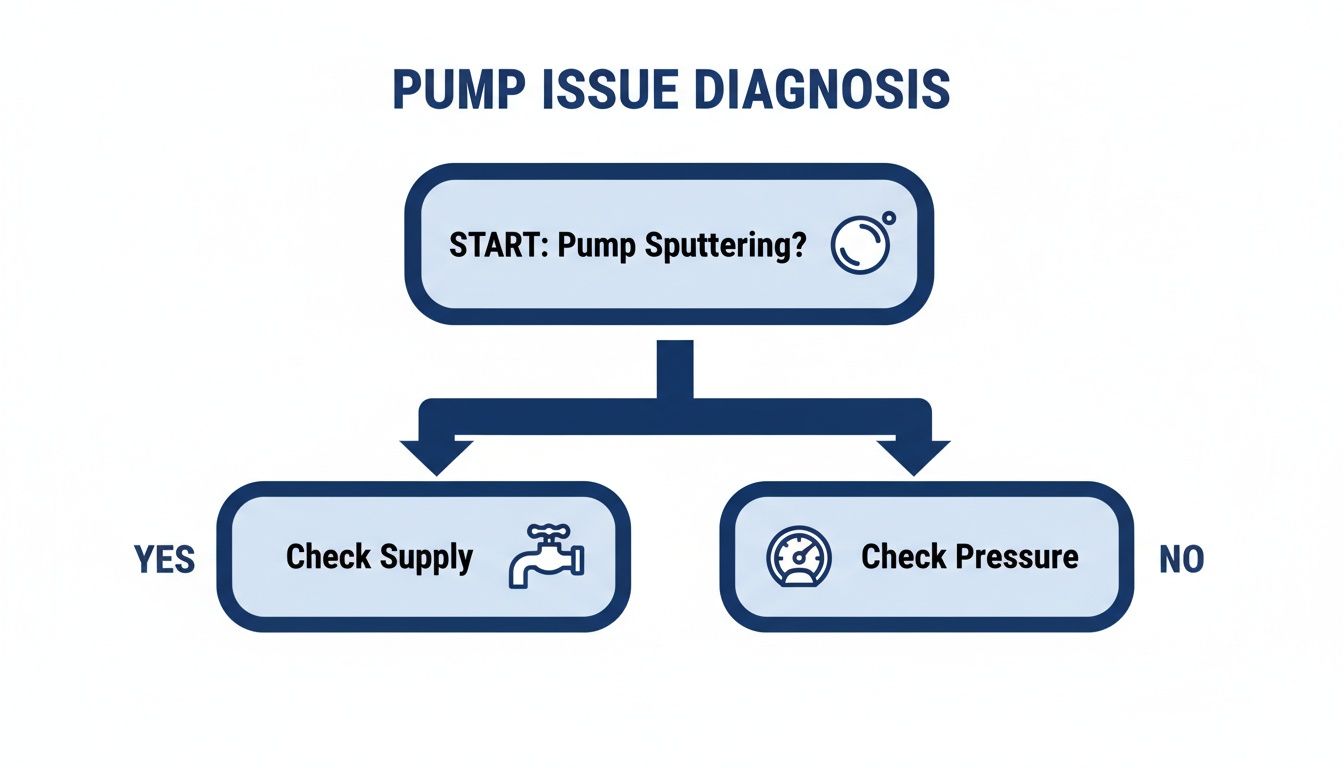
You see oil, but pinpointing the exact source saves time and money. Follow this inspection protocol before disassembling any parts.
Check the Red Vent Plug First
For any new or recently used pump, remove the oil fill cap immediately. Confirm the red vent plug is gone. If it is still in place, that is your root cause. This single check prevents 80% of catastrophic failures.
Inspect Oil Condition
Pull oil from the drain plug or check via the sight glass to assess its state. Clear, golden oil indicates normal condition. Milky or frothy oil signals air or water contamination, indicating seal failure. Water droplets in the oil confirm a rear seal breach where water entered the crankcase. Milky oil means the pump is already damaged and likely needs replacement.
Trace the Leak Path
Oil blowing from the rear of the pump points to a blown rear oil seal, usually from vent blockage or age. Oil coming from the front sight glass suggests an O-ring or gasket failure that is often repairable. If you see oil under the unit with no clear source, place a drip tray and run the unit briefly to watch where drops fall. Use a flashlight to inspect the rear shaft seal for oil coating the flywheel.
Rear Seal Failure: When to Replace the Pump
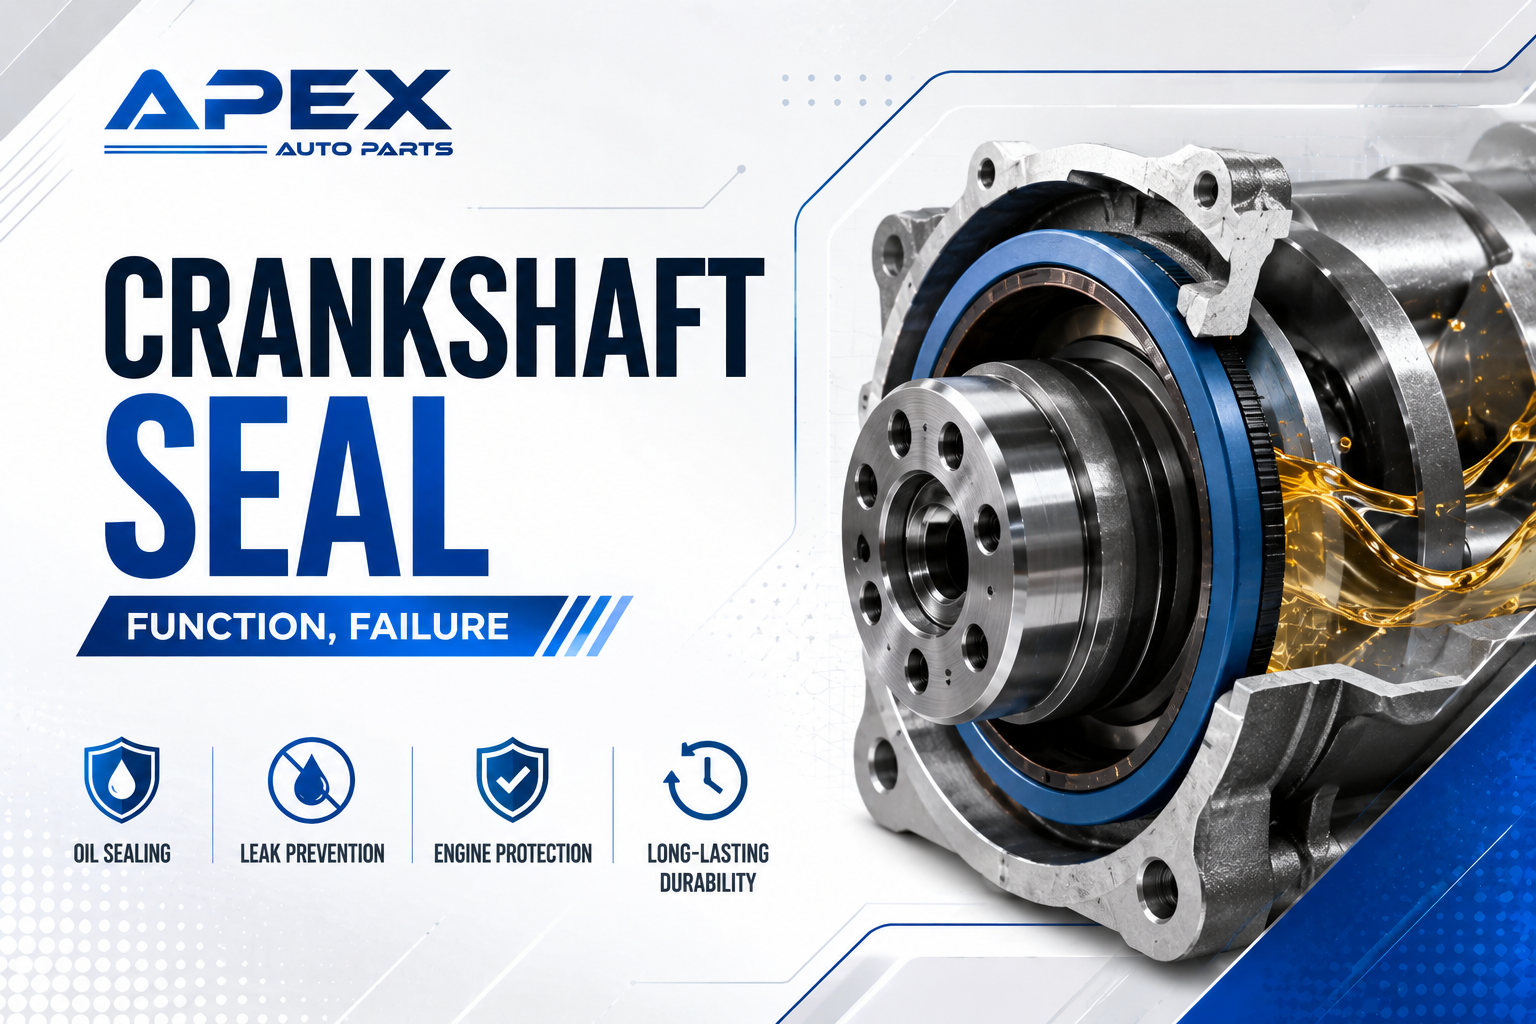
If the rear oil seal fails, the pump is in serious trouble. This is not a simple gasket swap but a sign of significant internal damage.
What Happens When the Rear Seal Blows
The rear seal keeps oil in and water out. When pressure builds from a blocked vent, oil forces past the seal. The seal overheats, dries out, and cracks. High-pressure water from the pump chamber then invades the crankcase. Water mixes with oil, destroying lubrication and causing bearings and the crankshaft to corrode. Once water enters, the damage is irreversible.
Internal Damage Signs
Disassembling a failed pump often reveals an exposed seal spring that should remain hidden. You may find a missing brass retainer that holds packing material, indicating displaced internal parts. Corroded crankshaft components show water exposure that leads to seizure. These signs mean the pump cannot be trusted even after a rebuild.
Rebuild vs Replace: The Real Cost
Rebuilding might seem cheaper, but it rarely makes financial sense for consumer-grade pumps.
Rebuild Costs
- Pistons: $85–$185
- Oil seals: $30–$35
- Packing material: $80+
- Labor: 1–2 hours of skilled work
- Total: $250–$300
Rebuilding requires disassembling the crankcase and replacing rods, bearings, and seals. It is complex and time-consuming.
Replacement Cost
- New pump: under $200
- Includes all components, pre-assembled
- Comes with a warranty
- Installs in 30–60 minutes
For DeWalt, Simpson, or similar brands using AAA pumps, a new unit beats a rebuild on cost and reliability. Only consider a rebuild if you own an industrial-grade pump with a forged crankshaft and a new unit costs over $500.
Fix a Leaking Sight Glass Properly Without Epoxy
A front oil leak is fixable if you use the right materials and methods. Many DIYers make the problem worse by using incorrect sealants.
Avoid Epoxy at All Costs
Never use epoxy gasket maker on a sight glass. It degrades when exposed to oil and heat. Within weeks, it cracks and leaks again. The O-ring is designed to seal on its own, and epoxy only interferes with this function.
Use the Right Parts
Buy a universal sight glass kit that includes tempered glass, the correct-size O-ring, and a spacer ring. These kits fit most AAA, CAT, and consumer-grade pumps effectively.
Torque Matters
Overtightening is a common mistake that causes failure. The O-ring seals when compressed, not crushed. Use a torque wrench to tighten to 3 ft-lbs minimum. Do not exceed 5 ft-lbs. Too loose causes a leak, while too tight crushes the O-ring.
Pro Tip: Oil the O-Ring
Before installing, dip the O-ring in fresh 15W-40 oil. This lubricates it during installation and prevents pinching or twisting. A well-lubricated O-ring lasts longer and seals better.
Prevent Oil Leaks Before They Start
Most oil leaks are avoidable with proper maintenance and attention to detail. Follow these best practices to protect your pump.
Always Remove the Red Plug
Before first use, remove the oil fill cap and pull out the red vent plug. Reinstall the cap immediately. Do this even if the manual is not handy. It takes 10 seconds and saves hundreds in damage.
Use Correct Oil and Level
Use 15W-40 crankcase oil, preferably non-detergent unless your manual specifies otherwise. Detergent oils can foam under pressure. Maintain the fill level at halfway on the sight glass. Overfilling increases pressure and risk of leaks, while underfilling causes overheating and seizure. Check oil before every use and top off if needed.
Inspect Regularly
Look for oil stains on the housing during each use. Clean the sight glass monthly for clear visibility. Listen for unusual noises like grinding or knocking, which mean low oil. Contractors should carry a spare sight glass kit for quick field repairs.
Store Properly
Drain water from the pump after every use. Store the unit in a dry, frost-free area. Frozen water expands and cracks internal passages, ruining the pump even after one freeze.
Troubleshoot Oil Leak Symptoms Quickly
Use this quick-reference guide to identify and act on common issues effectively.
Oil Blowing from Rear Seal
Cause: Blocked vent plug.
Clue: New pump, red plug still in, foamy oil.
Action: Remove plug. If oil leaked out or water entered, replace pump.
Oil Dripping from Front Glass
Cause: Failed O-ring or epoxy seal.
Clue: Oil on front housing, residue around glass.
Action: Replace with new kit. Clean housing. Torque to 3 ft-lbs.
Milky or Frothy Oil
Cause: Water intrusion or air mixing.
Clue: Oil looks like chocolate milk.
Action: Seal failure confirmed. Replace pump as water damage is fatal.
Low Oil with No Leak
Cause: Oil forced out internally.
Clue: No puddle, but oil level drops fast.
Action: Check rear seal. Likely due to vent blockage.
Pump Overheating or Seizing
Cause: Low oil or no lubrication.
Clue: Hot housing, grinding noise.
Action: Shut off immediately. Refill. Inspect for permanent damage.
Frequently Asked Questions About Pressure Washer Pump Leaking Oil
Can I still use my pressure washer if the pump is leaking oil?
No, you should stop using it immediately. Running the pump without proper lubrication will cause it to overheat and seize permanently. Continuing to operate the unit will turn a repairable leak into a total pump failure requiring replacement.
What kind of oil goes in a pressure washer pump?
Most pressure washer pumps require 15W-40 non-detergent crankcase oil. Using detergent motor oil can cause foaming under high pressure, leading to seal failure. Always check your specific model manual, but 15W-40 is the standard for most AAA and CAT pumps.
Why is my pressure washer pump leaking oil from the bottom?
Oil leaking from the bottom usually indicates a failed rear oil seal or a blocked crankcase vent. If the red vent plug was not removed, internal pressure forces oil past the rear seal. Check the vent plug first, then inspect the rear shaft area for signs of seal failure.
How much does it cost to fix a leaking pressure washer pump?
Fixing a front sight glass leak costs about $30 for parts. However, if the rear seal has failed due to water intrusion, rebuilding costs $250–$300. Since a new pump often costs under $200, replacement is usually the most economical choice for consumer models.
How do I know if water got into the pump oil?
Check the oil color via the sight glass or by draining a sample. If the oil looks milky, frothy, or like chocolate milk, water has contaminated the crankcase. This confirms the rear seal has breached and high-pressure water has entered the oil system.
Key Takeaways for Fixing Your Pressure Washer Pump Leaking Oil

A pressure washer pump leaking oil is usually preventable with simple pre-use checks. Removing the red vent plug before the first operation stops dangerous pressure buildup that blows out seals. Front leaks from the sight glass are easily fixed with a $30 kit and proper torque, but rear seal failure often requires full pump replacement.
Water in the crankcase is a death sentence for the pump, making replacement cheaper than rebuilding for most consumer units. Stick to 15W-40 oil, maintain the correct fill level, and inspect your unit regularly to ensure years of reliable service. Check your vent plug today to avoid costly repairs tomorrow.