How to Change Pressure Washer Nozzle
Switching cleaning tasks often requires you to change nozzle on pressure washer units to avoid damaging surfaces or wasting time. Knowing the correct removal method for your specific brand prevents high-pressure injuries and ensures your equipment lasts longer.
This guide details safe preparation steps and brand-specific techniques for Universal Homelite and Sun Joe models. You will learn how to release residual pressure select the right spray angle and troubleshoot stuck nozzles in minutes.
Prepare Your Pressure Washer for Safe Nozzle Changes
High-pressure water systems store dangerous energy even after the engine stops running. You must follow strict safety protocols before touching any connection point on your wand.
Mandatory Power and Water Shut-Off Steps
Turn off the engine or unplug the electric unit completely before starting work. Shut off the water supply at the source to prevent new water from entering the pump.
This sequence stops the machine from building pressure while you are handling the connections. Running a pump dry during this process can cause severe internal damage to seals.
How to Release Residual System Pressure
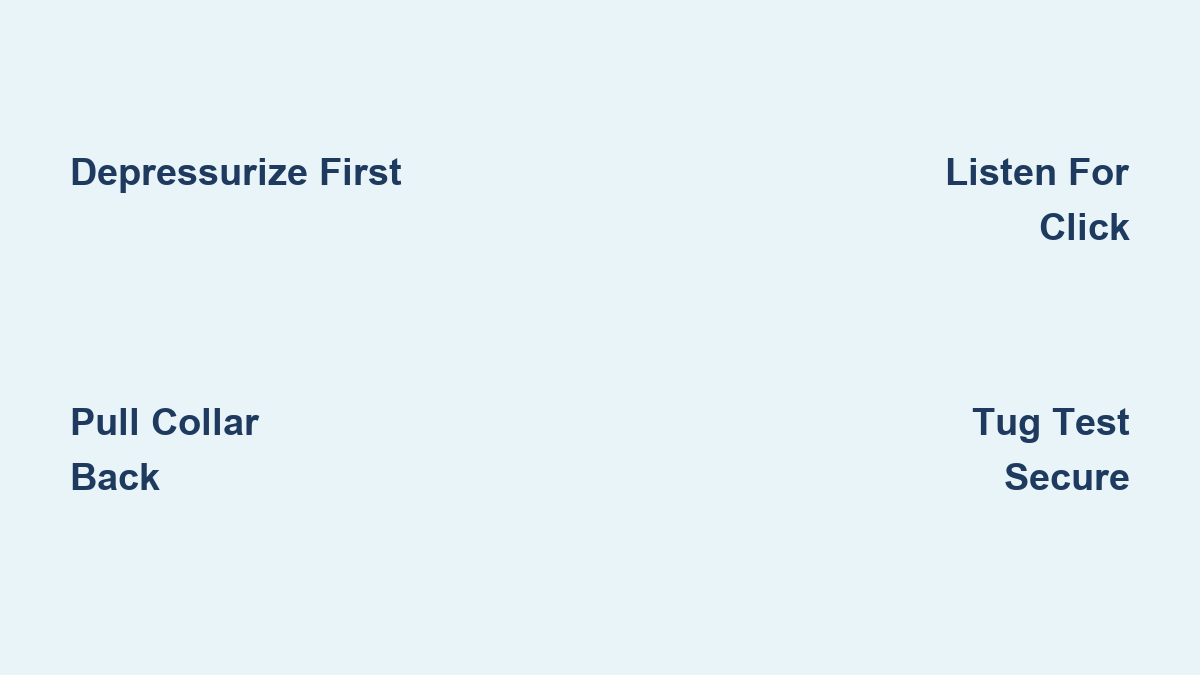
Pull and hold the trigger on your spray gun for three to five seconds to vent remaining water. You will hear a hissing sound or see a brief burst of water indicating the line is clear.
Never skip this step because a charged hose can launch a loose nozzle like a projectile. A depressurized system is the only safe state for changing tips or attachments.
Critical Safety Note: Never attempt to change a nozzle while the machine is running or the trigger is closed. Always verify the system is fully depressurized to avoid high-pressure injection injuries.
Execute the Universal Quick-Connect Nozzle Swap
Most modern pressure washers use a spring-loaded coupler system that allows tool-free swapping. This standard method works for brands like AR Blue Clean Briggs & Stratton and Generac.
How to Attach a New Nozzle Correctly
- Pull the collar back – Grip the metal or plastic sleeve at the wand tip and slide it away from the end.
- Insert the nozzle – Align the base of the new tip and push it straight into the connector housing.
- Listen for the click – Push firmly until you feel internal locking balls engage with a distinct sound.
- Release the collar – Let the spring push the collar forward to lock the nozzle in place securely.
- Perform a tug test – Gently pull on the nozzle to verify it will not detach during operation.
How to Remove a Standard Quick-Connect Nozzle
- Retract the locking collar – Pull the sleeve backward to disengage the internal locking mechanism completely.
- Pull straight out – Extract the nozzle without twisting to avoid damaging the O-ring or housing.
- Use the push-then-pull method if stuck – Push the nozzle in slightly first then pull the collar and remove it to relieve tension.
Pro Tip: Keep nozzle holes clean by using a pin or needle to clear debris. Never use metal on plastic tips as this can widen the orifice and reduce cleaning pressure.
Follow Homelite Specific Nozzle Removal Steps
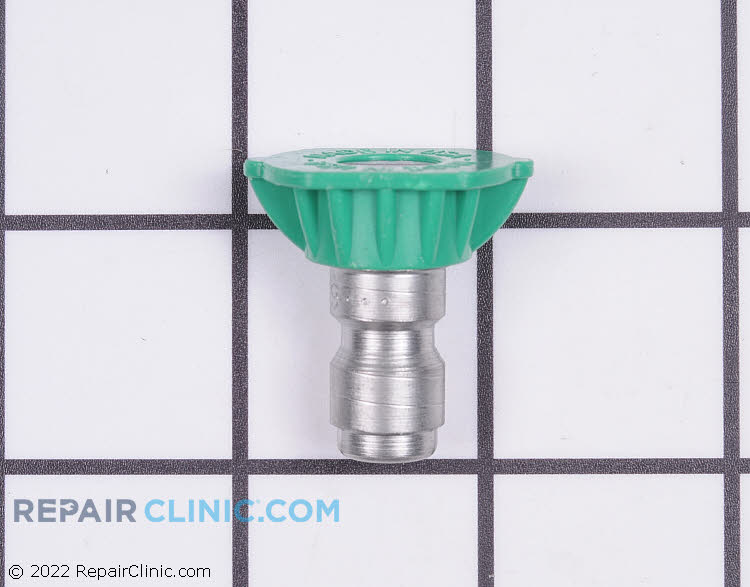
Homelite models often feature a unique metal retainer instead of a sliding collar. You must use the correct technique for part #308699012 to avoid breaking the wand.
Release the Metal Retainer Mechanism
Lift the small metal clip upward from its locked position to disengage the nozzle. If the nozzle resists removal wiggle it gently while keeping the retainer lifted.
Inspect the seat inside the wand tip for cracks or worn O-rings before installing a new part. Clean any grit from the area to ensure a tight seal for the new nozzle.
Install and Secure the Replacement Nozzle
- Insert fully – Push the replacement nozzle straight in until it bottoms out against the seat.
- Lock the retainer – Press the metal clip back down until it clicks into place over the nozzle base.
- Test before full use – Turn on the unit briefly at low pressure to check for leaks or ejection risks.
Warning: Never operate a Homelite unit without the retainer fully secured. The nozzle can blow out under pressure and cause serious injury.
Master the Sun Joe Nozzle Change Technique
Sun Joe models like the SPX3000 and SPX4000 use a brass collar with a precise grip requirement. Using the wrong hand placement can damage the mechanism or crack the tip.
Correct Grip and Removal Technique
- Rotate the wand sideways – Turn the wand to give yourself clear access to the brass collar area.
- Grip the collar only – Place your thumb on one side and index finger on the opposite side of the brass ring.
- Pull down firmly – Apply steady downward pressure to disengage the lock without touching the colored tip.
- Extract the nozzle – Keep downward pressure on the collar while pulling the nozzle straight out.
Critical Rule: Never grip the colored plastic tip during removal. This common mistake can crack the nozzle or deform the locking base permanently.
Installing Nozzles on Sun Joe Models
Insert the new nozzle straight into the wand until it sits fully seated in the housing. Release the brass collar to let it spring back up and lock the tip automatically.
Ensure the collar sits flush and the nozzle does not wobble before turning on the water. If the nozzle will not release do not force it as this can ruin the brass collar.
Choose the Right Nozzle Color for Your Task
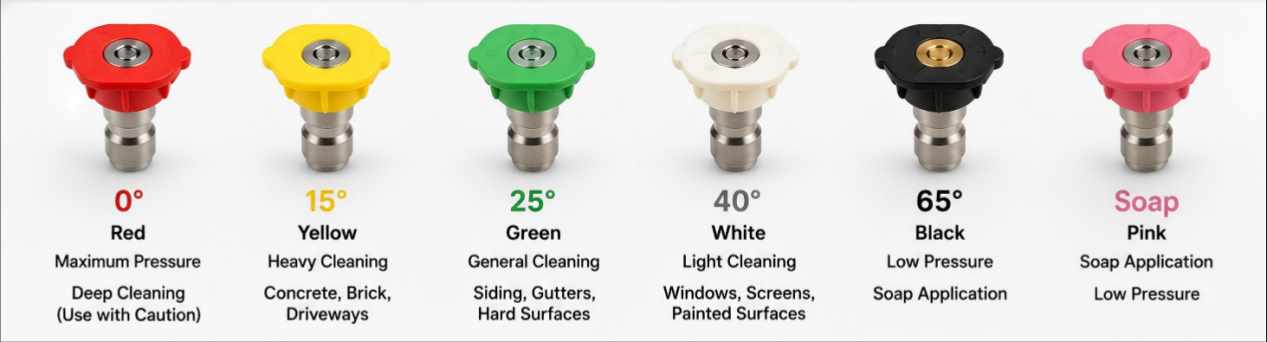
Selecting the correct spray angle improves cleaning speed and prevents surface damage during your project. Nozzles are color-coded to help you identify the right tool quickly.
Nozzle Color Code Breakdown
- Red (0°): Highest pressure pinpoint stream for stubborn rust or graffiti on durable surfaces.
- Yellow (15°): High pressure narrow fan ideal for concrete driveways and heavy grime removal.
- Green (25°): Medium pressure moderate fan suitable for siding decks and general cleaning.
- White (40°): Low pressure wide fan best for rinsing delicate surfaces and applying soap.
- Black (Soap): Lowest pressure widest pattern designed strictly for detergent application.
Expert Insight: The yellow 15° nozzle is the go-to choice for 80% of cleaning tasks. It balances reach power and surface safety better than any other option.
When to Switch Nozzles During Cleaning
Start with the 40° white nozzle or black soap nozzle to wet surfaces and apply cleaner safely. Switch to the 25° green or 15° yellow nozzle for scrubbing and rinsing away dirt.
Reserve the 0° red nozzle only for spot treatment on tough stains. Never use the red tip on wood paint or vehicles as it will cut through the material instantly.
Install Surface Cleaner Attachments Efficiently
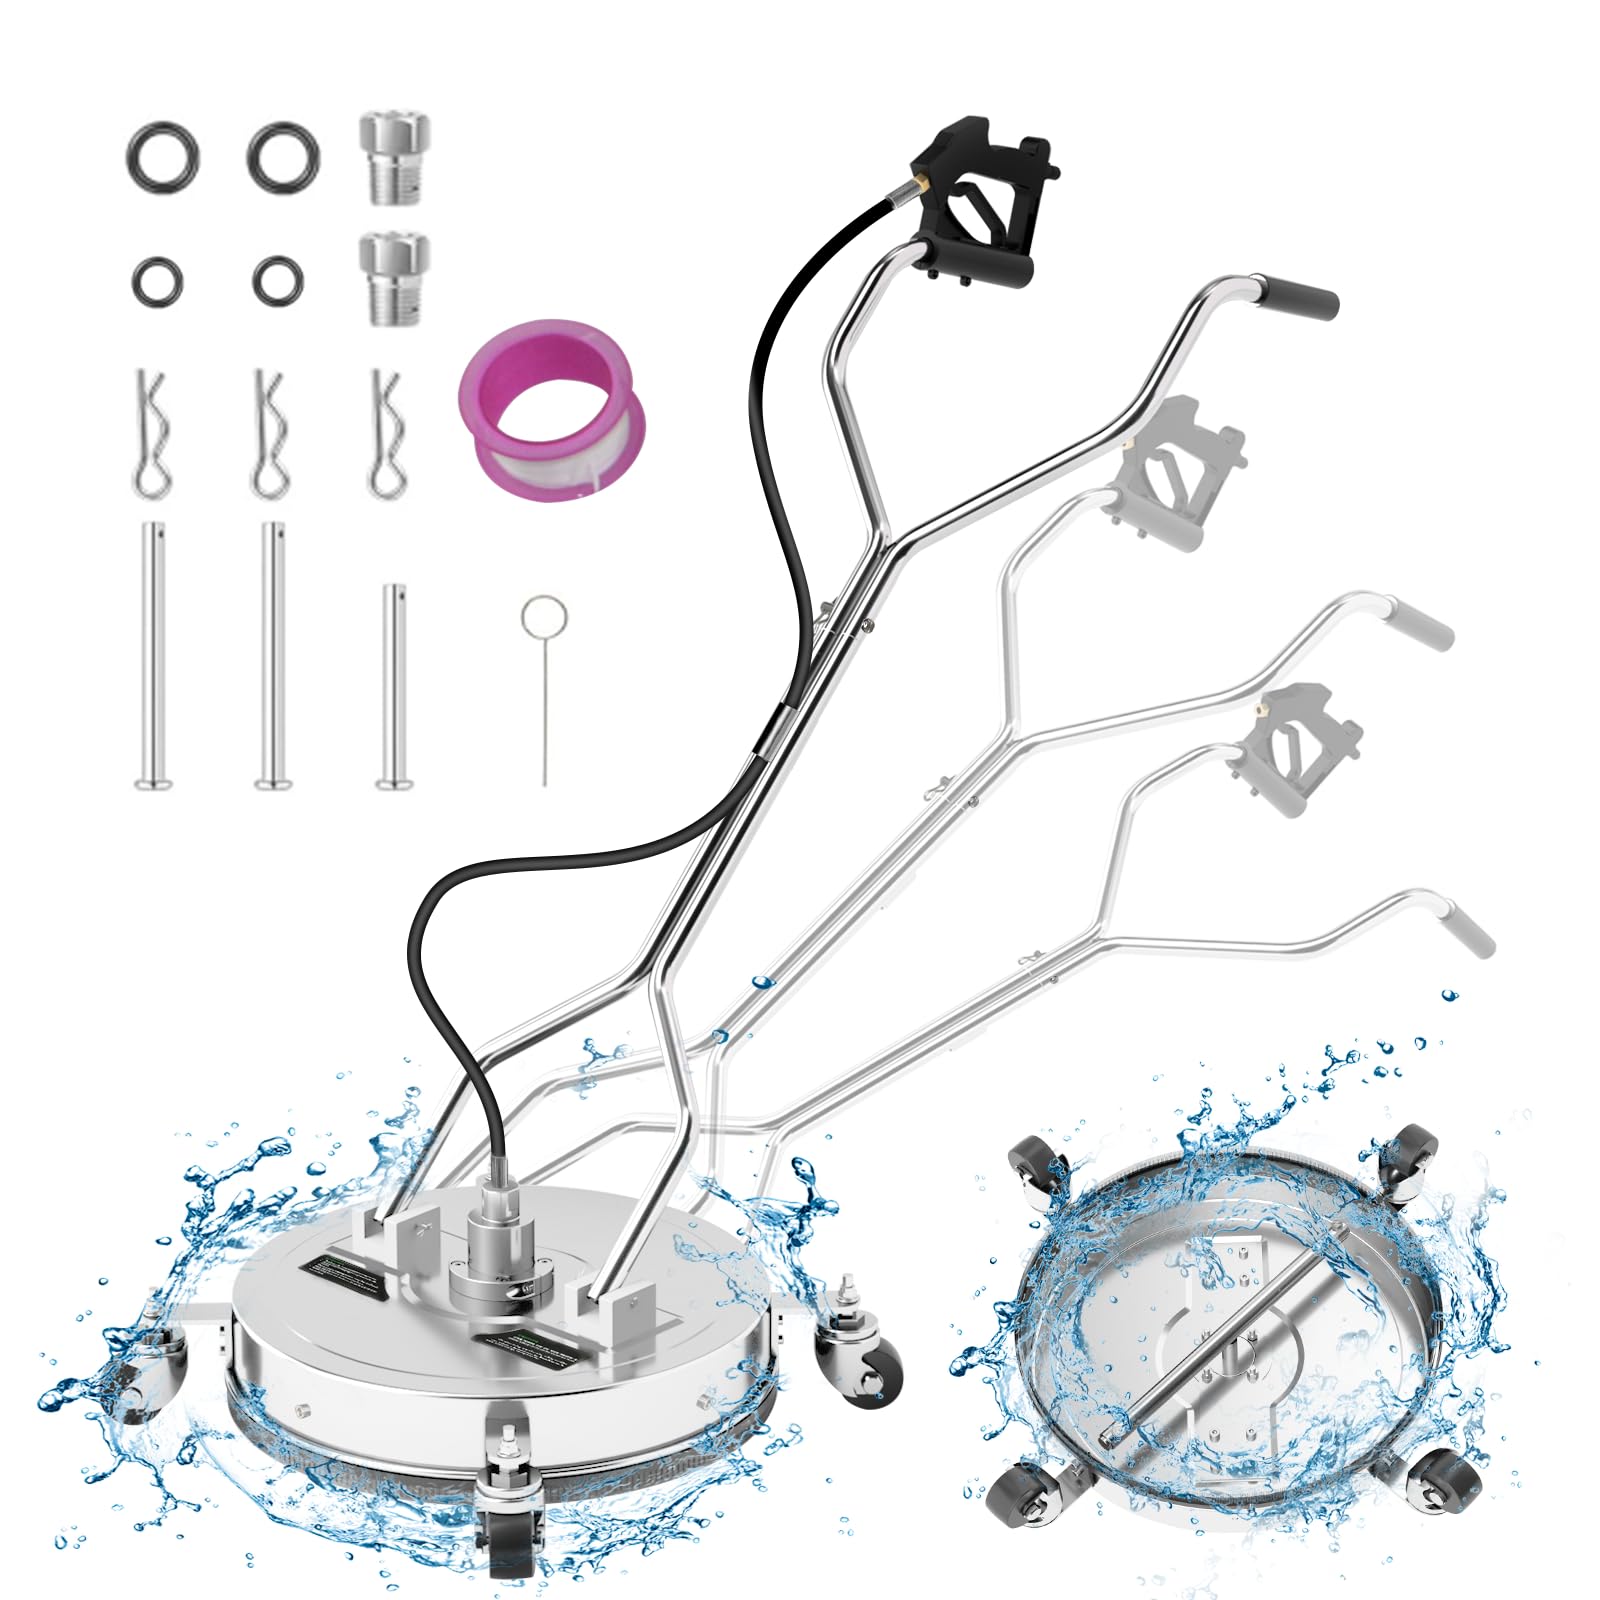
Large flat areas clean faster with a surface cleaner attachment than with a standard wand. These units prevent streaking and reduce overall project time significantly.
Quick-Connect Installation Steps
- Depressurize the system – Follow the same safety steps used for changing nozzles.
- Pull the collar back – Retract the coupler on the wand tip to open the housing.
- Insert the connector – Push the male connector of the surface cleaner in until it clicks.
- Release and verify – Let the collar snap forward and tug the unit to confirm it is locked.
Time Saver: A 13-inch surface cleaner can cut driveway cleaning time by 50% compared to using a wand alone.
Usage Tips for Surface Cleaners
Keep the unit moving constantly to avoid etching lines into your concrete or pavement. Use models compatible with 15° or 25° internal nozzles for optimal performance.
Never use a 0° red tip inside a surface cleaner as it can destroy the housing. The concentrated stream will damage the internal components and reduce the life of the attachment.
Troubleshoot Common Nozzle Connection Problems
Even with proper technique you may encounter issues like stuck nozzles or leaking connections. These quick fixes will help you resolve problems without professional help.
Nozzle Won’t Come Out of the Wand
Try the push-then-pull method by pushing the nozzle in slightly before pulling the collar. For Sun Joe models ensure you are pulling the brass collar down rather than pressing the sides.
Clean the coupler with vinegar or a soft brush if dirt or calcium buildup is jamming the mechanism. Debris often prevents the locking balls from retracting fully.
Leaking at the Connection Point
Re-seat the nozzle by pulling it out and reinstalling it until you hear a solid click. Check inside the coupler for grit or damaged O-rings that might prevent a tight seal.
Replace worn parts immediately if leaks persist after reseating. A cracked O-ring or damaged nozzle base will not hold pressure safely.
Nozzle Feels Loose After Installation
Perform a tug test after every install to ensure a secure fit. A loose fit means the locking mechanism has not engaged completely.
Inspect the coupler for worn springs or damaged locking balls if the problem continues. You may need to replace the wand tip assembly if the internal components are worn out.
Maintain Nozzles for Long Term Performance
Proper care extends nozzle life and maintains consistent cleaning performance over time. Regular maintenance prevents costly replacements and equipment failure.
Clean After Every Use
Rinse nozzles with clean water to remove detergent residue and mineral deposits. Soak them in white vinegar for 10 minutes monthly if you live in a hard water area.
Inspect O-Rings Regularly
The small rubber ring at the base creates the water-tight seal essential for operation. Replace the nozzle if the ring is cracked flattened or missing entirely.
Store Properly to Prevent Damage
Keep nozzles in a dry labeled case or holder to prevent loss or damage. Avoid tossing them in a toolbox where they can get dented or lost easily.
Pro Tip: Label nozzles with tape if colors fade over time. A faded red 0° nozzle can be mistaken for a safer 40° tip leading to costly surface damage.
Frequently Asked Questions About Pressure Washer Nozzles
How often should I change my pressure washer nozzles?
You do not need to change nozzles regularly unless they are damaged or worn. Inspect them before each use and replace them if the spray pattern becomes uneven or the O-ring is cracked.
Can I use a 0-degree red nozzle on my driveway?
You can use a red nozzle on concrete but only for stubborn spots like oil stains or graffiti. Using it on the entire surface increases the risk of etching and damage so switch to yellow for general cleaning.
Why does my nozzle keep falling off during use?
This usually happens if the nozzle is not pushed in far enough to hear the click. Ensure you pull the collar back fully insert the tip until it stops and verify the lock with a tug test.
What do I do if my Sun Joe nozzle is stuck?
Ensure you are gripping only the brass collar with your thumb and finger while pulling down firmly. Do not touch the colored tip and seek professional help if it still will not release.
Is it safe to change nozzles while the machine is running?
No it is never safe to change nozzles while the machine is running or under pressure. Always turn off the unit shut off the water and release all residual pressure before swapping tips.
Key Takeaways for Changing Your Pressure Washer Nozzle
Changing a pressure washer nozzle is simple when you follow the right safety steps and brand-specific techniques. Always depressurize the system first choose the correct spray angle for your surface and ensure a secure click before starting.
Regular maintenance and proper storage will keep your nozzles functioning perfectly for years. Grab the right tip for your job and enjoy efficient cleaning results today.