Washing Machine Clutch Repair: Quick Steps
Is your washing machine agitating but refusing to spin? Are your clothes still soaking wet after the final cycle? These are classic symptoms of a failing clutch, and you do not need a technician to fix it. With basic tools and the right steps, washing machine clutch repair is a manageable DIY project that can save you hundreds in service fees. This guide walks you through diagnosing the problem, accessing the clutch by brand, installing the replacement, and testing your work—no guesswork, no fluff.
Whether you are dealing with grinding noises during spin-up, sluggish acceleration, or complete spin failure, this step-by-step guide ensures you get your washer spinning strong again. We cover Whirlpool, Samsung, and GE models with specific procedures for each brand.
Diagnose Clutch Failure Before Buying Parts
Before purchasing any parts, confirm the clutch is actually the problem. Other washer issues can mimic clutch failure symptoms, and ordering the wrong part wastes time and money.
Check These Common Symptoms
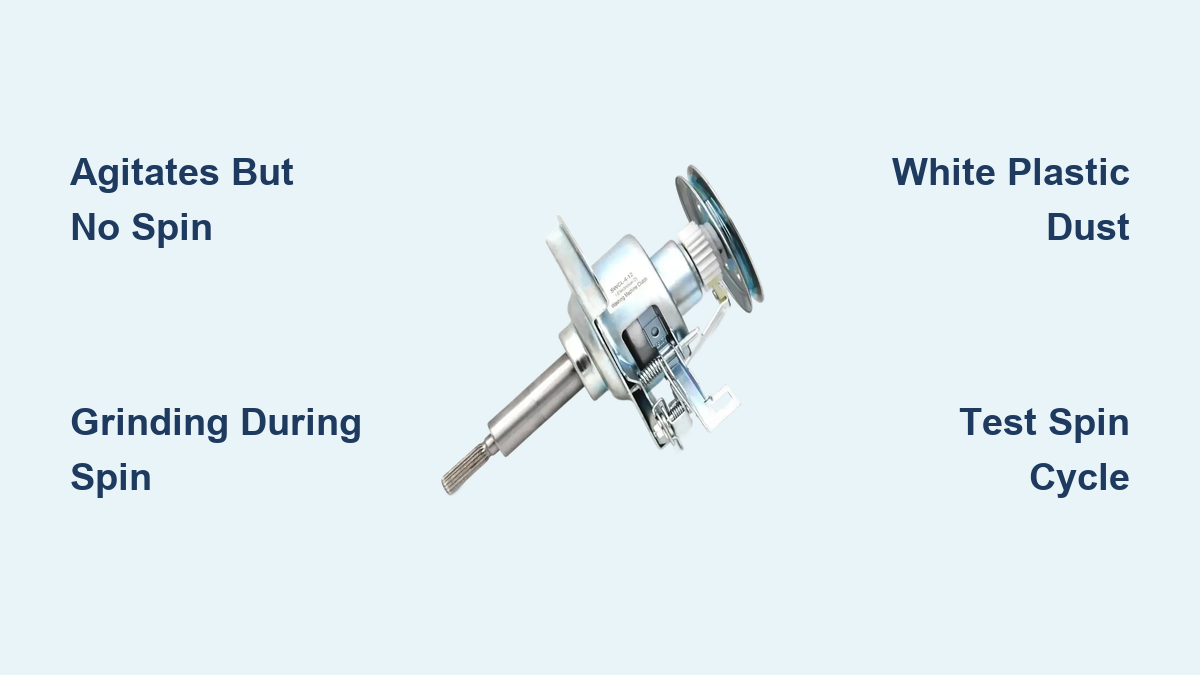
- Agitates but will not spin is the most frequent sign of clutch wear
- Clothes remain wet after the spin cycle indicates poor clutch engagement
- Grinding or thudding noise during spin-up suggests damaged clutch gears
- White plastic dust inside the cabinet points to failing clutch gears in GE models
- Sluggish spin acceleration occurs when the clutch is slipping due to internal wear
Pro Tip: Run a spin-only cycle. If the drum starts but never reaches high speed, the clutch is likely failing and needs replacement.
Rule Out Other Causes First
- Inspect the drive belt on GE models: a cracked or loose belt prevents the spin function
- Test the lid switch: if the washer will not start at all, the lid switch may be faulty
- Check motor operation: listen for humming, which indicates power is reaching the motor
- Examine tub bearings: severe wobble or rumbling may indicate bearing failure, not clutch problems
Only proceed with washing machine clutch repair if the motor runs, the belt is intact, and normal agitation works correctly.
Gather Tools and Order the Correct Part
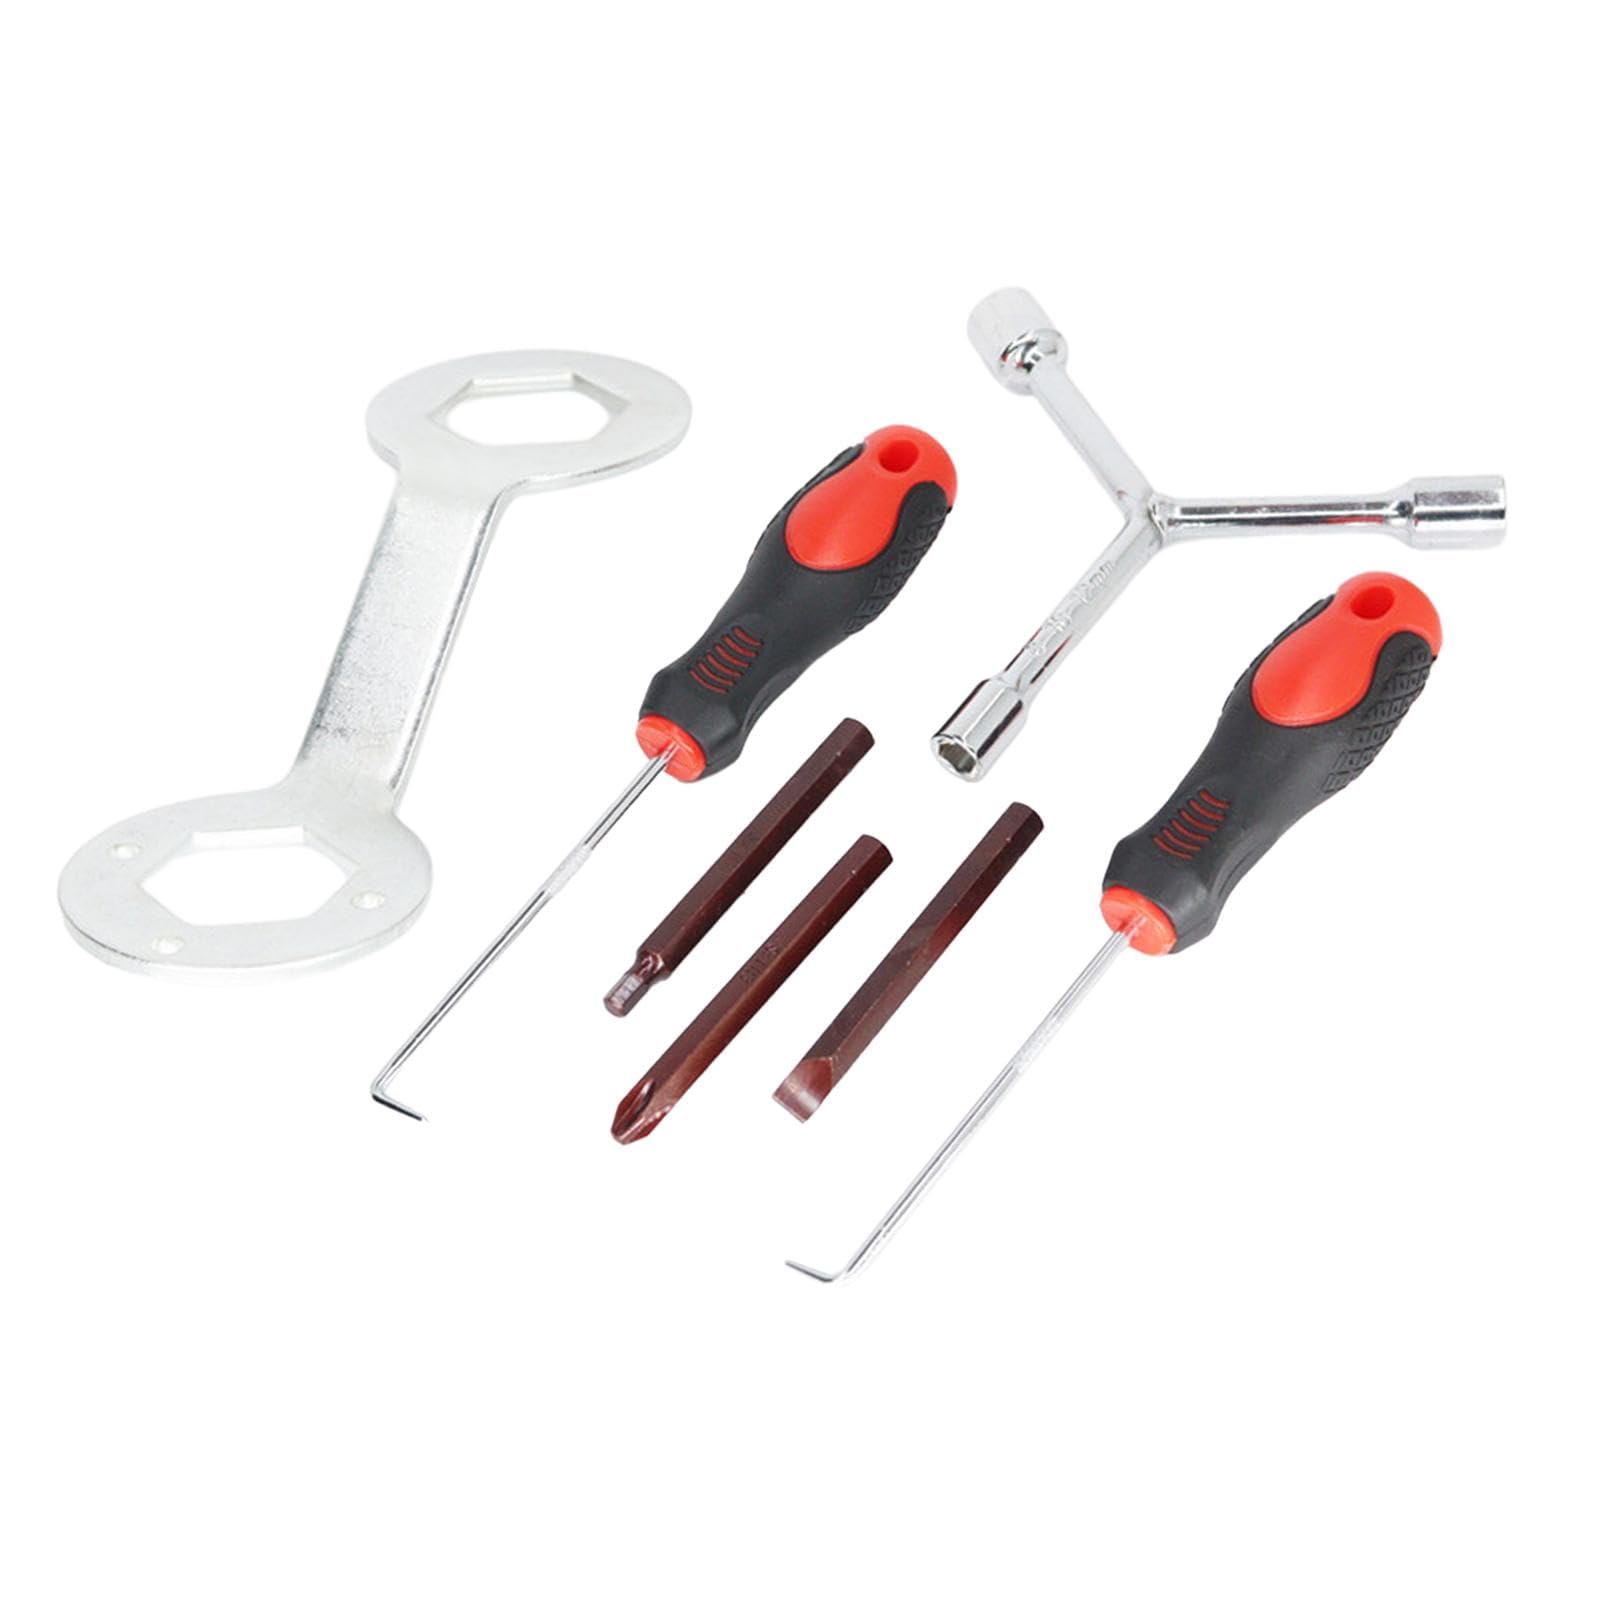
You do not need specialty tools for most clutch repairs. Everything required is standard in a home toolkit.
Required Hand Tools
- ½-inch socket with ratchet and extension
- 3/8-inch socket set
- 10 mm and 17 mm sockets
- Phillips and flat-blade screwdrivers
- Channel-lock pliers
- Pipe wrench
- ¼-inch nut driver
- Hammer
- 2×4 wooden block for impact assistance
- Electrical or masking tape for wire labeling
Save Time: Take photos with your phone before disconnecting any wires or removing parts. This simplifies reassembly significantly.
Order the Correct Clutch by Model Number
Use your washer is model number to find the exact replacement. Generic parts often fail prematurely.
| Brand | Common Part Number | Average Cost | Where to Buy |
|---|---|---|---|
| Whirlpool | 285785 | $65–$90 | AppliancePartsPros.com, RepairClinic.com |
| GE | Clutch gear (model-specific) | $40–$70 | PartSelect.com, SearsPartsDirect.com |
| Samsung | Clutch motor and linkage | $80–$120 | SamsungParts.com, AppliancePartsPros.com |
Warning: Do not guess the part number. A mismatched clutch gear or incorrect spring color will cause failure within weeks.
Access the Clutch on Whirlpool Washers
Whirlpool direct-drive models hide the clutch inside the transmission. You must remove the agitator and cabinet to reach it.
Remove Agitator and Cabinet
- Unplug the washer and shut off water valves
- Pull the washer forward and lay it on its back, using towels to protect the finish
- Pull the agitator straight up, no tools needed
- Remove the friction-fit cap on top to expose the central bolt
- Unscrew the 7/16-inch bolt securing the agitator to the shaft, holding the base to prevent spinning
- Lift out the agitator, then remove the clip and plastic base from the shaft
- Remove two Phillips screws at the rear of the console
- Tilt the console forward, then flip it over the back panel
- Unplug the lid-switch harness and disconnect any wire clips
- Release front cabinet clips with a flat-blade screwdriver
- Lift the cabinet off the base frame
The transmission and clutch are now visible from underneath.
Access the Clutch on Samsung Washers
Samsung clutch components sit under the spin basket. You will need to remove the pulsator, rotor, and outer tub.
Remove Pulsator and Tub
- Unplug the washer and tape the lid shut
- Lay the machine on its back
- Remove the 17 mm rotor mounting nut using a socket and ratchet, then lift off the rotor
- Pry off the pulsator cap with a flat-blade screwdriver
- Unscrew the 10 mm pulsator bolt and lift out the plate
- Use a pipe wrench and hammer to turn the tub nut clockwise to loosen it
- Remove four 10 mm bolts at the base of the outer tub
- Lift the tub assembly to expose the clutch motor and linkage
Check the clutch arm: it should move freely. Stiffness means replacement is needed.
Access the Clutch on GE Washers
GE belt-driven models expose the clutch gear once you remove the top cover, belt, and pulley.
Remove Belt and Pulley
- Unplug the washer and tilt it backward
- Remove the top cover using a 3/8-inch socket
- Pull down and rotate the drive belt to release tension, then remove it
- Loosen the 9/16-inch pulley nut while holding the pulley steady with a wrench
- Remove the pulley from the transmission shaft
Look for white plastic powder inside the housing: this confirms clutch gear wear and confirms replacement is needed.
Replace the Whirlpool Clutch Assembly
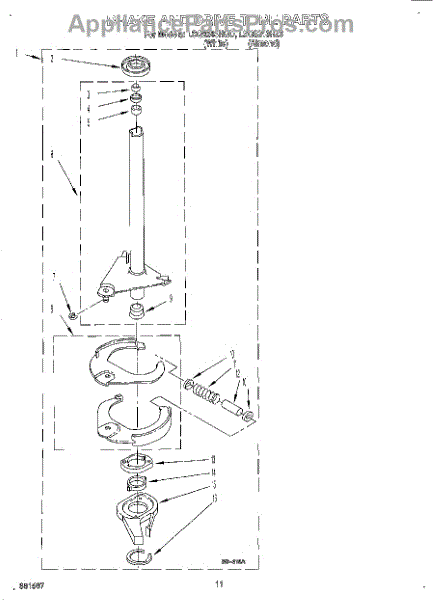
The Whirlpool clutch (part #285785) slides onto the transmission shaft. Follow these steps carefully.
Remove the Old Clutch
- Disconnect the pump and motor: lift pump clips and pull pump off the motor shaft, then unplug the motor harness
- Remove two ¼-inch hex screws holding the pump retaining clips
- Lift the motor away from the transmission
- Unscrew three ½-inch transmission bolts
- Disconnect the wire harness from its clip
- Pull the transmission straight out
Disassemble and Replace
- Slide off the thrust washer
- Pry off the E-clip with a flat-blade screwdriver
- Remove the retaining spring by lifting and sliding it off
- Slide the old clutch off the shaft
Install the New Clutch
- Snap the anti-rattle nylon clip into the back of the new clutch
- Seat the new retaining spring: hook the end into the clutch body and press under the flange
- Install the E-ring using channel-lock pliers, aligning with shaft slots
- Replace the brake cam driver included in the kit: align pins with transmission holes and secure with new E-ring
Critical: Match the spring color to the original. Wrong spring causes brake drag and poor spin performance.
Replace the Samsung Clutch Motor and Linkage
Samsung uses an electric motor to engage the clutch. Replace the entire assembly.
Remove the Clutch Motor
- Unplug clutch motor wires using a Phillips screwdriver
- Remove two mounting screws and the pin behind the link
- Lift the motor out and rotate the linkage off the clutch arm
- Feed the cable through and disconnect
Extract and Install the Clutch
- Disconnect clutch wires by pinching back the tabs
- Push the clutch out, tapping gently with wood and hammer if stuck
- Insert the replacement clutch ordered by model number
- Secure with 10 mm bolts
- Reconnect all wires and snap the link clip back into place
Test Movement: Manually move the clutch arm up and down. It should move smoothly without resistance.
Replace the GE Clutch Gear and Spring
The plastic clutch gear wears out over time. Replace it along with the spacer and spring.
Remove the Worn Gear
- Remove the shift actuator using a 3/8-inch socket
- Pull off in order: clutch gear, then clutch spring, then spacer
- Keep the spring and spacer for reuse with the new gear
Install the New Gear
- Slide the spacer and spring onto the transmission shaft
- Press new clutch gear onto the splines, ensuring full seating
- Reinstall the shift actuator: align locating pins and tighten bolts securely
- Replace the pulley and tighten the 9/16-inch nut while holding the pulley to prevent tub spin
- Reroute the drive belt, seating it in the upper groove of both pulleys
Verify Alignment: The belt should run straight without rubbing on the housing.
Reassemble and Test Your Washer
Reassembly is as important as disassembly. One missed clip or wire connection can prevent the washer from working.
Whirlpool Reassembly Steps
- Reinstall the transmission: align shaft with basket tube, slide in fully, and tighten three ½-inch bolts
- Reconnect the wire harness through the clip
- Attach the rubber drive coupling to motor and transmission
- Reconnect the motor by wiggling into position and reattaching mounting straps
- Reinstall the pump by aligning the shaft and snapping legs into place
- Route pump wires and secure in the clip
Reattach Cabinet and Agitator
- Stand the washer upright
- Align cabinet tabs with base slots and tuck front edge under the cross-rail
- Lift until locked into place
- Reconnect the lid-switch harness, listening for the audible click
- Reinstall console screws without over-tightening plastic inserts
- Reinstall the agitator by pressing onto the shaft, tightening the 7/16-inch bolt, and replacing the cap
Samsung Reassembly Tips
- Reattach the stator with 10 mm bolts
- Install the rotor and tighten the 17 mm nut
- Reconnect the clutch motor link to the arm
- Replace the pulsator plate and cap
- Turn the washer upright
- Tighten the tub nut counter-clockwise to lock the basket
Warning: Removal was clockwise but reinstallation is counter-clockwise. Getting this wrong causes severe wobbling.
GE Final Steps
- Align the top cover properly
- Reinstall the 3/8-inch bolts
- Ensure the bottom bolt secures the ground wire
- Return the washer to a level floor position
Test the Repair Thoroughly
Never skip testing. A short cycle reveals problems before you close everything up.
Run a Spin-Only Cycle
- Reconnect power and water
- Attach the drain hose securely
- Select the spin cycle or short wash
- Observe for smooth agitation, fast spin-up, high-speed spinning, and complete drainage
Listen for Problems
- Grinding indicates gear misalignment or debris
- Clicking indicates a loose clip or E-ring
- No spin indicates the clutch is not engaging, requiring you to check the spring or linkage
If Issues Persist: Double-check wire connections, clutch seating, and the tub nut direction on Samsung models.
Prevent Future Clutch Failure
A new clutch lasts 8 to 12 years if you protect it from common causes of premature wear.
Avoid These Costly Mistakes
- Overloading strains clutch engagement and accelerates wear
- Using the wrong detergent creates excess vibration that damages components
- Operating an unlevel washer causes uneven stress on mechanical parts
- Ignoring white powder on GE models: this is an early warning sign of gear wear
Annual Maintenance Checklist
- Inspect for plastic dust around the pulley during routine cleaning
- Clean under the washer to prevent debris buildup
- Tighten any loose bolts or clips discovered during cleaning
Know the Cost Comparison
Replacing a clutch yourself saves $150 to $250 in labor costs.
| Repair Type | Part Cost | Professional Labor | Total Professional |
|---|---|---|---|
| DIY Parts Only | $40–$120 | $0 | $40–$120 |
| Professional Repair | $40–$120 | $150–$250 | $190–$370 |
Even with parts, DIY totals under $100, compared to $300 or more at a repair shop.
Final Checklist: Did You Do It Right?
- Power and water disconnected before starting
- Photos taken of wiring and component layout
- Correct clutch part installed by model number
- All clips, springs, and E-rings securely in place
- Lid-switch harness reconnected with audible click
- Tub nut tightened in the correct direction on Samsung models
- Belt properly seated on GE models
- Test cycle completed with dry clothes
If all boxes are checked, your washing machine clutch repair is complete and successful.
Frequently Asked Questions About Washing Machine Clutch Repair
How do I know if my washing machine clutch is bad?
The most common signs include agitation without spinning, wet clothes after the spin cycle, grinding or thudding noises during spin-up, and on GE models, white plastic powder inside the cabinet. Run a spin-only cycle to confirm: if the drum starts but never reaches high speed, the clutch needs replacement.
Can I replace a washing machine clutch myself?
Yes, with basic tools and careful attention to the steps. Most repairs take 1.5 to 3 hours depending on experience. Taking photos before disassembly is critical for successful reassembly. Over 90% of DIY attempts succeed when proper documentation is maintained.
How much does a washing machine clutch cost?
Whirlpool clutch assemblies cost $65 to $90, GE clutch gears cost $40 to $70, and Samsung clutch motors cost $80 to $120. Professional labor adds $150 to $250, making DIY repair significantly cheaper.
What happens if I do not replace a bad clutch?
The washer will continue to perform poorly, leaving clothes wet and requiring longer drying cycles. Eventually, the clutch will fail completely, and the spin function will stop entirely. Continuing to use a failing clutch can damage other components.
How long does a new clutch last?
A properly installed clutch typically lasts 8 to 12 years under normal use. GE clutch gears may fail earlier, around 5 to 7 years, due to plastic construction. Avoiding overloading and keeping the washer level extends clutch life significantly.
What is the difference between Whirlpool, Samsung, and GE clutch systems?
Whirlpool uses a direct-drive system with an integrated clutch and transmission. Samsung uses an electric clutch motor with mechanical linkage. GE uses a belt-driven system with a replaceable plastic clutch gear on the transmission shaft. Each requires different access and replacement procedures.
Key Takeaways for Successful Washing Machine Clutch Repair
Washing machine clutch repair is one of the most cost-effective DIY appliance fixes when done correctly. The most critical steps are diagnosing the problem accurately by ruling out other causes, ordering the correct part by model number, and taking photos before disassembly to simplify reassembly. Each brand requires a specific procedure: Whirlpool involves removing the transmission, Samsung requires removing the tub nut counter-clockwise, and GE requires belt and pulley removal. Test the repair with a spin cycle before finishing, and maintain your washer by avoiding overloading and keeping it level. With this approach, you restore full spin performance and extend your washer is life for years to come.