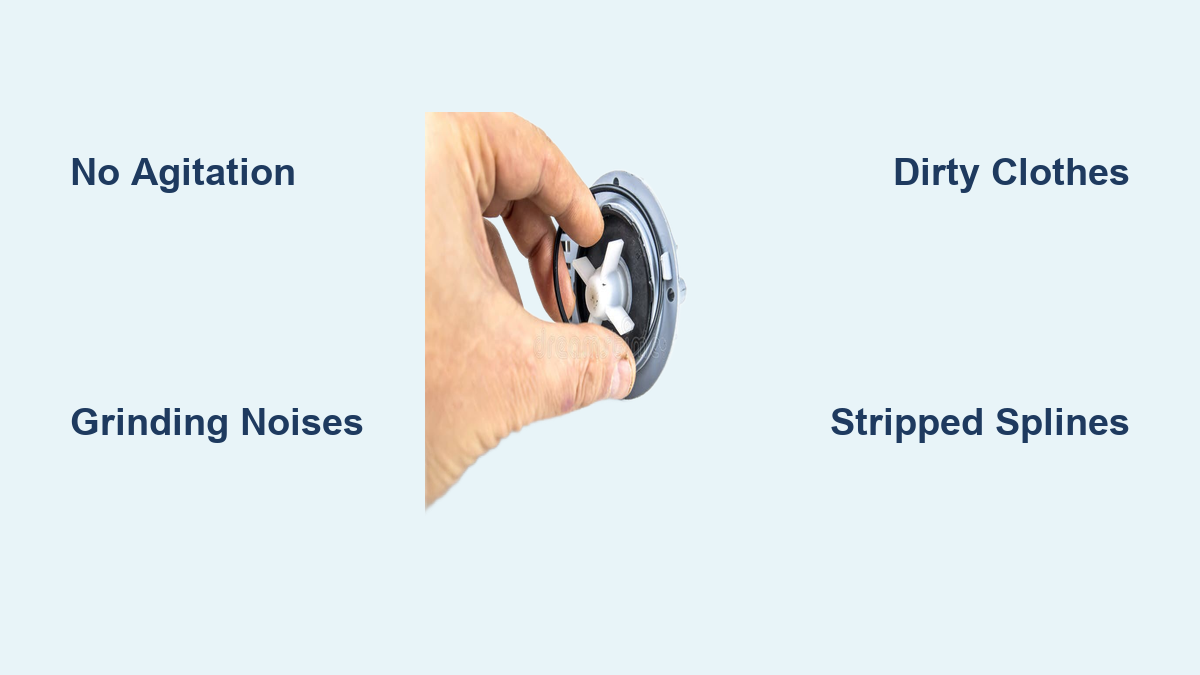
Washing Machine Impeller Repair: Quick Steps
If your washing machine runs but clothes come out dirty, the issue may lie with the washing machine impeller. This small but vital component drives water movement in many top-loading high-efficiency models. When it fails, agitation stops, leaving laundry soaked but unclean. The good news is most impeller problems are diagnosable and repairable at home with basic tools. Whether you are dealing with a stripped hub, a missing bolt, or a jammed unit, this guide walks you through every step to restore full cleaning power.
You will learn how to identify failure signs, remove and replace the impeller safely, avoid common mistakes, and prevent future issues. With clear steps and expert-backed diagnostics, you will be back to clean laundry in under an hour.
Spot Impeller Failure Fast
Recognizing impeller problems early prevents further damage and repeated wash cycles. These telltale signs point directly to impeller trouble.
Motor Runs But No Agitation
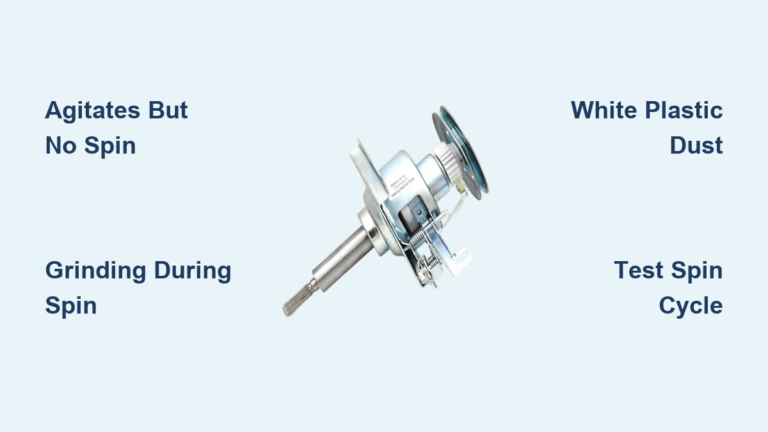
The drum fills, the motor hums, but the clothes do not move. If the impeller is not spinning during the wash cycle, the connection between it and the drive shaft is likely broken. Common causes include a missing mounting bolt, stripped internal teeth, or a seized drive system. Even if the motor works, no torque transfer means no cleaning.
Grinding or Rattling Noises
Metal-on-plastic grinding, fast clicking, or loud knocking during agitation often means debris is trapped under the impeller or the splines are worn down. As the impeller slips on the shaft, damaged plastic teeth grind against metal, creating sharp, repetitive sounds. These noises worsen over time and can lead to complete disengagement.
Clothes Float or Stay Dirty
When laundry floats on top of the water without submerging or swirling, the impeller is not generating turbulence. This lack of circulation stems from impeller slippage, blockage, or blade damage. Without proper water movement, detergent does not activate and soils are not rinsed away, no matter how long the cycle runs.
Diagnose the Real Problem
Before tearing anything apart, confirm the issue is not elsewhere. Use these quick checks to isolate impeller failure.
Check for Obstructions First
Power off and unplug the machine. Remove the center cap from the impeller using a flat-head screwdriver. Look underneath for coins, buttons, socks, or hairpins. Even a small object can jam rotation or cause imbalance. Lift the impeller slightly. If it is blocked, removing the debris may fully resolve the issue.
Pro tip: Keep a small bowl nearby when removing the impeller. Loose coins often fall into the tub and are hard to retrieve later.
Test Impeller Spin Resistance
With the machine off, manually rotate the impeller. It should turn smoothly with slight resistance. If it spins too freely, like it is disconnected, it is likely stripped or not secured. A wobbly or loose feel suggests the central bolt is missing or loose.
Confirm Drive Shaft Movement
If the impeller spins freely but the drive shaft does not, the internal connection is broken. You will need to remove the impeller to inspect the splines. If the shaft turns when the motor runs but the impeller does not, stripped teeth are the culprit.
Remove the Impeller Safely
Impeller removal is simple on most models but tricky if it is stuck. Follow these steps carefully.
Remove Center Cap and Bolt
Use a flat-head screwdriver or pocket knife to gently pry off the center cap. Underneath, you will find a single central mounting bolt, typically 7/16 inch, 1/2 inch, or 3/8 inch hex. Use a socket wrench to loosen and remove it. Set the bolt aside in a safe place.
Warning: Never skip unplugging the machine. Even a momentary power surge can activate the motor and cause injury.
Lift the Impeller Straight Up
Grasp the impeller firmly and pull straight upward. It should slide off the drive shaft with moderate pressure. If it comes off easily, inspect the underside for wear, cracks, or debris.
Handle a Seized Impeller
In about 30 percent of cases, especially on older units, the impeller fuses to the shaft due to mineral buildup or corrosion. If it will not budge, apply gentle leverage using two padded pry bars on opposite sides to lift evenly. Try a hook tool or puller. A small gear puller or appliance hook tool can grip the edge and apply steady force. Avoid hammering. Excessive force can damage the transmission or drum.
Extreme case: If the impeller breaks during removal, you may need to split the outer housing to access the shaft. Work slowly to avoid metal fragments falling into the pump.
Inspect for Damage and Wear
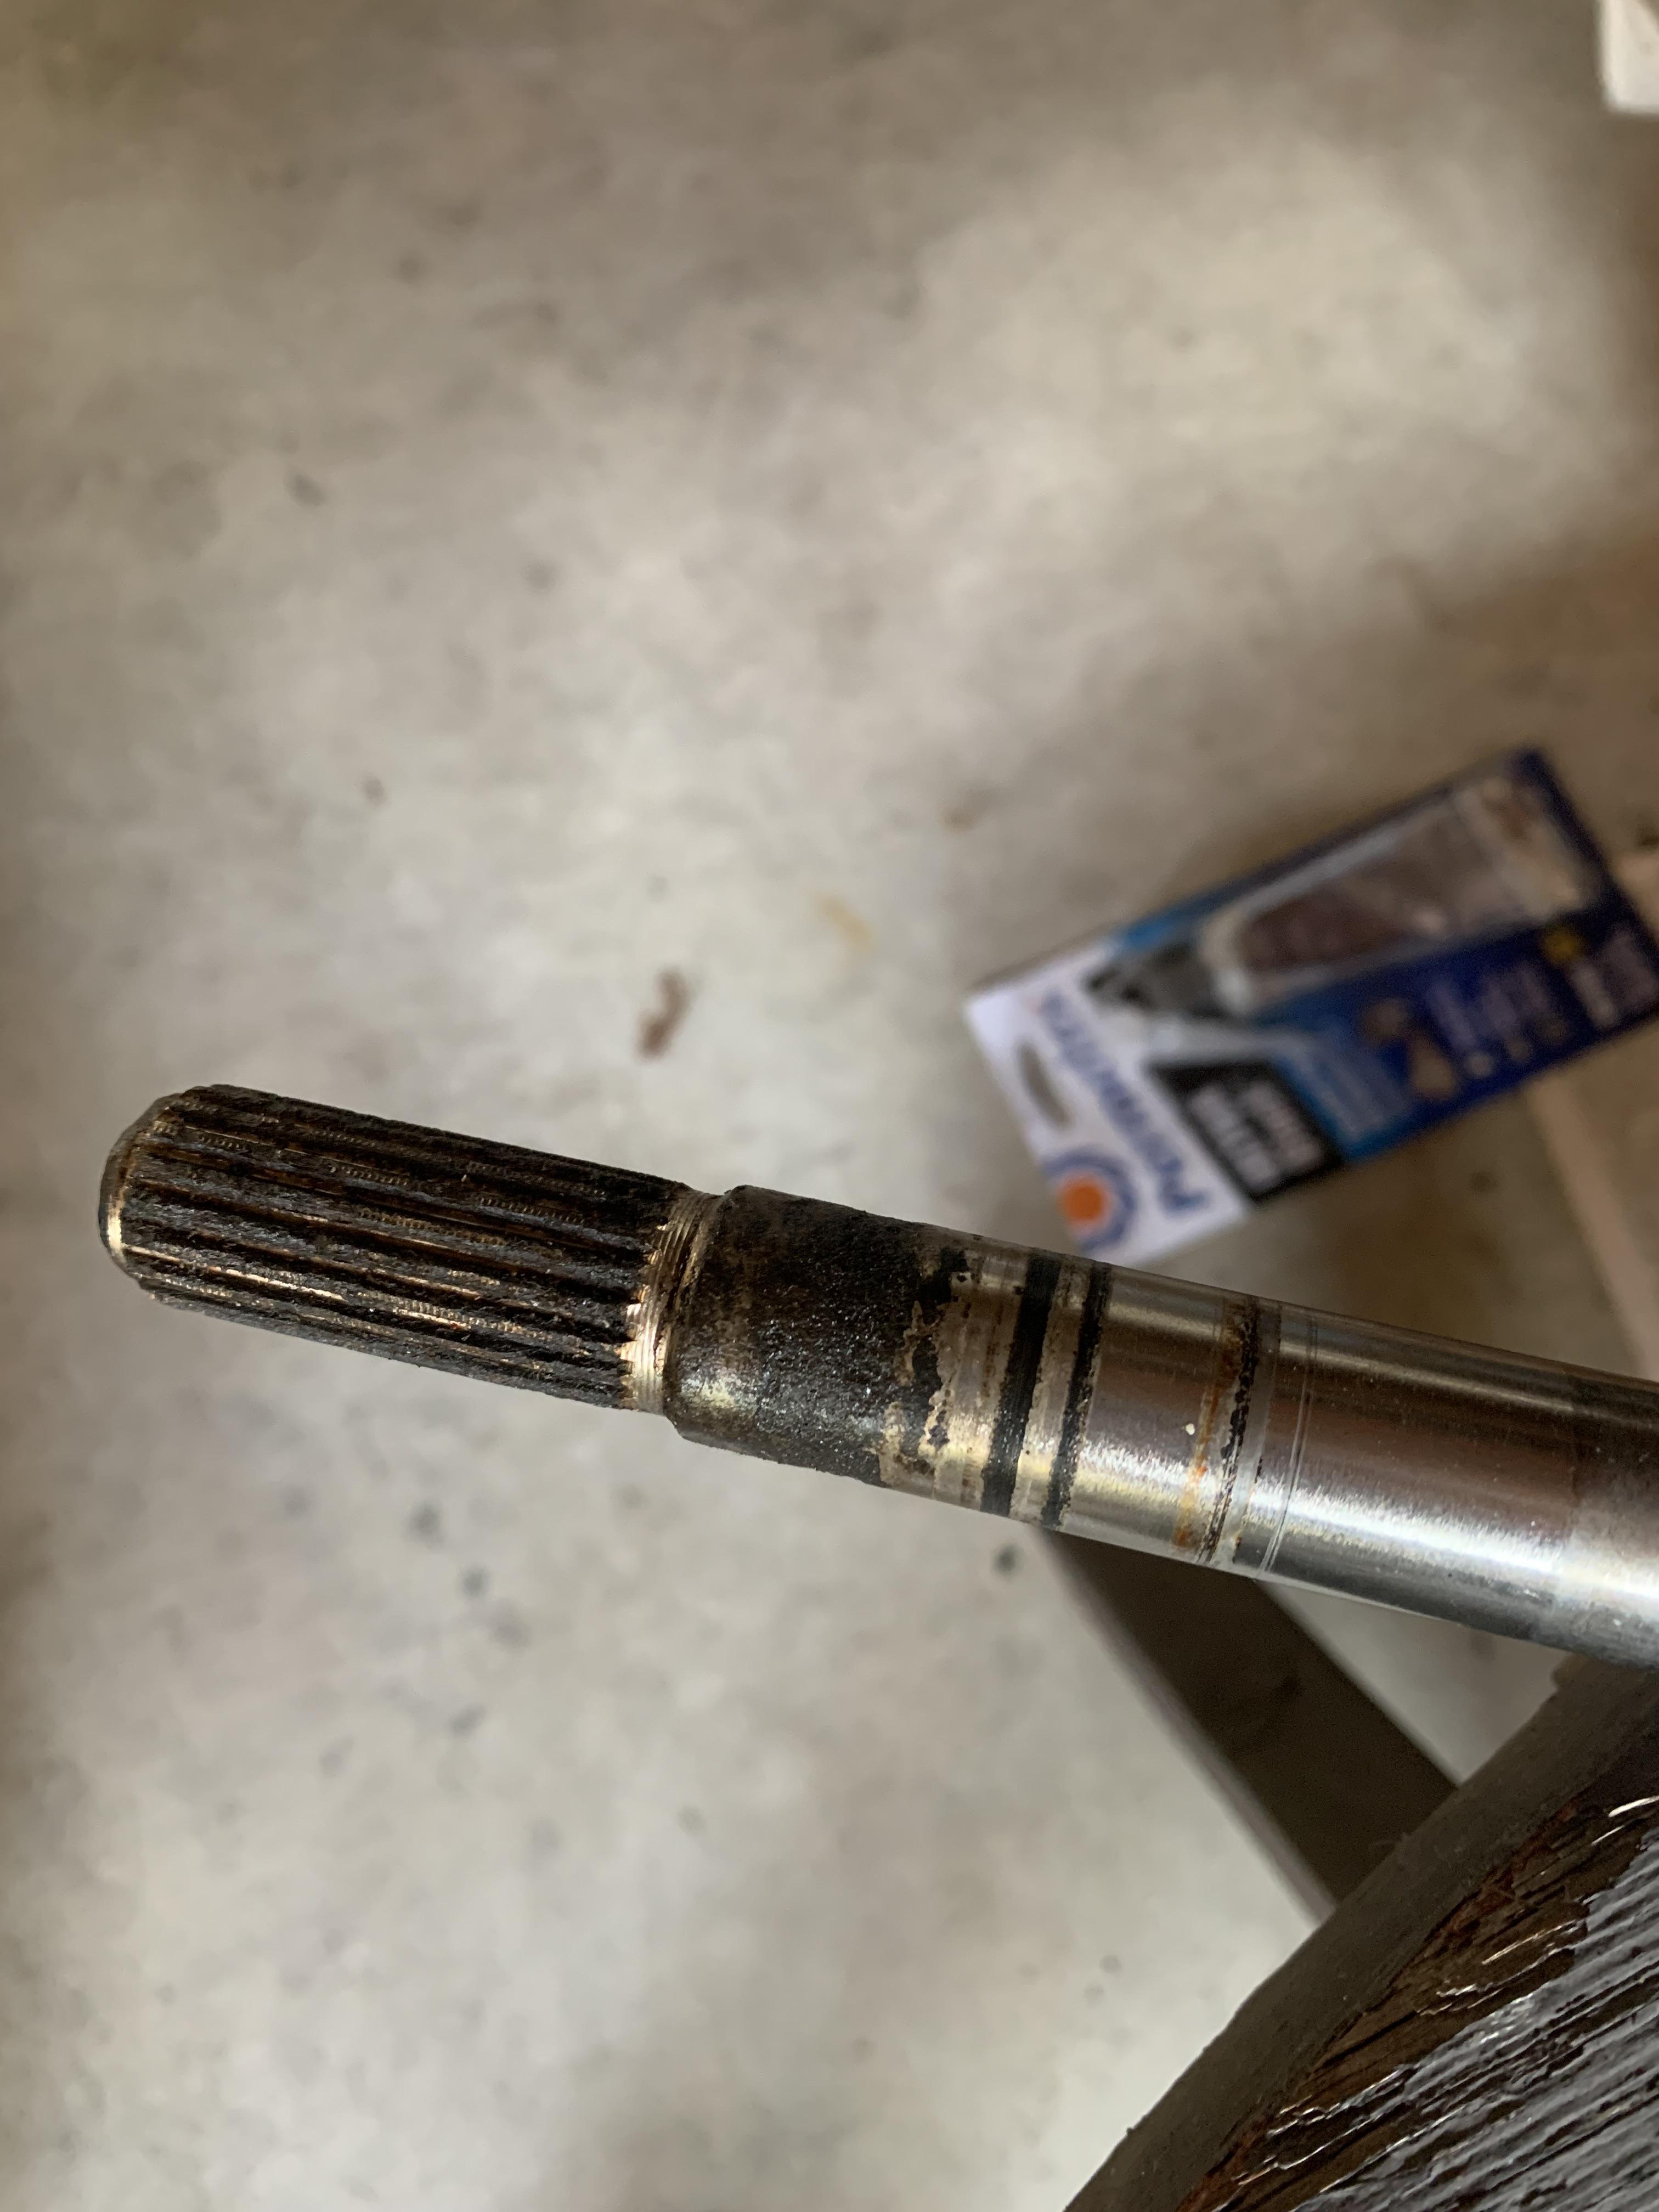
Once removed, examine the impeller closely. The root cause is usually visible.
Check Internal Splines for Stripping
Flip the impeller over and inspect the inner teeth or grooves that connect to the drive shaft. Look for rounded or flattened edges, missing teeth, or cracks near the hub. If the splines are smooth or worn down, the impeller slips instead of rotating. This is the most common failure mode, especially in budget models with low-quality plastic.
Real-world insight: Users report that 90 percent of impeller issues trace back to stripped splines or a missing bolt, not motor failure.
Look for Blade Damage
Cracked, warped, or broken blades reduce water flow and cause imbalance. Even one damaged fin disrupts turbulence. Replace the impeller if blades show structural compromise.
Verify Mounting Bolt Presence
Many failures, especially in Criterion washers sold at Menards, occur because the central bolt was missing from the start or loosened over time. If the bolt is gone, the impeller gradually slips until it stops working entirely.
Case example: A user reported repeated impeller detachment after washing a comforter. The machine was new, but the bolt had never been installed. Replacing it solved the issue.
Install the New Impeller Correctly

A proper installation prevents future failures. Use OEM parts and follow these steps.
Choose the Right Replacement
Always match the model number and spline configuration. While universal impellers exist, they may not fit securely. OEM parts from trusted suppliers ensure compatibility with Whirlpool, Maytag, Kenmore, LG, and Samsung models.
Slide On and Secure
Align the new impeller with the drive shaft and press it down firmly. Reinstall the central bolt and tighten securely with a socket wrench. Do not overtighten. Hand-tight is usually sufficient unless the manual specifies torque.
Snap Cap Back In Place
Reattach the center cap by pressing it until it clicks. Ensure it is seated evenly to avoid imbalance during spin cycles.
Test and Verify Performance
After reassembly, run a test cycle to confirm the fix.
Run a Diagnostic Wash
Load a few towels or rags. Never run the machine empty. Start a normal cycle and watch through the lid. The impeller should spin consistently with no grinding or rattling. Clothes should swirl and submerge.
Check Drainage and Output
After the cycle, verify that water drains completely within 2 to 3 minutes. Laundry should come out clean, not soiled or smelly. There should be no wobbling or vibration.
Performance benchmark: A repaired impeller should restore original cleaning power, especially in machines older than 5 years.
Prevent Future Failures
Even a new impeller can fail prematurely without proper care. Follow these maintenance habits.
Clean Monthly
Remove the impeller every 4 to 6 weeks if accessible and wash it with warm, soapy water. Use a soft brush to clean grooves and blades. Rinse and dry before reinstalling.
Run Maintenance Cycles
Every 1 to 2 months, run an empty cycle with 1 cup white vinegar or a commercial washing machine cleaner. This dissolves detergent buildup, mildew, and mineral deposits that can gum up the impeller area.
Avoid Overloading
Bulky items like comforters, rugs, or wet towels strain the impeller-to-shaft connection. Respect the manufacturer load limits. Overloading is a top trigger for bolt loosening and spline wear.
Inspect the Bolt Periodically
After heavy loads, check that the central bolt is still tight. A loose bolt leads to slippage, noise, and eventual detachment.
Know When to Call a Pro
Most impeller repairs are DIY-friendly, but not all.
Seek Help If
The impeller is seized and will not budge despite using proper tools. Leaks appear after reinstallation, which may indicate a damaged tub seal. Electrical issues persist, like no motor hum or tripped breakers. The drain pump fails or the transmission is suspect.
Consider Replacement Over Repair
If your washer is over 8 to 10 years old and repair costs exceed 50 percent of a new unit price, replacement may be smarter. Some budget models, like the Criterion, are prone to recurring impeller issues due to weak fasteners and low-grade plastics.
Quick Repair Checklist
Unplug the machine. Turn off water supply. Remove center cap and mounting bolt. Lift out old impeller, using a puller if stuck. Inspect splines and blades for wear. Clean impeller seat and surrounding area. Install new impeller straight onto shaft. Tighten mounting bolt securely. Snap cap back into place. Restore power and water. Run test cycle to verify performance.
Frequently Asked Questions About Washing Machine Impeller Repair
How do I know if my washing machine has an impeller instead of an agitator?
Top-loading high-efficiency washers typically use impellers instead of traditional agitators. You can identify an impeller by looking through the lid. It appears as a low-profile rotating hub at the bottom center of the drum without a central post with fins.
Can I replace a washing machine impeller myself, or do I need a professional?
Most impeller replacements are DIY-friendly and take 20 to 45 minutes with basic tools. However, if the impeller is seized and will not budge, or if you lack confidence working with appliances, calling a professional is advisable.
What causes a washing machine impeller to stop spinning?
The most common causes are stripped internal splines, a missing or loose central mounting bolt, foreign object obstructions, or normal wear over time. Motor failure is rarely the culprit.
How much does it cost to replace a washing machine impeller?
A replacement impeller typically costs under 50 dollars. Professional labor adds 150 to 300 dollars or more. DIY repair offers significant savings.
How often should I clean my washing machine impeller?
Clean the impeller every 4 to 6 months, or more frequently if you notice debris accumulation, unusual noises, or reduced cleaning performance.
Is it worth repairing an older washing machine impeller, or should I replace the whole machine?
If the washer is over 8 to 10 years old and repair costs exceed half the price of a new unit, replacement is more economical. Consider the machine overall condition and repair history before deciding.
Key Takeaways for Successful Impeller Repair
The washing machine impeller is a small part with a big job. When it fails, cleaning performance drops fast. But with the right knowledge, most repairs take 20 to 45 minutes and cost under 50 dollars. By understanding failure signs like no agitation, grinding noises, or dirty laundry, you can quickly diagnose the problem. Removing and inspecting the impeller reveals whether stripped splines, a missing bolt, or debris is to blame. Always use OEM replacement parts and ensure the central bolt is properly secured. Regular maintenance, including monthly cleaning and avoiding overloading, extends impeller life significantly. Address early warning signs promptly to avoid complete failure and keep your washer running like new, cycle after cycle.