Pressure Washer Not Working? Quick Fix Guide
You pull the starter cord on your pressure washer expecting a powerful spray, but the machine just sputters or refuses to start at all. This scenario is incredibly frustrating, yet a pressure washer not working is usually caused by a simple issue you can fix yourself. Most failures stem from fuel problems, water flow restrictions, or air trapped in the pump rather than catastrophic mechanical failure.
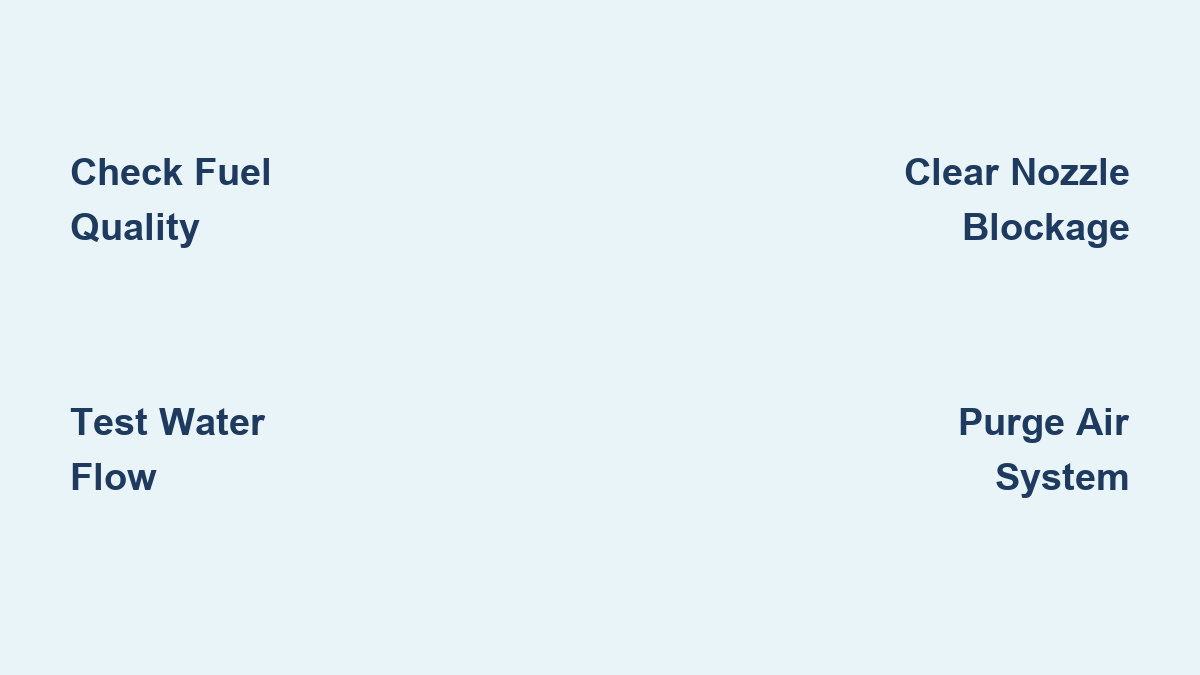
This guide walks you through every critical checkpoint to get your machine running again in under thirty minutes. You will learn how to diagnose fuel issues, clear water blockages, and repair pump problems using steps backed by expert troubleshooting data. By following these specific instructions, you can avoid costly repairs and restore your cleaning power quickly.
Verify Fuel Quality and Engine Oil Levels
A lack of proper fuel or oil is the most common reason an engine fails to start or runs poorly. Contaminated fuel or low oil levels can stop your machine before it even turns over.
Confirm Fresh Fuel Supply
Ensure the fuel valve is open and the engine switch is in the “On” position. You must use fresh gasoline because fuel older than thirty days can gum up the carburetor and prevent ignition. Fill your tank with clean, ethanol-free gas if possible to avoid moisture buildup that harms small engines.
Inspect Oil Level and Color
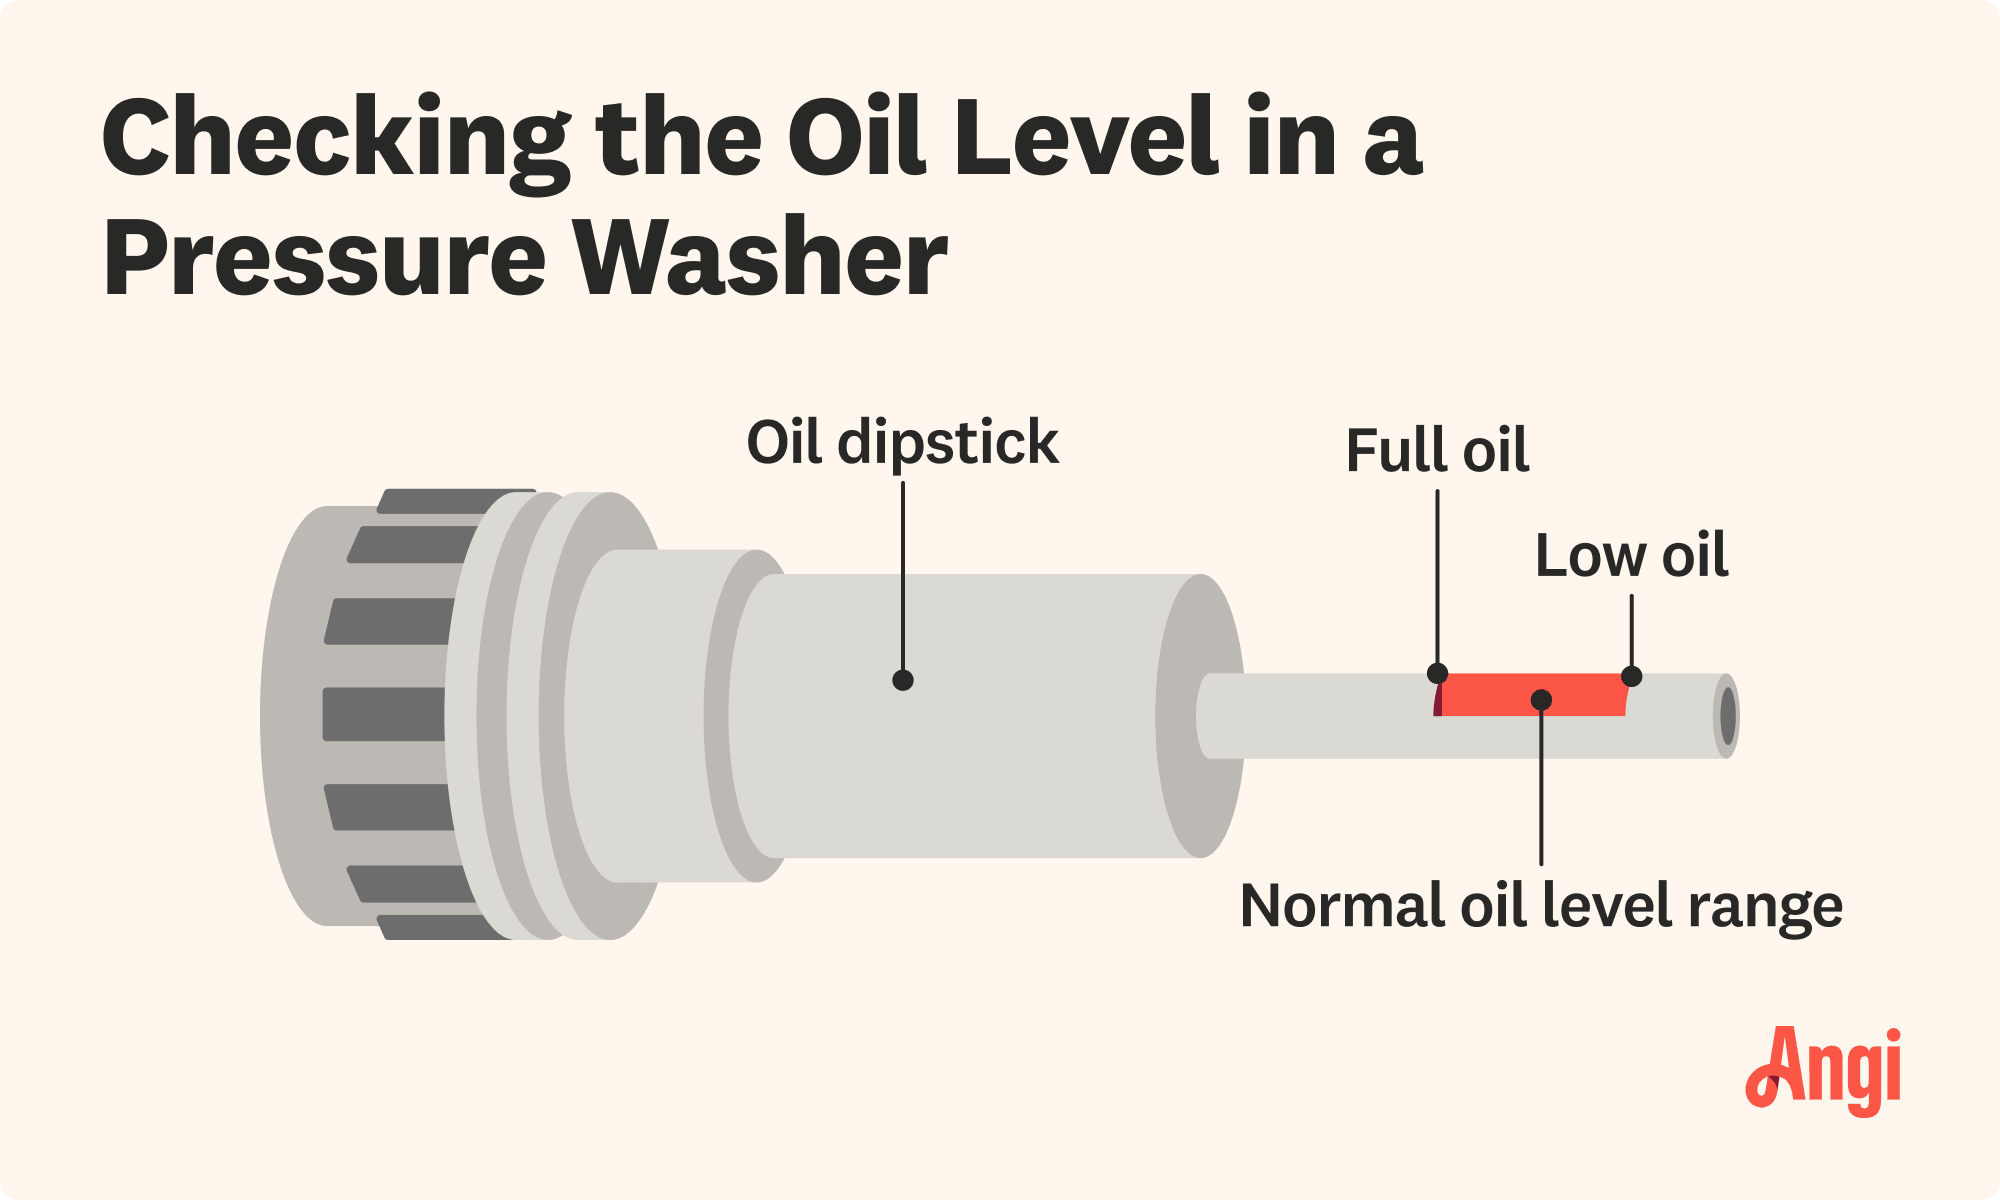
Check the oil dipstick to ensure the level reaches the full mark and the fluid looks amber. If the oil appears milky, water has mixed with it, which indicates a potential pump seal failure. Black or gritty oil requires an immediate change to prevent engine damage.
Examine Fuel Line Condition
Trace the fuel line from the tank to the carburetor looking for kinks, cracks, or blockages. A pinched hose starves the engine of the fuel it needs to run. Replace the line immediately if it feels brittle or shows signs of clogging.
Ensure Adequate Water Supply and Flow

Inadequate water supply is a leading cause of a pressure washer not working correctly. Without enough water volume, the pump cannot build the necessary pressure.
Test for Minimum Water Flow
Your machine requires at least 5 gallons per minute from the source to function properly. Time how long it takes to fill a 5-gallon bucket, and if it takes longer than one minute, your water pressure is too low. Try connecting to a different spigot or use a shorter, wider garden hose to improve flow.
Inspect Inlet Hose Connections
Use a dedicated high-flow garden hose that has no kinks, bulges, or leaks. Ensure the hose connects tightly to both the faucet and the pressure washer inlet to prevent air from entering the system. A loose connection introduces air bubbles that reduce flow and damage the pump.
Clean the Water Inlet Filter
Locate the mesh filter at the washer’s water inlet and remove it to rinse under running water. Sediment or debris clogs this filter quickly, restricting water flow and potentially causing pump damage. Clean this component every few uses, especially if you draw water from a well.
Clear Nozzle and Spray Gun Blockages
Even with perfect fuel and water, a clogged nozzle or faulty spray gun can make it seem like your unit is broken. These small components often trap debris that stops operation.
Remove Debris from Nozzle Tips
Remove the spray wand tip and inspect the tiny orifice for dirt, sand, or mineral deposits. Use a paperclip or a specialized nozzle cleaning tool to dislodge any blockages gently. Never use a sharp metal pick that could scratch the hole, as this ruins the spray pattern and reduces pressure.
Test Performance with Different Nozzles
Try using a wider-angle tip like a 40-degree nozzle to see if pressure returns. Narrower tips require more force and are more prone to blockages, so switching tips helps isolate the issue. If only specific nozzles work, the others likely need cleaning or replacement.
Inspect Spray Gun for Damage
Check the trigger gun for cracks, leaks, or worn seals that could prevent pressure buildup. If the trigger does not latch or water leaks from the handle, you should replace the gun immediately. A faulty gun stops the system from building pressure even if the pump works fine.
Diagnose Pump Problems and Leaks
The pump is the heart of your machine, and failure here often means the pressure washer is not working at full capacity. Listening to the machine and checking for leaks reveals critical internal issues.
Listen for Abnormal Pump Noises
A loud knocking or screeching sound often means air is trapped in the pump or oil levels are low. A completely silent pump may indicate the engine is not engaging the crankshaft, while a whining noise suggests worn valves.
Check for External Leaks
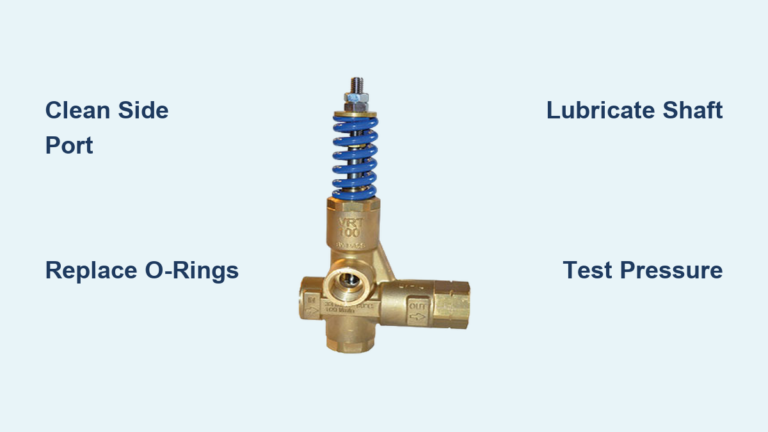
Look closely at the pump housing for any water dripping from seals or fittings. Wetness near these areas indicates a failed O-ring or cracked manifold that needs attention. Left unattended, these leaks lead to total pressure loss and eventual pump failure.
Test Pump Suction Capability
Remove the high-pressure hose and turn on the water to see if the pump pulls water freely. Pull the trigger and watch for flow, as no water movement suggests a blocked inlet filter or internal obstruction. This simple test helps determine if the issue is internal or external.
Inspect Oil Drain and Fill Plugs

Many users overlook the oil system’s role in pump function, yet loose plugs can cause significant operational issues. Proper maintenance here prevents water intrusion and oil loss.
Tighten Drain and Fill Plugs
Loose oil plugs can cause leaks or allow air to enter the system, so check them regularly. Use a wrench to securely tighten the oil drain plug and oil fill cap without over-tightening. Stripping the threads can create new leaks, so apply just enough torque to seal them.
Identify Milky Oil Symptoms
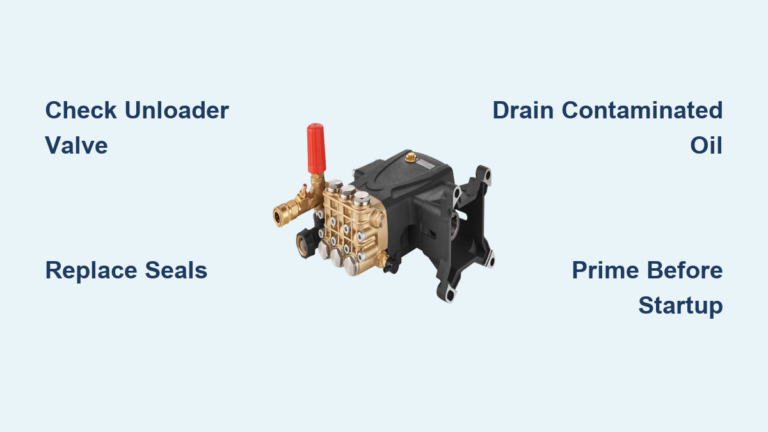
If your oil appears milky or foamy, water has entered the pump oil chamber due to blown internal seals. You must drain the oil immediately, replace the seals, and refill with fresh oil to save the pump. Run the unit briefly after repair and recheck the oil color.
Replace Worn Oil Seals
Oil seals degrade over time on older units, allowing water intrusion that damages internal components. If you frequently find water in the oil, plan a seal replacement using a kit specific to your model. Consult your manual for the correct part numbers to ensure a proper fit.
Clean Detergent Injection System
A clogged detergent system can mimic low-pressure symptoms, especially if you see no suction when using the soap nozzle. Cleaning this system restores proper chemical application.
Unclog Detergent Filter and Hose
Remove the siphon hose from the detergent tank and check the inline filter at the end. Dried soap often clogs this filter, so soak it in warm water and vinegar before scrubbing gently with a brush.
Submerge Siphon Hose Correctly
Reinstall the hose and ensure the filter end stays fully submerged in the detergent solution. If the hose is not under the liquid, it cannot create the suction needed to draw soap. Use a container tall enough to keep the filter covered during use.
Bypass Detergent to Test Pressure
Switch to a high-pressure nozzle and bypass the soap injector to see if normal pressure returns. If pressure improves, the detergent valve or injector is blocked and needs flushing. Disassemble the injector for a thorough cleaning if flushing does not work.
Purge Air from the System
Trapped air prevents pressure buildup and can damage internal components if not removed. Purging the system is a vital step before every use.
Run Gun Off for One Minute
Turn on the water and start the engine with the spray gun off to force air out of the pump. Let it run for 60 seconds to ensure the pump is fully primed with water. This step prevents cavitation and ensures consistent pressure output.
Repeat Priming if Pressure Drops
If pressure fades during use, stop the machine and re-prime the system immediately. Air can re-enter if the inlet hose loses its prime, so ensure all connections remain tight. A steady water source is essential to keep air out of the system.
Bleed Air Manually if Equipped
Some models feature a pump air relief valve that allows you to release trapped air manually. Consult your manual for the location and procedure if your machine has this feature. Using this valve can speed up the priming process significantly.
Final Inspection of Hoses and Connections
Even one loose or cracked fitting can ruin performance, so a final system check is essential. Inspecting these components ensures safety and efficiency.
Check High-Pressure Hose Condition
Inspect the coil hose for bulges, cracks, or leaks that reduce pressure and pose safety risks. A damaged hose must be replaced immediately, especially if wear appears near the fittings.
Tighten All Fittings Securely
Ensure the inlet, outlet, and wand connections are snug to prevent leaks and air entry. Hand-tighten first, then give a quarter-turn with a wrench if needed, being careful not to crack plastic fittings. Over-tightening can cause more harm than good.
Test for Internal Blockages
Disconnect hoses and flush them with water to check for debris in the manifold or check valves. If flow remains weak, disassemble carefully and clean with compressed air or a water jet. Removing internal blockages restores full system pressure.
Frequently Asked Questions About Pressure Washer Troubleshooting
Why does my pressure washer lose pressure after a few minutes?
This issue often stems from air trapped in the pump or a clogged water inlet filter. Run the machine with the gun off for one minute to purge air, and clean the inlet filter to ensure steady water flow.
Can old gasoline cause my pressure washer not to start?
Yes, fuel older than 30 days can gum up the carburetor and prevent the engine from starting. Always use fresh, clean gasoline and consider adding a fuel stabilizer if storing the machine for long periods.
What does milky oil indicate in a pressure washer pump?
Milky oil means water has entered the oil chamber, signaling blown internal seals. You must drain the oil, replace the seals, and refill with fresh oil to prevent permanent pump damage.
How do I know if my nozzle is clogged?
Remove the nozzle tip and inspect the orifice for dirt or mineral deposits that block water flow. Use a paperclip to clear debris, but avoid metal tools that could enlarge the hole and ruin the spray pattern.
Why is my pressure washer making a loud knocking noise?
A loud knocking sound usually indicates air in the pump or low oil levels. Check your oil level immediately and run the pump with the gun off to purge any trapped air.
Key Takeaways for Fixing a Non-Working Pressure Washer
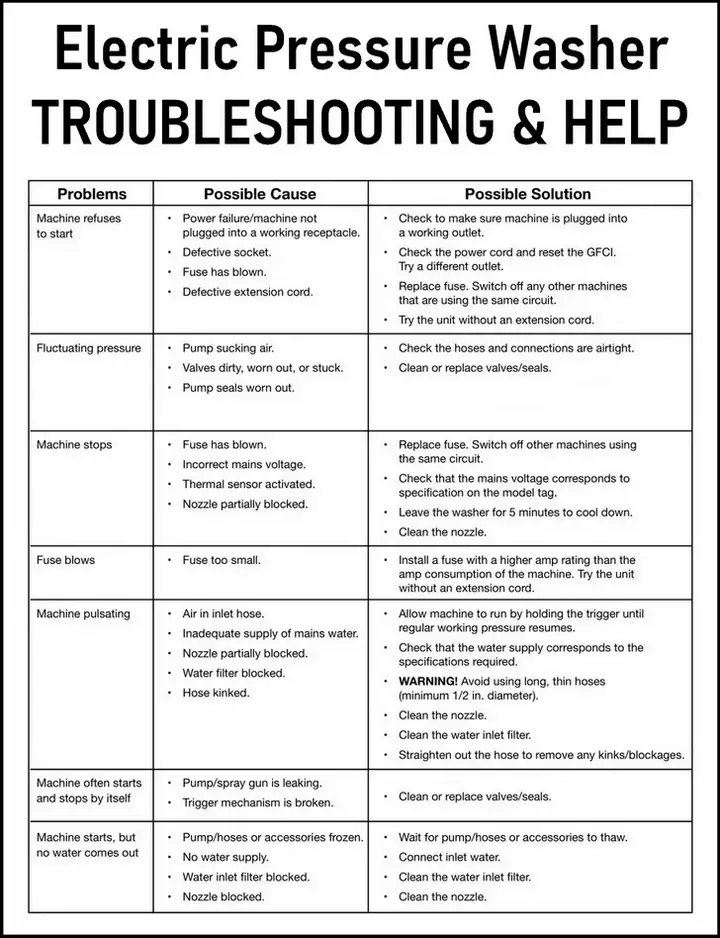
Most instances of a pressure washer not working result from simple issues like bad fuel, low water flow, or trapped air. By systematically checking your fuel quality, water supply, and pump seals, you can resolve the majority of performance problems quickly. Regular maintenance, such as cleaning filters and purging air, prevents these issues from recurring.
Take action today by inspecting your machine’s fuel and water systems before your next cleaning job. If basic troubleshooting does not restore performance, consult your manual or contact a professional for pump servicing. With proper care, your pressure washer will deliver reliable power for years to come.