How to Fix Pressure Washer Not Spraying
You pull the trigger, press the start button, and nothing happens. No spray, no pressure, just silence. A pressure washer that won’t spray is frustrating, especially when you’re halfway through cleaning the driveway or siding. The good news is that in most cases, the issue isn’t a broken pump or major mechanical failure. It’s usually a simple blockage or supply issue you can fix in minutes.
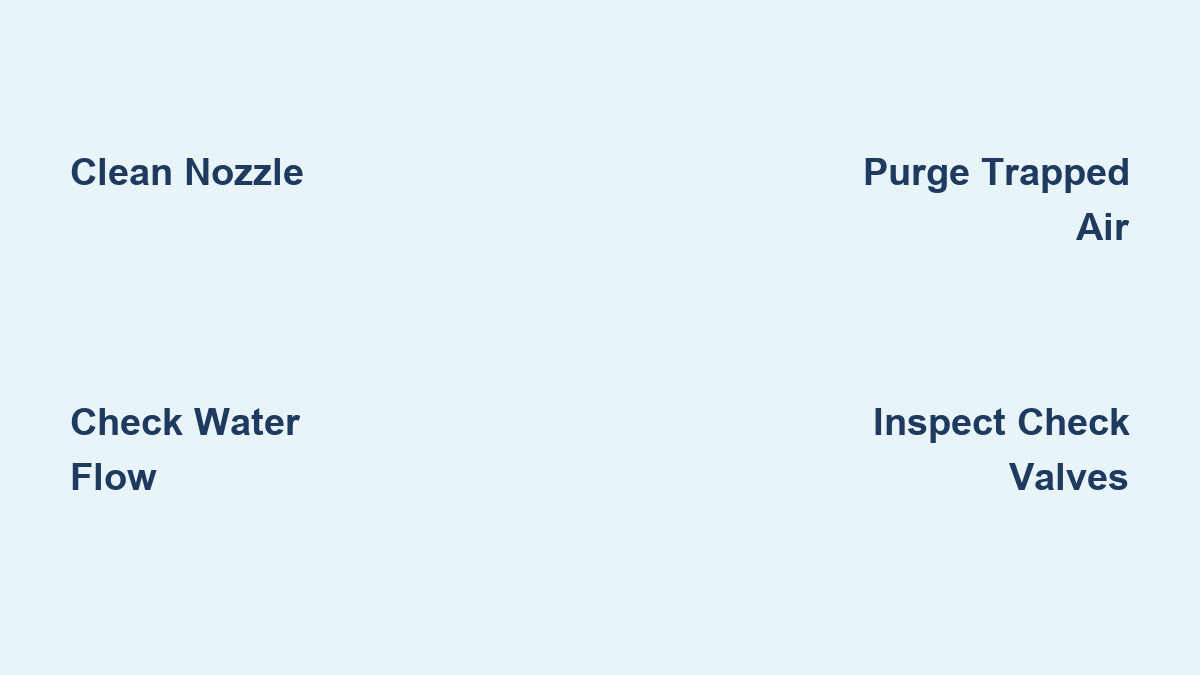
The most common cause? A clogged nozzle. Other frequent culprits include a blocked inlet strainer, stuck check valves, insufficient water flow, or trapped air. This guide walks you through a fast, step-by-step diagnostic process to pinpoint the exact problem and get your pressure washer spraying again. No unnecessary part swaps or costly service calls required.
Start at the source and work your way through the system.
Verify Water Supply Before Any Repairs

Before touching any internal components, confirm your pressure washer is actually getting enough water.
Test Your Flow Rate
Your machine needs at least 5 gallons per minute (GPM) to operate properly. Here’s a quick bucket test:
- Attach a garden hose directly to your outdoor spigot
- Turn the spigot on full
- Time how long it takes to fill a 5-gallon bucket
- Less than 60 seconds means good flow
- More than 60 seconds means your supply is too low
Fix low flow by opening the spigot fully, using a shorter hose with a larger diameter (5/8 inch minimum), clearing kinks, or replacing old hoses that collapse internally. Avoid adapters that restrict flow.
Inspect the Inlet Filter
At the pump’s water intake, you’ll find a small mesh filter. Remove it with needle-nose pliers and rinse it under the tap. Look for sand, rust, or debris. Even if it looks clean, flush it anyway, because tiny particles can clog internally. A clogged filter starves the pump and stops spray before it even starts.
Test the Hose and Pump to Isolate the Problem
Now determine whether the issue is in the wand or deeper in the system.
Run Water with the Machine Off
- Disconnect the high-pressure hose from the pump
- Turn on the water supply
- Let water run for 30 seconds
If water flows freely, the hose and inlet are clear. If you see no flow or just a slow drip, check for kinks, internal collapse, or a clogged hose screen.
Start the Machine with the Hose Disconnected
With the hose still detached, briefly start the pressure washer. If water sprays strongly from the pump outlet, the pump is working properly. If no water exits, the issue lies before the discharge side, likely in the intake valves or an internal blockage. This step saves you from replacing nozzles or wands unnecessarily.
Fix a Clogged Nozzle (The Most Common Cause)

If water comes from the hose but not the wand, the nozzle is blocked. This is the number one reason a pressure washer won’t spray.
Remove and Inspect the Nozzle
- Unscrew the nozzle tip from the wand
- Watch for two small bearings that may fall out
- Remove the central tip with an Allen wrench
Hold it up to light. Can you see through the hole?
- No light means it’s blocked by mineral deposits or debris
- Faint light means a partial clog is slowing flow
Clean the Nozzle Properly
You’ll need a thin wire or needle, a small brush, running water, and optionally white vinegar for soaking.
Steps:
1. Poke the central hole gently without widening it
2. Clean the side holes and internal chamber
3. Rinse thoroughly
4. Reassemble with the bearings and tip
Test After Cleaning
Reattach the nozzle to the wand, reconnect everything, and pull the trigger. If strong spray returns, the problem is solved. If spray is still missing, move on to the wand or gun.
Pro Tip: Keep a spare nozzle on hand and replace worn tips every 6 to 12 months.
Diagnose the Spray Gun and Wand
Even with a clean nozzle, the gun itself can block flow.
Check the Trigger Mechanism
- Pull the trigger fully and observe whether it moves smoothly
- Listen for a click or release sound
A stiff or stuck trigger needs disassembly and internal valve cleaning.
Inspect Internal Seals
Remove the wand from the gun and look for cracked O-rings or worn seals. Flush water through the gun alone. Does it pass through? If water doesn’t flow through the gun by itself, the internal valve is blocked or damaged. Soak in vinegar, clean with a pin, or replace the spray gun assembly.
Clear Stuck Intake Check Valves
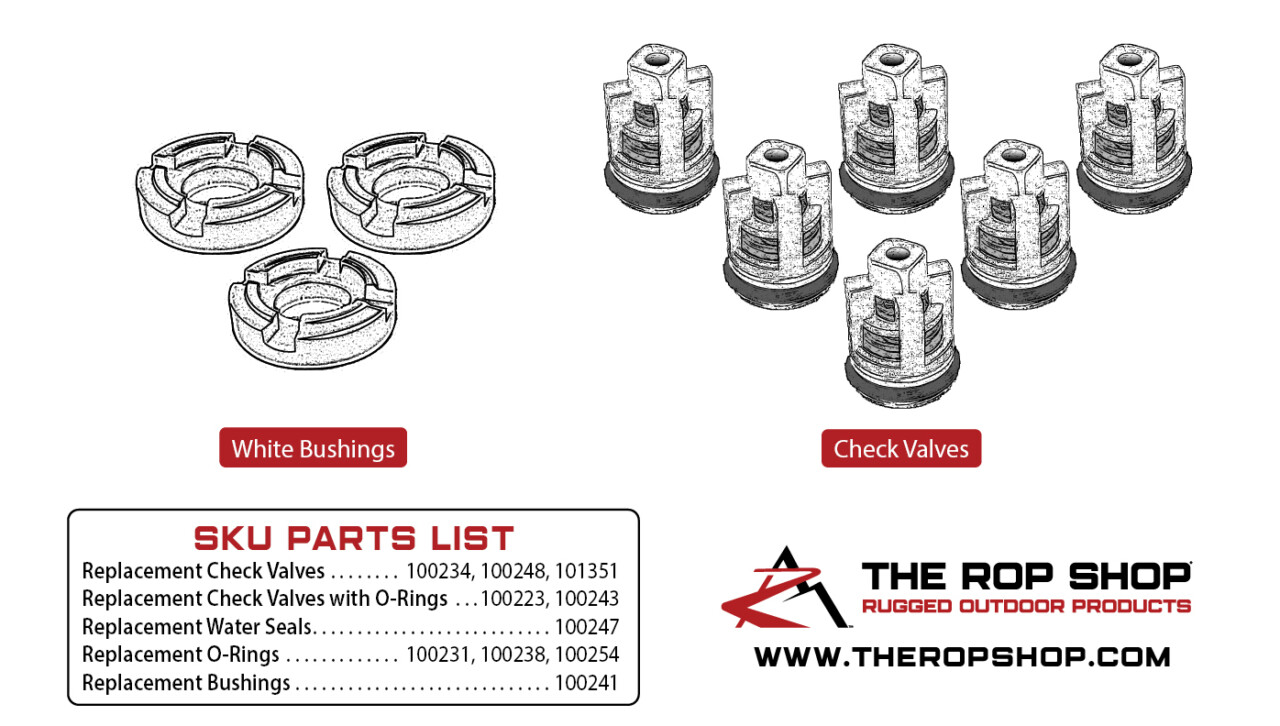
When water enters the pump but won’t exit, low-pressure check valves are likely stuck.
Locate the Valves
Three intake check valves sit at the bottom of the pump. Each contains a metal plate, a spring, and an O-ring.
Remove and Test the Valves
You’ll need a 13 mm wrench for side plugs, a 22 mm wrench for the center plug, and a 14 mm wrench for the pressure gauge.
Steps:
1. Remove the pressure gauge
2. Take out all three valve plugs
3. Extract the plates and O-rings, keeping them organized
Press the center of each plate. It should move freely. If it’s stuck, corrosion or grit is holding it closed.
Flush the Valve Housing
With the valves removed, run water through each port and look for debris in the chamber. Use a brush to scrub any buildup. Reinstall O-rings first, then plates, then caps. Tighten the center plug first, then the sides.
Unblock the Discharge Check Valve
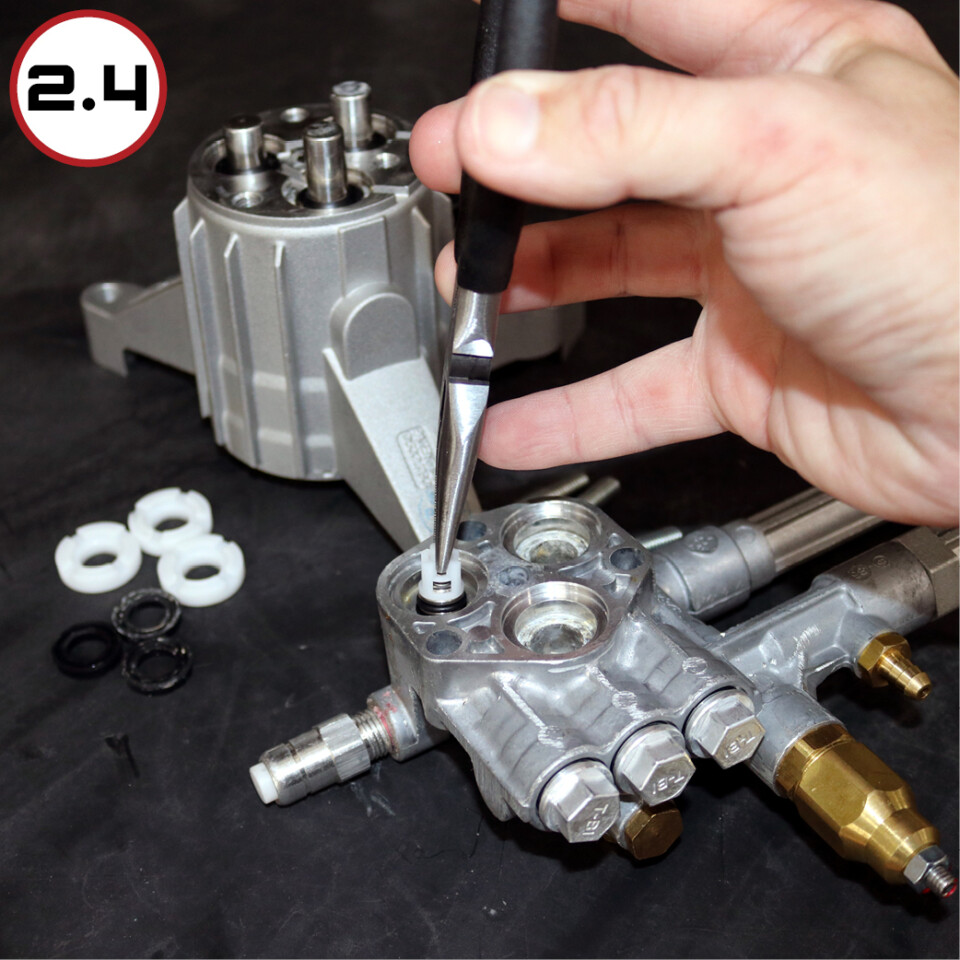
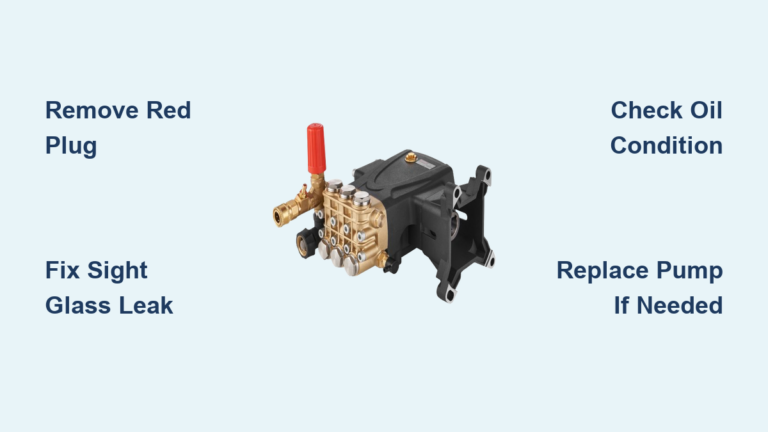
If intake valves are clean but the pressure washer still won’t spray, the discharge check valve inside the unloader may be stuck.
Access the Valve
- Locate the brass hex plug near the pump casting (22 mm)
- Remove it with a wrench
- Inside, you’ll find a spring and ball bearing
The ball often sticks to its seat due to mineral buildup.
Clean and Reset
- Remove the spring and ball
- Soak in vinegar for 10 minutes
- Flush the port with water
- Reinstall the ball and spring, ensuring the ball moves freely
This valve controls water exit. When blocked, nothing sprays.
Purge Trapped Air from the System
Air pockets stop pressure buildup and lead to weak or no spray.
Bleed the System
- Turn off the machine and release the trigger
- Open the water supply
- Let water run through the system for 60 seconds
- Start the machine and pull the trigger
Air often enters after storage or hose changes. Flushing restores flow.
Warning: Never run the pump dry. Always have water flowing before starting.
Inspect Pump Seals and O-Rings

If all valves are clear but performance is weak or leaking, seals may be failing.
Look for These Warning Signs
- Water dripping from the pump housing
- Overheating or loud knocking sounds
- Loss of pressure over time
Replace Worn Seals
- Shut off the machine and drain water
- Remove the pump head cover
- Check plunger seals and O-rings
- Replace any cracked, swollen, or brittle parts
Use OEM or compatible replacements. Poor seals cause internal leaks and pressure loss.
Check the Detergent System
A clogged detergent injector can backflow and restrict the main water path.
Flush the Detergent Line
- Switch to detergent mode if applicable
- Remove the siphon hose from the tank
- Run clean water through the line
- Clear any hardened soap with a vinegar soak
Verify Proper Nozzle Use
Using a soap nozzle during rinse mode causes low pressure. Always switch back to a high-pressure tip after detergent use. Also ensure the siphon hose end is fully submerged when using soap.
Prevent Future Spray Failures
Most no-spray issues are preventable with routine care.
After Every Use
- Flush the nozzle with clean water
- Run the unit briefly with water to clear lines
- Store in a dry, covered space
Monthly Maintenance Tasks
- Clean the nozzle with a vinegar soak and wire
- Inspect the inlet filter by removing and rinsing it
- Check O-rings and replace if cracked
- Test water flow with the 5-gallon bucket test
Long-Term Tips
- Use filtered or soft water in hard water areas
- Run the machine every 3 to 4 weeks during storage
- Keep spare nozzles and O-rings on hand
Quick Diagnostic Flowchart

Use this to troubleshoot fast:
-
No spray from the wand?
– Does water flow through the hose?- Yes means the nozzle or gun is clogged
- No means check supply, inlet filter, or hose
-
Water enters the pump but won’t exit?
– Clean the intake check valves
– Then check the discharge check valve -
Weak or sputtering spray?
– Purge air from the system
– Inspect pump seals -
No water at all?
– Confirm the spigot is open and the hose is clear
– Test flow rate (5 GPM minimum)
Frequently Asked Questions About Pressure Washer Spray Problems
Why won’t my pressure washer spray water when I pull the trigger?
The most common reason is a clogged nozzle. Debris, mineral deposits, or sediment can block the tiny spray hole and stop water flow. Start by removing the nozzle, inspecting it under light, and clearing any blockage with a thin wire or by soaking in vinegar.
Can a pressure washer pump fail without spraying?
Yes, but it’s rare. Pump failure usually shows symptoms like leaking, overheating, or loud knocking. Before assuming the pump is bad, test by disconnecting the high-pressure hose and starting the machine. If water flows strongly from the pump outlet, the pump is working.
How do I know if my water supply is strong enough?
Your pressure washer needs at least 5 gallons per minute. Test by timing how long your outdoor spigot takes to fill a 5-gallon bucket. If it takes more than 60 seconds, your supply is too weak and you need a larger hose or a different water source.
What causes a pressure washer to lose pressure suddenly?
Sudden pressure loss usually points to trapped air, worn seals, or a stuck check valve. Purge air by running water through the system for 60 seconds before starting. If pressure doesn’t return, inspect the pump seals and check valves for damage or blockage.
Is it worth repairing an old pressure washer that won’t spray?
In most cases, yes. The parts that cause no-spray issues (nozzles, O-rings, filters, check valves) are inexpensive and easy to replace. Even an older unit can run like new with basic maintenance and a few replacement components.
How often should I clean my pressure washer nozzle?
Clean the nozzle after every use by flushing it with clean water. Deep clean with a vinegar soak once a month, or more often if you use hard water. Replace the nozzle every 6 to 12 months depending on usage and wear.
Key Takeaways for Fixing a Pressure Washer That Won’t Spray
A pressure washer that won’t spray is rarely a dead pump. Start with the simplest fix: clean the nozzle, check water flow, and purge air. These three steps resolve the majority of spray failures in under 10 minutes.
Work systematically from the water source through to the wand. This prevents unnecessary part replacements and helps you pinpoint the exact issue. If basic fixes don’t work, inspect check valves, pump seals, and the spray gun for deeper problems.
For long-term reliability, perform monthly maintenance, store the machine properly, and keep spare nozzles and O-rings on hand. With these habits, your pressure washer will deliver consistent spray pressure for years to come.