Unimac Washing Machine Repair Guide
If your Unimac washing machine stops mid-cycle, leaks, or vibrates excessively, you are not alone. These industrial-grade washers power laundromats, hospitals, and hotels, environments where downtime means lost revenue and operational delays. While Unimac machines are built for durability, constant use leads to wear in hoses, seals, pumps, and control systems. This guide delivers actionable repair steps, maintenance schedules, and safety protocols to keep your Unimac running reliably.
You will learn how to diagnose leaks, replace worn components, interpret error signals, and when to call a certified technician. Whether you manage one unit or an entire laundry fleet, these strategies reduce costs, improve uptime, and protect your investment.
Diagnose Common Unimac Failures
Unimac washers endure heavy daily use, making early problem detection essential. Addressing minor issues before they worsen prevents extended downtime and expensive repairs.
Identify Recurring Mechanical Issues
Frequent failure points include leaking door seals, clogged drain pumps, worn belts, and failing water inlet valves. These components face constant stress during high-speed spins and repeated wash cycles. A washer that will not start may have a faulty door lock or power interruption. Excessive vibration often points to worn suspension shocks or an unbalanced load sensor malfunction. Catching these symptoms early, such as pooling water under the unit or unusual noises during spin, allows for targeted fixes before internal damage occurs.
Decode Error Codes and Sensor Faults
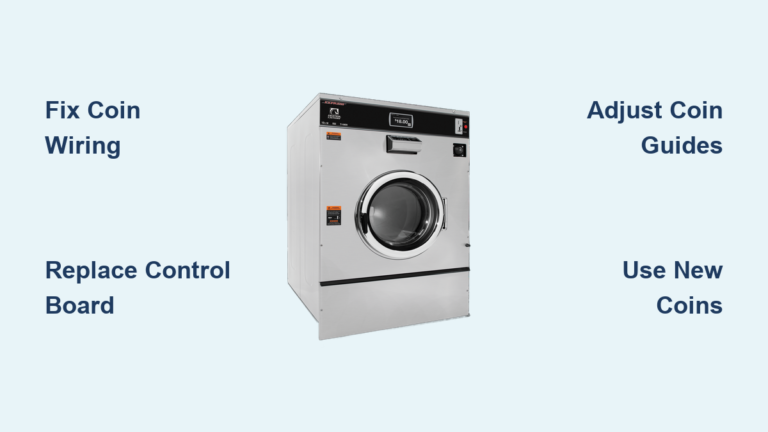
Modern Unimac models display error codes on digital control panels, signaling specific system failures. Codes related to water level, temperature, or imbalance require immediate attention. Common codes include E1 or F1 for water inlet issues, E2 or F2 for drain failure, E4 or F4 for overheating, and E6 or F6 for motor or tachometer faults. Consult the machine technical manual to match codes with diagnostic steps. Always power down the unit before inspecting wiring or sensors. Use a multimeter to test continuity in suspect circuits. Intermittent errors may stem from loose connections or moisture-damaged boards, common in high-humidity laundry rooms.
Stop Leaks at the Source

Water leakage is one of the most common Unimac repair challenges. Pinpointing the origin prevents mold growth, floor damage, and electrical hazards.
Inspect Hoses and Fittings
Check both inlet and drain hoses for cracks, bulges, or loose connections at the rear of the machine. Mineral buildup or softened rubber from heat exposure weakens hose integrity. Replace any hose showing signs of swelling or abrasion. Tighten compression fittings securely but avoid over-tightening, which can strip threads. Test connections by running a short fill cycle and observing for seepage.
Replace Worn Door Seals
A degraded door gasket is a frequent leak culprit, especially in front-load models. Over time, the rubber dries out, cracks, or detaches from the groove. Only use genuine Unimac seals, as aftermarket versions often fail prematurely due to inferior elasticity and fit.
Seal Replacement Steps
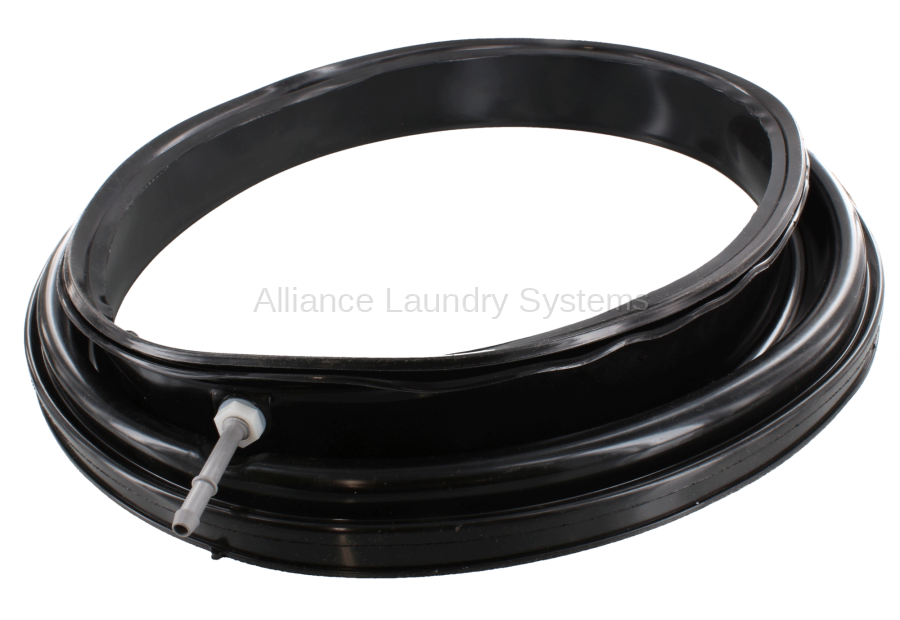
- Power off and unplug the machine.
- Open the door fully and peel the old seal from the frame, working clockwise.
- Clean the seal channel with a damp cloth to remove grime and mildew.
- Position the new OEM Unimac gasket, starting at the bottom.
- Press firmly into place, ensuring no twists or gaps.
- Run an empty test cycle to verify no leaks.
Check Pump and Valve Integrity
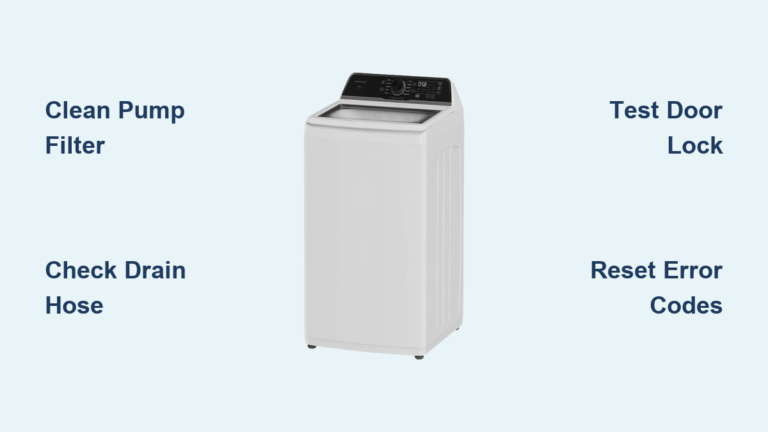
The drain pump and water inlet valve are common leak sources. Disconnect power, remove access panels, and visually inspect for corrosion or wetness around seals. Clear debris from the pump filter. If the pump housing is cracked or the impeller seized, replace the entire unit. Test inlet valves for proper solenoid function and replace if sluggish or noisy.
Perform Preventive Maintenance
Regular maintenance extends Unimac washer life, improves efficiency, and reduces emergency repair frequency.
Daily Checks for Operators
Train staff to perform quick daily inspections. Confirm the door locks securely, as a faulty lock prevents cycle start. Verify no water pooling beneath the machine. Leave the loading door open after use to dry the drum and prevent odors. Wipe down the control panel and door glass. These habits catch issues early and maintain hygiene in shared environments.
Monthly Maintenance Tasks
Schedule deeper checks monthly. Inspect all hoses for wear, kinks, or soft spots, and replace every three to five years regardless of appearance. Tighten water and drain connections to prevent slow leaks. Test machine stability by rocking the unit gently. If it moves, re-level using adjustable feet. Clean lint traps in combo units or external filters. Never operate a washer with loose or damaged hoses, as this risks sudden rupture and flooding.
Annual Professional Service
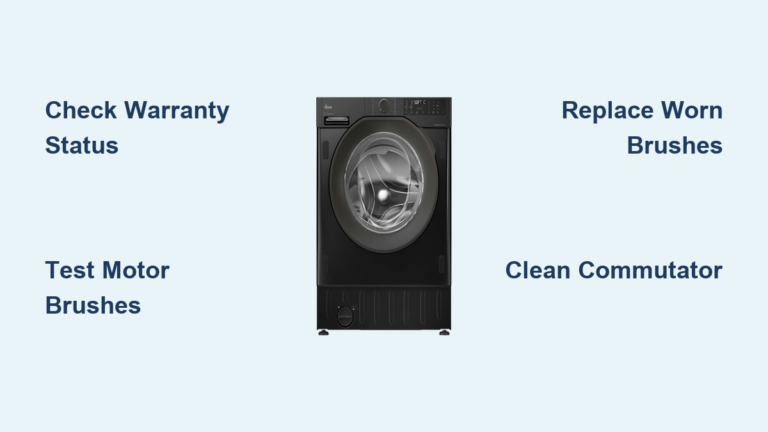
Hire a certified technician annually for comprehensive servicing. Deep clean drum, pump chamber, and internal ducts. Descale components in hard water areas. Inspect thermostat contacts and motor brushes. Lubricate specified moving parts per service manual. Factory-trained technicians use diagnostic tools to uncover hidden wear, preventing unexpected failures.
Repair Electrical and Control Systems
Electrical faults disrupt operation and pose safety risks. Only qualified personnel should handle complex repairs.
Troubleshoot Power and Startup Issues
If the washer does not power on, confirm the outlet has power by testing with another device. Check the circuit breaker or fuse box. Inspect the power cord for cuts or burns. Verify the main disconnect switch is on. A tripped breaker may indicate a short in the motor, heater, or control board.
Diagnose Control Board Failures
Erratic behavior, random shutdowns, blank screens, or unresponsive buttons often point to a failing control board. Causes include moisture ingress from leaks, power surges, and component aging. Use manufacturer-approved diagnostic software to read error logs. Flash firmware updates if available. Replace the board only with an OEM unit programmed for your model. Never attempt board replacement without locking out power, and use LOTO procedures in commercial settings.
Test Sensors and Wiring
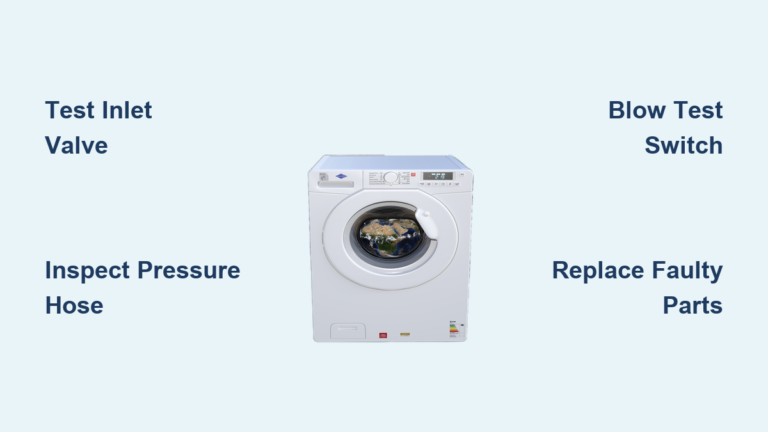
Faulty sensors send incorrect data, triggering error codes. Key sensors include water level pressure switch, temperature probe, and imbalance detector. Disconnect sensors and measure resistance with a multimeter. Compare readings to specifications in the service manual. Inspect wiring harnesses for fraying, pinched wires, or corroded terminals. Repair or replace damaged sections with industrial-grade connectors.
Follow Safety Protocols
Safety must guide every repair and maintenance task to protect personnel and equipment.
Ensure Proper Installation
Installations must follow Unimac official guidelines. All units must be properly grounded to prevent shock. Electrical, water, and drain connections require licensed professionals. Never install in exposed or damp locations, such as uncovered patios or basements prone to flooding. Improper setup voids warranties and increases hazard risks.
Operate Safely
Read all operating instructions before use. Do not bypass safety interlocks such as door switches. Ensure adequate ventilation, especially for gas-powered combo units. Install airflow grills in enclosed rooms to prevent carbon monoxide buildup.
Repair with Protection
Before any service, disconnect power at the breaker. Shut off water supply valves. Wear gloves and eye protection when handling sharp or chemical-exposed parts. Follow OSHA-compliant lockout/tagout procedures in institutional facilities.
Source Genuine Replacement Parts
Repair success depends on part quality. Substandard components fail quickly and compromise safety.
Why Use OEM Unimac Parts
Genuine parts offer exact fit and material durability, compatibility with industrial cycle demands, one-year warranty from authorized suppliers, and traceable manufacturing standards. Using non-OEM seals, pumps, or boards increases the risk of premature failure and voids existing warranties.
Key Components to Replace
Door seals show cracks, leaks, or musty smell and require replacement every three to five years or as needed. Drain pumps fail with no drainage or grinding noise and should be replaced when clogged or seized. Drive belts squeal or cause no spin and need replacement every five to seven years. Water inlet valves show slow fill or dripping and require replacement when flow is restricted. Suspension shocks cause excessive vibration and need replacement when worn or leaking fluid.
Authorized Parts Suppliers
Purchase only through Alliance Laundry Systems, the manufacturer, or factory-authorized distributors like Laundry Parts Direct. Regional service networks with OEM credentials are also reliable sources. Avoid generic or third-party parts unless verified for Unimac compatibility.
Hire Certified Repair Technicians
For complex electrical faults, recurring errors, or major mechanical issues, professional service ensures lasting repairs.
Choose Experienced Service Providers
Automated Laundry Systems specializes in Unimac repairs across California, serving laundromats, hospitals, hotels, correctional facilities, and apartment complexes. With same-day or next-day response in many areas, they minimize operational disruption.
What Professional Service Includes
Professional service includes advanced diagnostics using factory tools, on-site repairs for motors, pumps, boards, and sensors, software resets and updates, and genuine Unimac parts installation. Their technicians are trained to resolve root causes, not just symptoms.
Benefits of Professional Repair
Professional repair offers faster resolution with most fixes in one visit, long-term reliability with repairs built to last, an eco-friendly approach that repairs over replacement reduces waste, and warranty protection that keeps coverage intact. Facilities using professional maintenance report forty percent fewer breakdowns annually.
Optimize Performance and Lifespan
Maximize your investment with proactive care and correct usage.
Extend Machine Life
Well-maintained Unimac washers last ten to fifteen years in commercial use. Follow the maintenance schedule and train staff on proper loading and reporting. Use low-suds, commercial-grade detergents to reduce residue. Maintain clear drain lines to prevent pump strain. Address small issues immediately.
Prevent Costly Breakdowns
A single hour of downtime in a laundromat can cost hundreds in lost revenue. Prevent failures by logging all maintenance and repairs, keeping technical manuals on-site, and downloading schematics and error code charts from the Unimac support portal. Register your machine with Alliance Laundry Systems for service alerts and recall notices.
Frequently Asked Questions About Unimac Washing Machine Repair
Why does my Unimac washer stop mid-cycle?
Likely causes include door lock malfunction, sensor error, or control board communication fault. Professional inspection is required to diagnose the specific issue.
My Unimac washer vibrates heavily during spin cycles. Is this normal?
No. Excessive vibration indicates worn suspension components such as shocks or springs, or imbalance sensor failure. Repair is necessary to prevent internal damage.
How long does a typical Unimac repair take?
Most repairs are completed in one visit, subject to part availability and issue complexity.
Do you repair large commercial Unimac machines?
Yes. Professional services specialize in industrial-scale Unimac washers used in high-demand environments such as hotels and hospitals.
Do professional technicians use genuine Unimac replacement parts?
Yes. Only authentic, factory-approved parts are installed to ensure compatibility and maintain warranty coverage.
Key Takeaways for Unimac Washing Machine Repair
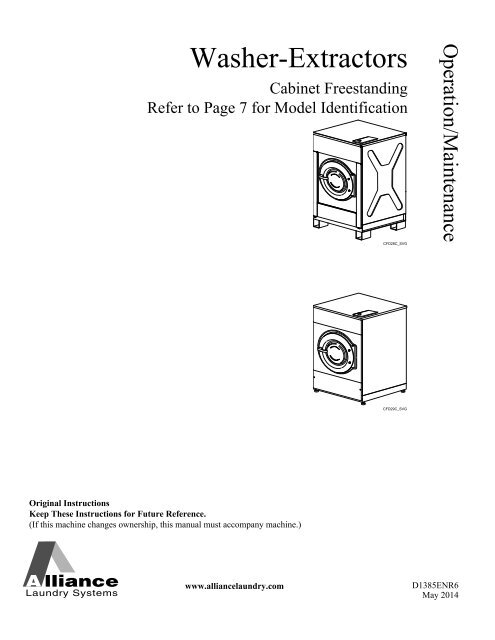
Unimac washing machine repair is not just about fixing breakdowns, it is about preventing them. By mastering leak diagnosis, performing routine maintenance, using genuine parts, and partnering with certified technicians, you ensure reliable, efficient operation for years. Daily checks for door locks and water pooling, combined with monthly hose inspections and annual professional servicing, dramatically reduce unexpected failures. When repairs are necessary, always source OEM components and engage factory-trained technicians to maintain warranty coverage and long-term reliability. Whether you manage one unit or an entire laundry fleet, these strategies protect your investment and minimize costly downtime.