Maytag Washing Machine Maintenance Tips
If your Maytag washing machine is starting to smell, underperform, or make strange noises, the fix might not be a repair. It could simply be overdue maintenance. Regular Maytag washing machine maintenance prevents odors, improves cleaning power, avoids costly breakdowns, and can extend your washer’s life well beyond 15 years. Many users report 30-year-old Maytags still running strong, all thanks to consistent care.
This guide delivers actionable steps for cleaning, inspecting, and maintaining your Maytag top-loader. You’ll learn how to deep-clean the drum, test the motor capacitor, inspect the agitator, and prevent common failures using simple tools and proven techniques.
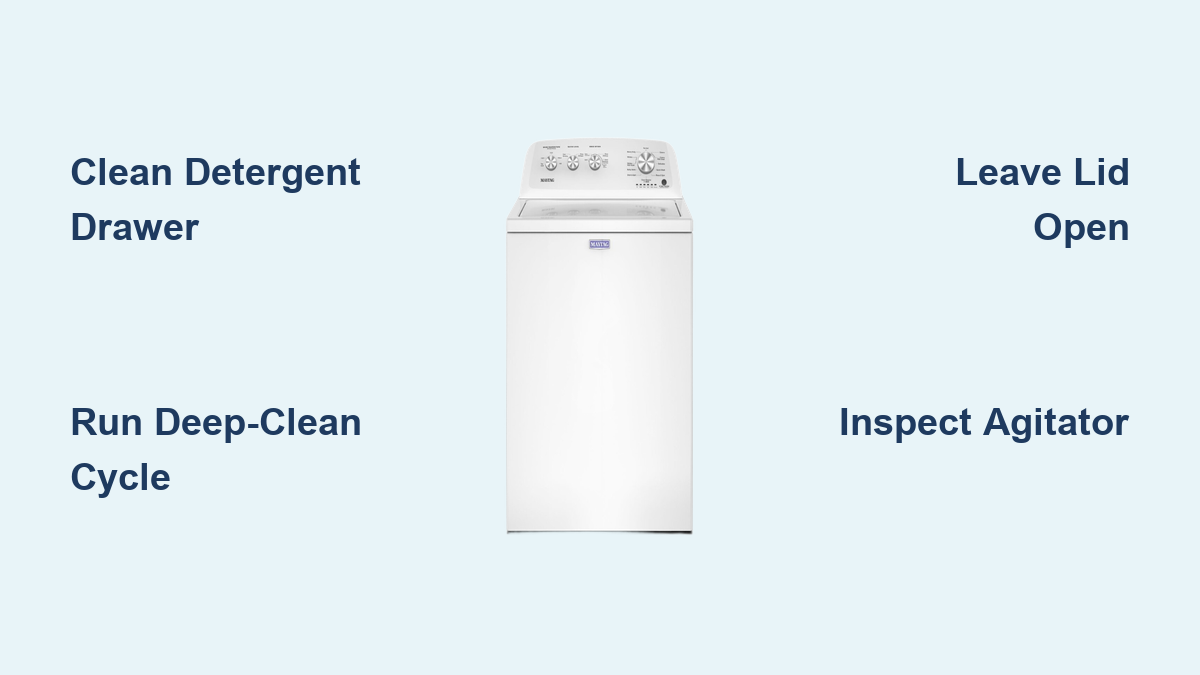
Clean Detergent Drawer Weekly
The detergent drawer is a hidden hotspot for mold, soap scum, and clogs. Keeping it clean ensures proper detergent release and prevents residue from cycling back into your laundry.
Remove and Scrub Thoroughly
- Pull the drawer fully out of its slot.
- Wash it in warm, soapy water.
- Use a soft brush to scrub all surfaces, especially the back, bottom, and sides.
- Clean the drawer housing inside the washer.
- Let everything air-dry completely before reinserting.
Pro Tip: Do this every week to prevent buildup that can block detergent release. Avoid using abrasive pads or harsh chemicals, especially on older models. Stick to mild dish soap and a toothbrush for tight spots.
Run Monthly Deep-Cleaning Cycles
Monthly deep-cleaning cycles flush out grime, bacteria, and odors that daily washing cannot reach. This step is essential for maintaining fresh-smelling laundry and optimal performance.
Use Affresh Tablets for Modern Models
For Maytag washers with a “Clean Washer” cycle, Affresh is the recommended solution.
- Place one Affresh tablet directly in the empty drum.
- Select the “Clean Washer” cycle.
- Press and hold Start.
- Let the 58-minute cycle run uninterrupted.
- After it finishes, leave the lid open to dry.
This cycle uses hot water, extended agitation, and multiple rinses to flush out grime and bacteria effectively.
Try Vinegar and Baking Soda for Older Models
If you have a 20-plus year old Maytag without a self-clean cycle, use these household staples instead.
- Run a hot water cycle with 2 cups of white vinegar.
- Pause mid-cycle and let it soak for 30 minutes.
- Finish the cycle.
- Run a second hot cycle with one-half cup of baking soda.
Vinegar dissolves mineral deposits and organic gunk. Baking soda neutralizes odors and lifts residue. Warning: Avoid chlorine bleach in older machines if seals look cracked or dry, as it can accelerate rubber degradation.
Leave Lid Open After Every Use
Mold and mildew thrive in dark, damp environments. The easiest way to stop them is leaving the lid open after each wash.
This simple habit allows airflow, speeds up drying, prevents musty odors, and reduces gasket and tub contamination. Even 30 minutes of airing makes a difference. In humid climates, leave the lid open overnight for best results.
Inspect and Clean the Agitator Annually
:max_bytes(150000):strip_icc()/how-to-remove-agitator-from-washing-machine-5211908-hero-1d1327a42ed94962af915e32891c5ab1.jpg)
The agitator traps debris that causes noise and poor cleaning performance. Inspecting it once a year prevents these issues from worsening.
Remove the Agitator Safely
- Pop off the center cap, which usually snaps off by hand.
- Use a 7/16-inch socket and ratchet to remove the central bolt.
- Hold the agitator steady with channel-lock pliers to prevent spinning.
- Lift it straight up and off the drive shaft.
Check for Damage and Debris
Once removed, look under the agitator for coins, hair ties, or fabric scraps. Inspect the teeth on the drive shaft and agitator base. Chipped or worn teeth reduce agitation efficiency. Clean the dispensing ring around the base where bleach and softener flow.
Reinstall by aligning the agitator, tightening the bolt, and snapping the cap back on. Expert Note: A future step may involve removing the wash plate beneath the agitator to clean deeper soil zones.
Test the Motor Start Capacitor Yearly
The motor start capacitor gives the motor the jolt it needs to start. A weak capacitor causes humming without spinning, slow startup, overheating, and eventual motor burnout.
How to Test It
- Unplug the washer.
- Discharge the capacitor by touching both terminals with an insulated screwdriver.
- Set a multimeter to capacitance mode.
- Connect probes to the capacitor terminals.
- Read the value.
The capacitor is rated at 50 µF with ±20% tolerance. A reading between 40 and 60 µF is acceptable. For example, 48.9 µF shows aging but remains functional. Action Step: Replace capacitors outside tolerance immediately. They are inexpensive and prevent bigger failures.
Check the Drive Belt and Clutch
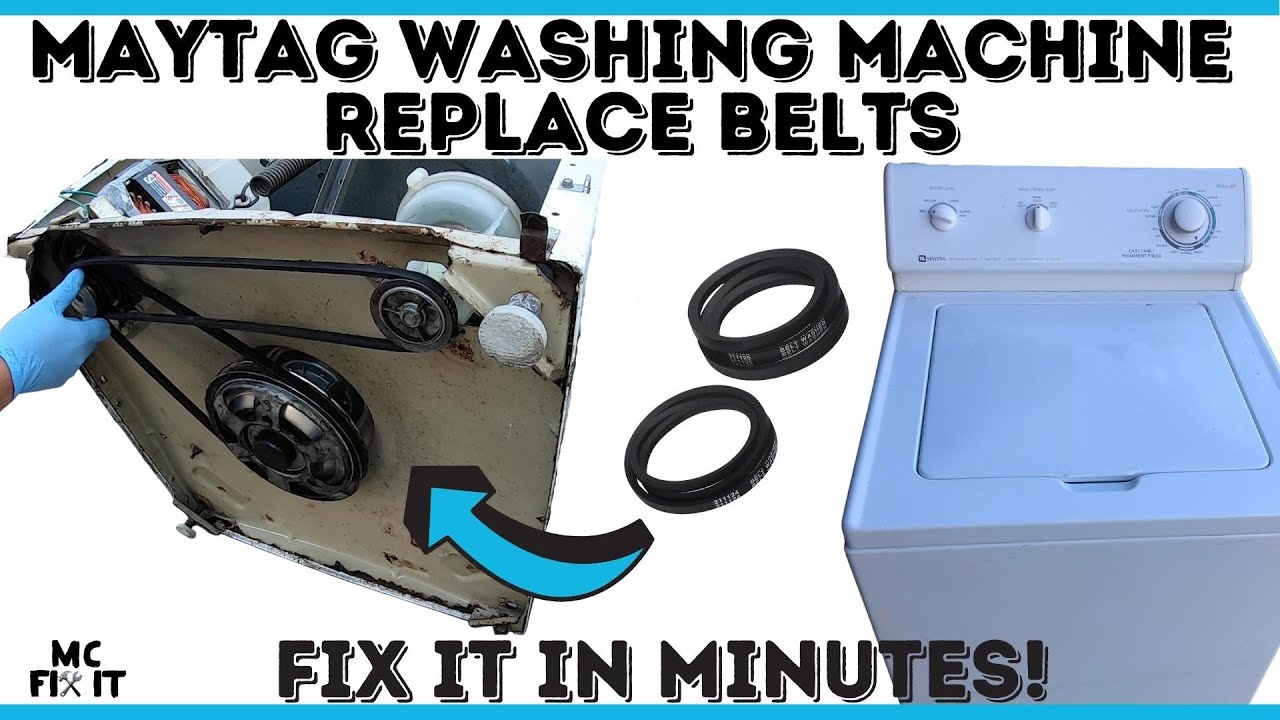
The drive belt connects the motor to the transmission. Regular inspection prevents sudden breakdowns and maintains spin efficiency.
Inspect the Drive Belt
Look for cracks, fraying, or glazing (a shiny, smooth surface indicating slippage). Check for looseness that causes squealing or belt slip. Replace the belt if any damage is visible. A worn belt reduces spin efficiency and strains the motor.
Examine the Clutch Gear
The plastic clutch gear (part number W11396423) wears over time. Look for chipped or missing teeth, cracks, and grinding noises during spin. You can replace just the gear, but if damage is severe, install the full clutch assembly. Replacement Tip: Available on Amazon, Sears PartsDirect, and appliance supply sites.
Lubricate During Reassembly
When reinstalling the clutch or drive components, apply a thin layer of grease to the gear and shaft. Use only appliance-safe grease, and do not overapply. This reduces friction, prevents premature wear, and ensures smooth engagement.
Never use WD-40 or oil. These attract dirt and degrade rubber parts, causing more harm than good.
Reassemble and Test Properly
After maintenance, follow this reassembly checklist to ensure everything is secured properly.
Reassembly Checklist
- Reinstall the drive belt.
- Secure the motor cover with two 5/16-inch bolts.
- Reattach the agitator and tighten the 7/16-inch bolt.
- Snap the center cap back on.
- Slide the top panel into place.
- Reconnect water hoses and plug in the machine.
Run an Empty Spin Test
Before washing clothes, run an empty spin cycle and watch for leaks at hose connections, unusual noises like thumping or grinding, and smooth spinning and draining. Silent, vibration-free operation means the job was successful.
Prevent Overloading and Imbalance
Overloading causes excessive vibration, motor strain, and premature clutch wear. Follow these rules to protect your machine.
Load Smart, Not Full:
- Fill the drum no more than three-quarters full.
- Distribute clothes evenly.
- Mix large and small items to balance the load.
Pro Tip: If the washer walks across the floor, the load is unbalanced. Redistribute and restart the cycle.
Use HE Detergent Only
Maytag top-loaders require high-efficiency (HE) detergent because it produces fewer suds, prevents residue buildup, and won’t trigger overflow sensors.
Using regular detergent leads to oversudsing, poor rinsing, musty smells, and error codes on smart models. Always use the recommended amount. More detergent is not better and can cause buildup that harms performance.
Clean the Pump Filter If Accessible
Some Maytag models have a pump filter near the front base. If yours does, clean it every three to six months.
- Place a towel underneath the machine.
- Open the access panel.
- Slowly unscrew the filter cap. Water may spill, so be prepared.
- Remove lint, coins, or debris.
- Reinstall securely.
Note: Not all top-loaders have user-accessible filters. Check your manual for location and frequency.
Annual Maintenance Checklist
| Task | Frequency | Tools Needed |
|---|---|---|
| Clean detergent drawer | Weekly | Cloth, brush, soapy water |
| Run deep-clean cycle | Monthly | Affresh, vinegar, or bleach |
| Leave lid open | After every use | None |
| Inspect agitator | Annually | 7/16-inch socket, pliers |
| Test motor capacitor | Annually | Multimeter |
| Check drive belt | Annually | Visual inspection |
| Lubricate clutch gear | During reassembly | Appliance grease |
| Run empty spin test | After maintenance | None |
Print this list and tape it inside the laundry cabinet as a reminder.
Model-Specific Maintenance Tips
Modern Maytag Models
Modern models like the MVW6230HC2 and MVW8230HC0 feature a “Clean Washer” cycle for automated maintenance. Use Affresh tablets monthly for best results. The detergent drawer is removable, so clean it weekly. These models require HE detergent only.
Older Maytag Models
Older models, especially those 20 to 30 years old, lack self-clean cycles. Use vinegar and baking soda instead. Avoid bleach if rubber seals are brittle. The detergent drawer may be fixed or non-removable, requiring manual scrubbing with a soft brush. Even vintage models can last decades with consistent care.
Optimize Performance Long-Term
Prevent Common Failures
- Odors: Clean monthly and leave lid open.
- Poor agitation: Inspect agitator teeth annually.
- Spin issues: Test capacitor and check belt.
- Leaks: Tighten hoses and inspect gaskets.
Real-User Insights
Users report 90% odor reduction after vinegar or Affresh cycles. Annual capacitor checks prevent sudden motor failure. Leaving the lid open stops mold in high-humidity areas. Regular agitator cleaning eliminates mysterious thumping sounds.
Key Takeaways for Maytag Washing Machine Maintenance
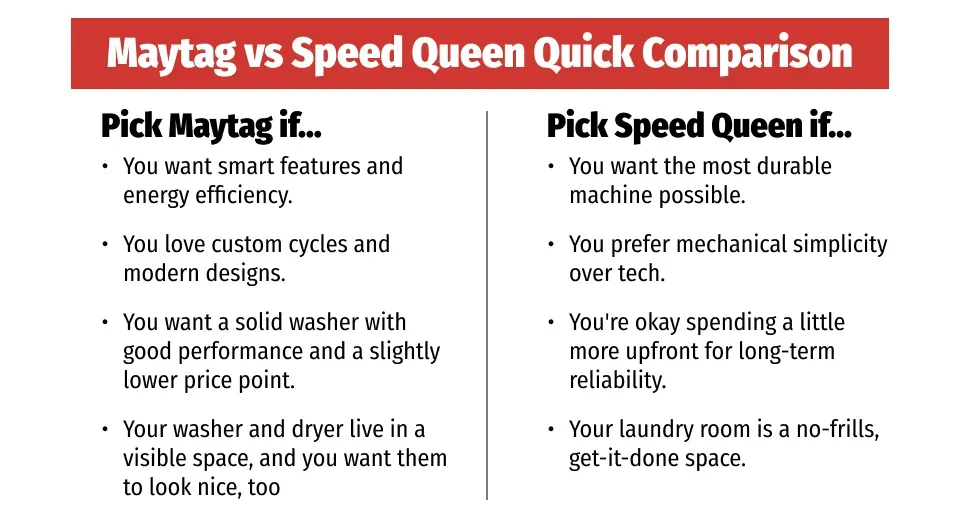
With proper maintenance, your Maytag washer can run efficiently for 15, 20, or even 30-plus years. The key is consistency, not complexity. Simple habits like weekly drawer cleaning, monthly drum treatments, and annual mechanical checks prevent 90% of common problems.
You do not need to be a technician. You just need to act before issues arise. Start today by running a cleaning cycle, wiping down the drum, and leaving the lid open. Your Maytag and your clothes will thank you.
Frequently Asked Questions About Maytag Washing Machine Maintenance
How often should I run a cleaning cycle on my Maytag washing machine?
Run a deep-cleaning cycle monthly using Affresh tablets for modern models or vinegar and baking soda for older units. This prevents odor buildup and maintains optimal cleaning performance.
What is the best way to clean the detergent drawer?
Remove the drawer weekly, wash it in warm soapy water, scrub all surfaces with a soft brush, and let it air-dry completely before reinserting. Avoid harsh chemicals that can damage plastic components.
How do I test the motor start capacitor on my Maytag washer?
Unplug the washer and discharge the capacitor using an insulated screwdriver. Set a multimeter to capacitance mode and connect the probes to the capacitor terminals. Replace if the reading falls outside the 40 to 60 µF range.
Why should I leave the lid open after each use?
Leaving the lid open allows airflow, speeds up drying, and prevents mold and mildew growth in the dark, damp interior. This simple habit significantly reduces musty odors.
Can I use regular detergent in my Maytag top-loader?
No. Maytag top-loaders require high-efficiency (HE) detergent only. Regular detergent causes oversudsing, poor rinsing, residue buildup, and can trigger error codes on smart models.
How long does a Maytag washing machine last with proper maintenance?
With consistent maintenance, a Maytag washing machine can last 15 to 20 years or longer. Many users report functional 30-year-old units still running strong thanks to regular care.